No-carve pumpkin decorating ideas – easy ways to create a gorgeous autumnal look
Add some autumnal style to your home with our simple pumpkin decorating ideas - no knives required!

Stephanie Durrant
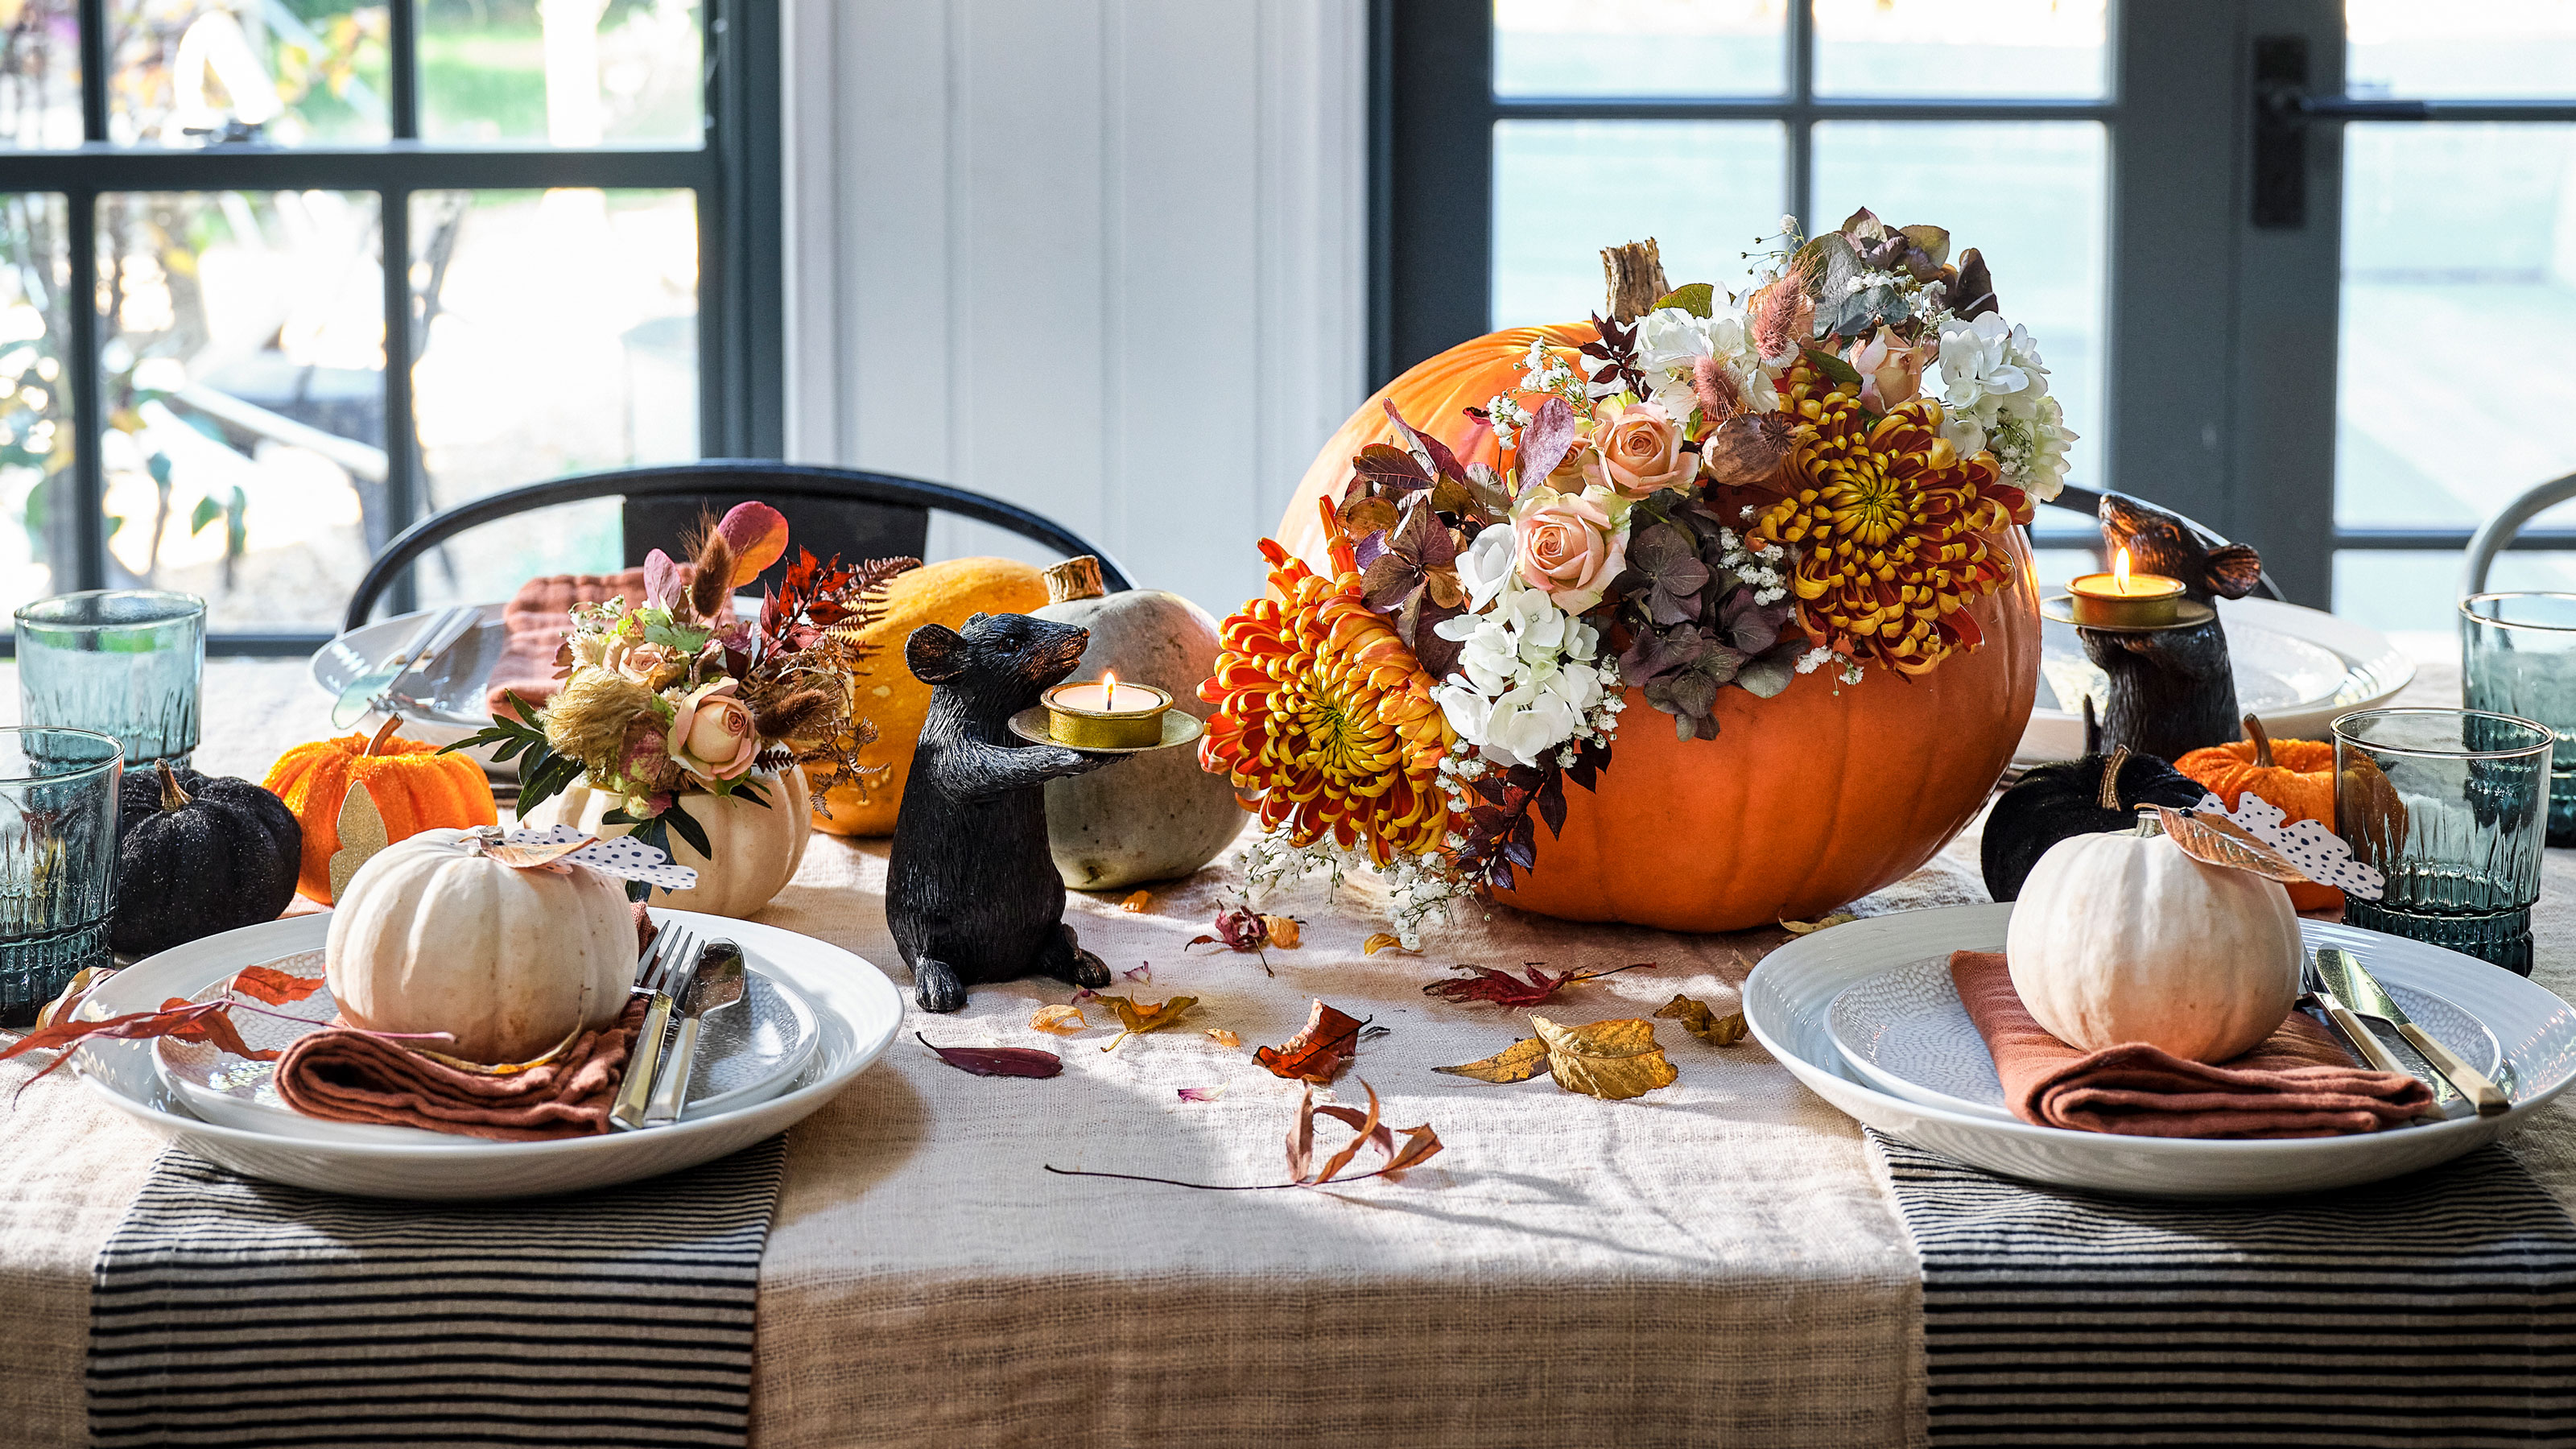
Whether you're a fan of Hallowe'en or not, pumpkin decorating ideas are hard not to love. They can be spooky or just simply decorative, adding a little seasonal style to your home.
Hallowe'en has become more and more popular each year, with TikTok, Instagram and Pinterest bursting with Halloween decorating ideas. While we're obviously fans of decorating, we tend to favour a more autumnal vibe, rather than the terrifying jack-o'-lanterns that adorn doorways all over the country near the end of October.
Carving tends to be the most popular of pumpkin decorating ideas, but it can be a messy and - let's face it - a rather time-consuming and difficult task. Thankfully, there are plenty of other ways to decorate with pumpkins - whether you work with the real thing or create your own from fabric or card - the no-carve pumpkin trend offers virtually endless ways to decorate your home with the epitome of autumnal motifs.
What's more, as no knife is required you can tackle any of these crafty ideas with the whole family so everyone can have a go at creating their own pumpkin creation.
So what are you waiting for, grab a pumpkin and a paintbrush some card and a little fabric and have a go at creating some of these gorgeous gourds to adorn your doorway, porch, dining table or mantel this season!
No-carve pumpkin decorating ideas
1. Draw on designs
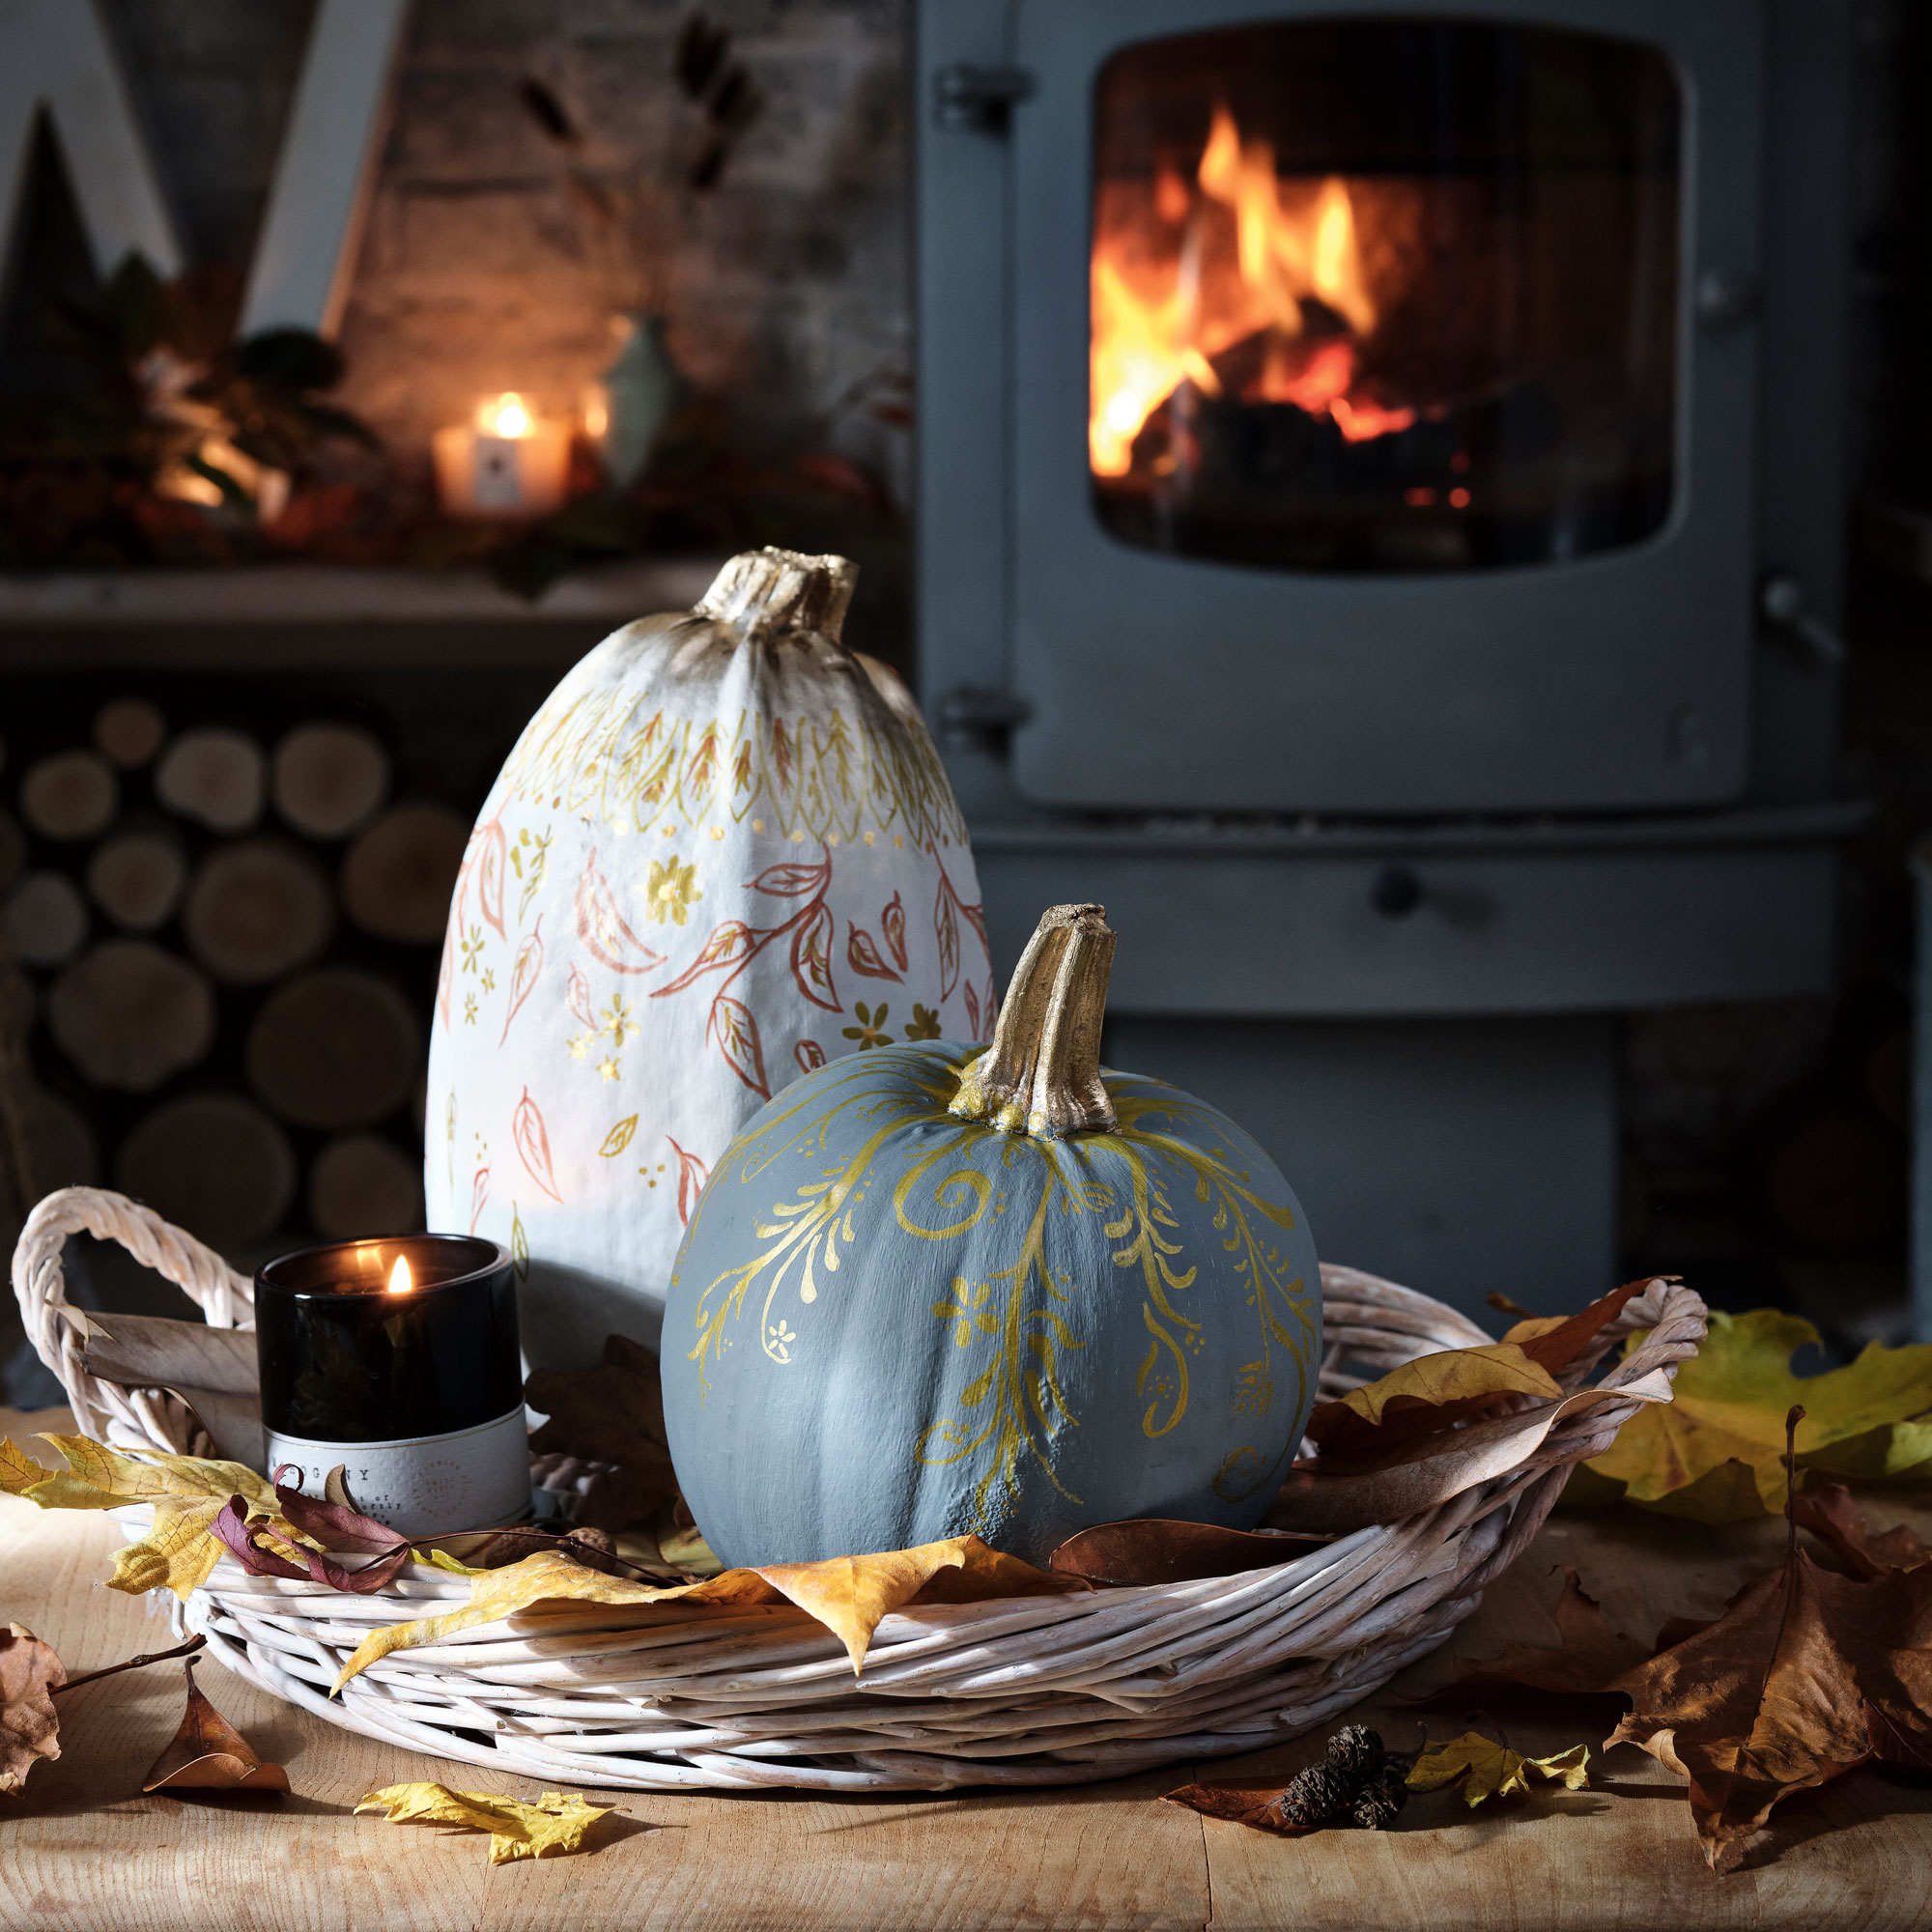
Let your creativity flow with hand-drawn motifs. First, spray your pumpkin with a primer – this will help with the application of the coat of paint.
Once the primer is dry, spray the stalks of your pumpkins – we chose gold to tie in with our hand-drawn designs. We then used leftover white and grey-blue emulsion to paint the pumpkins.
If applying two coats, allow the first coat to dry thoroughly before applying the second. Once the paint is dry, use a metallic pen to draw on your designs.
Sign up to our newsletter for style inspiration, real homes, project and garden advice and shopping know-how
2. Create a pretty mini vase
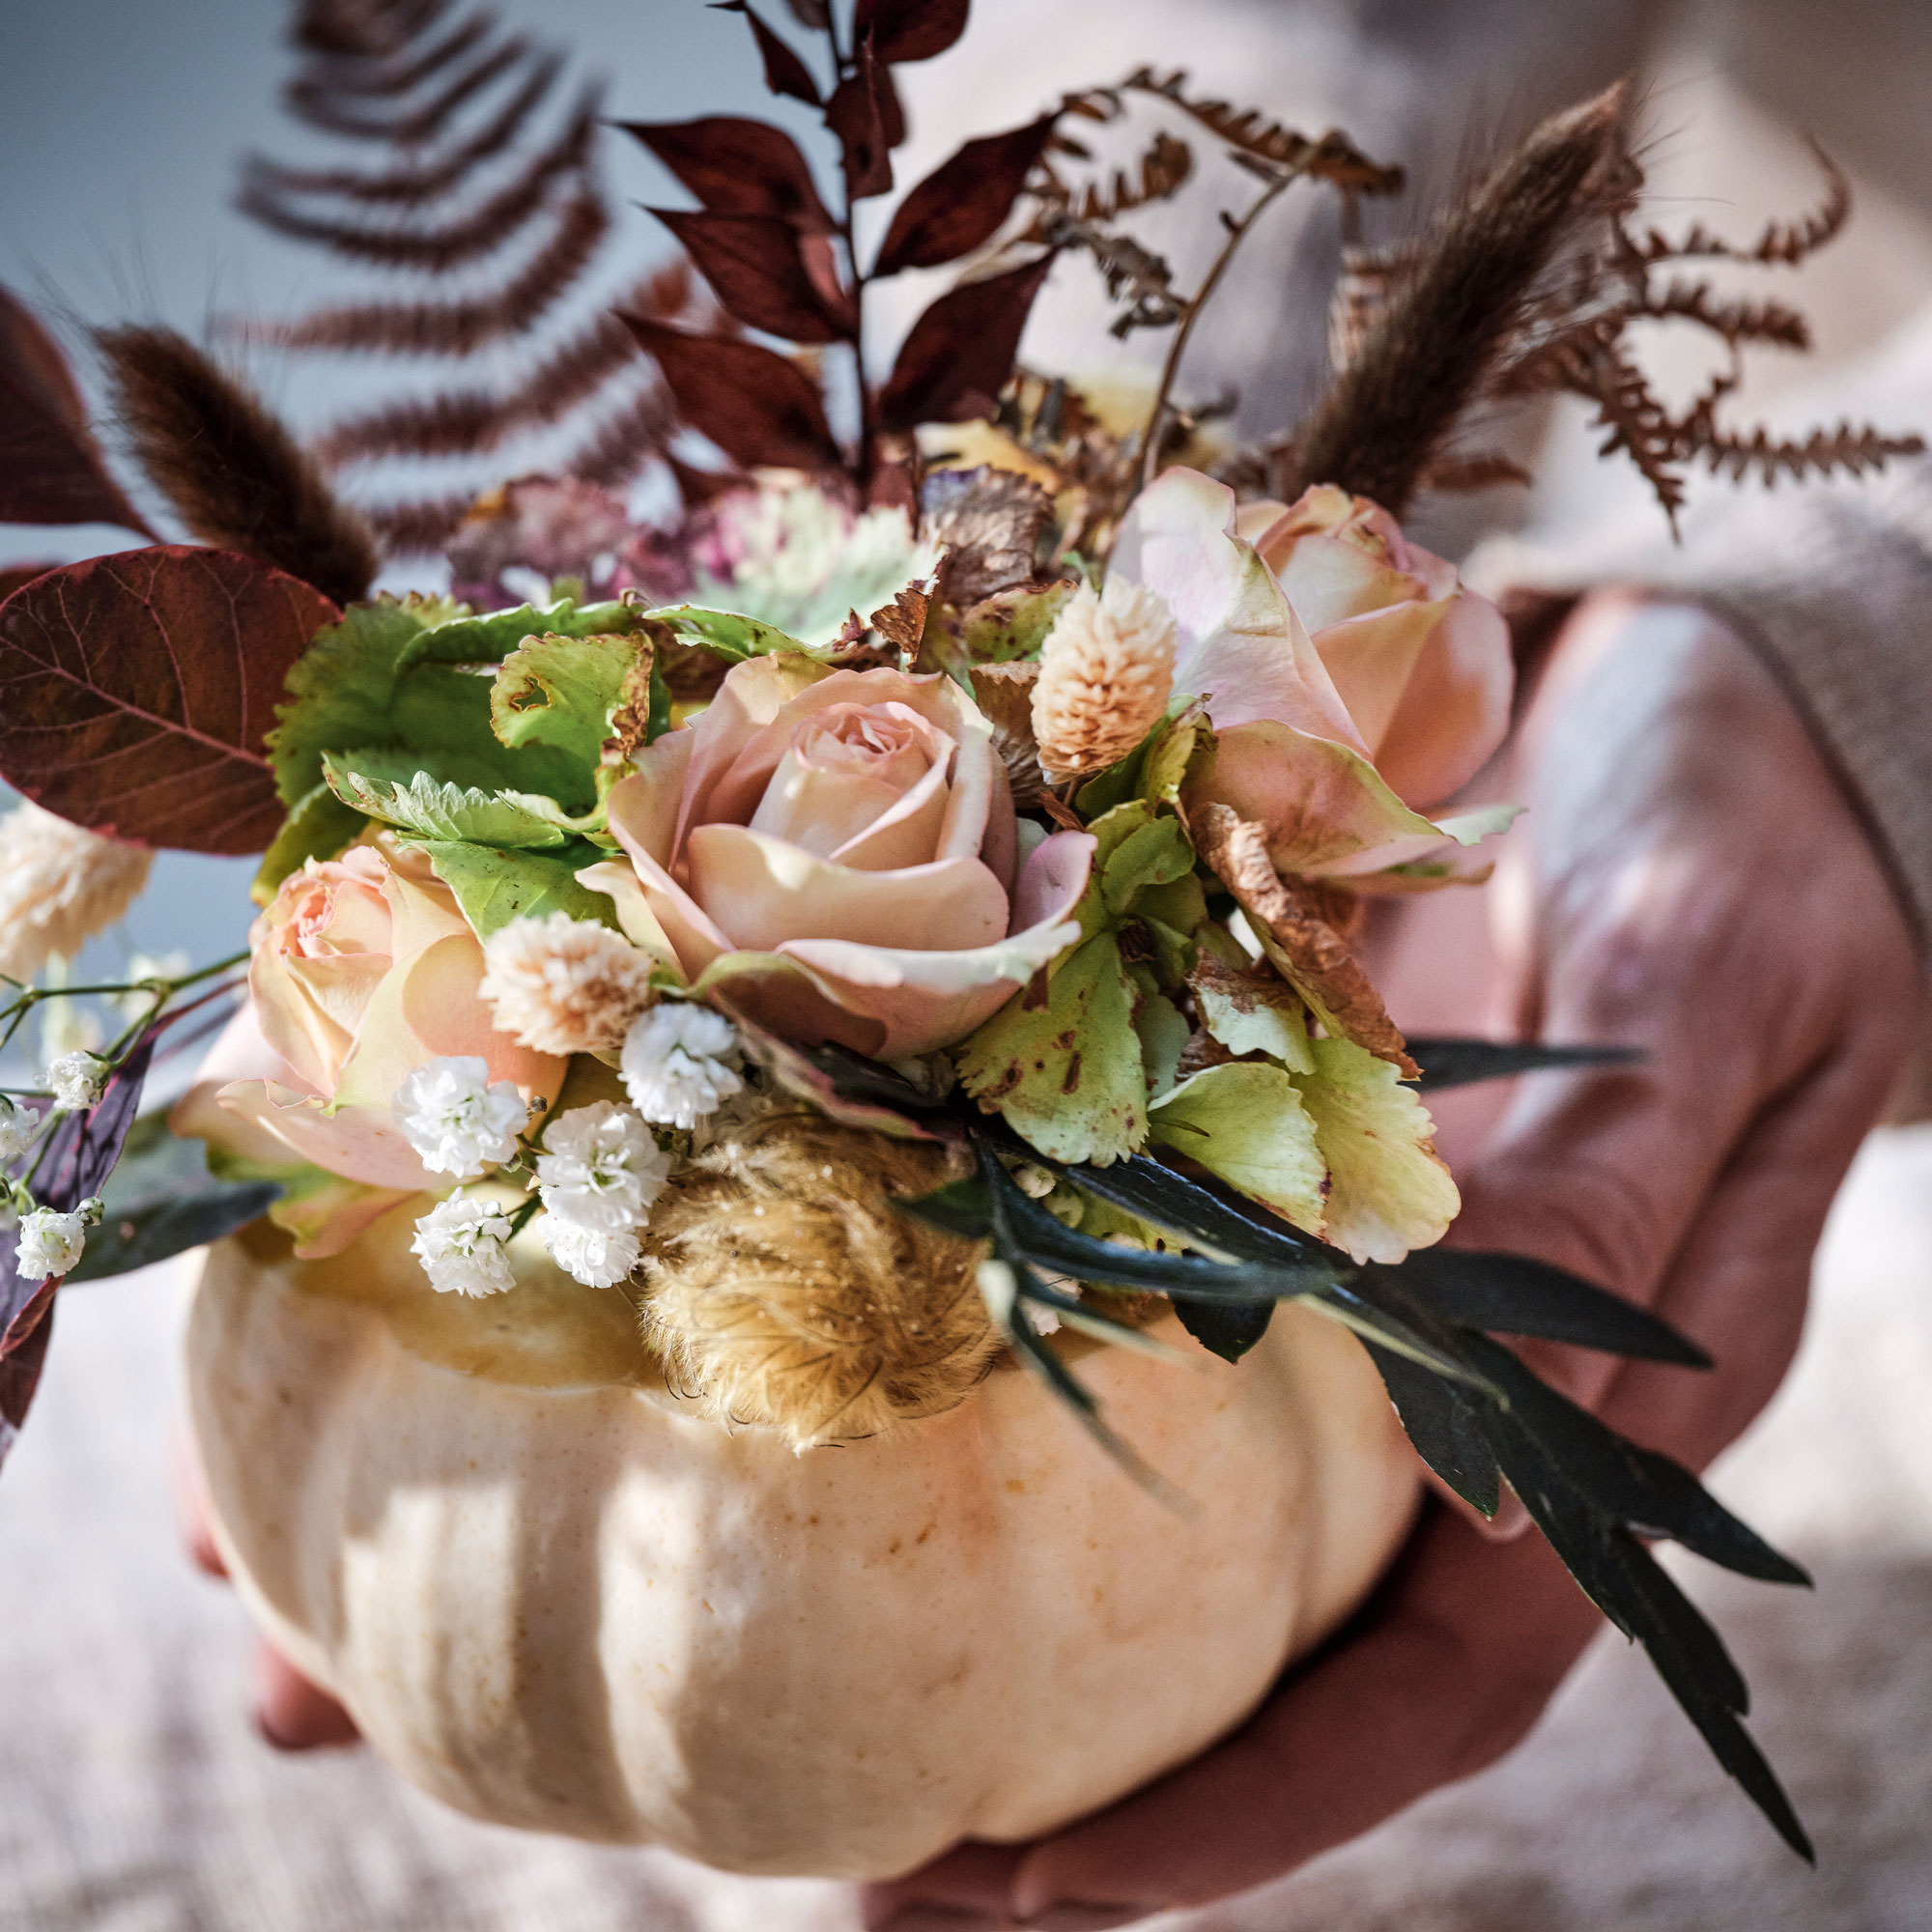
This looks pretty packed with little fresh flowers – or fill with dried leaves, grasses and seedheads for a seasonal display.
Hollow out a mini gourd or pumpkin using a spoon. Set a small jar inside and add water. Cut the stems to the right length, then arrange your flowers and greenery in the jar.
3. Make it personal
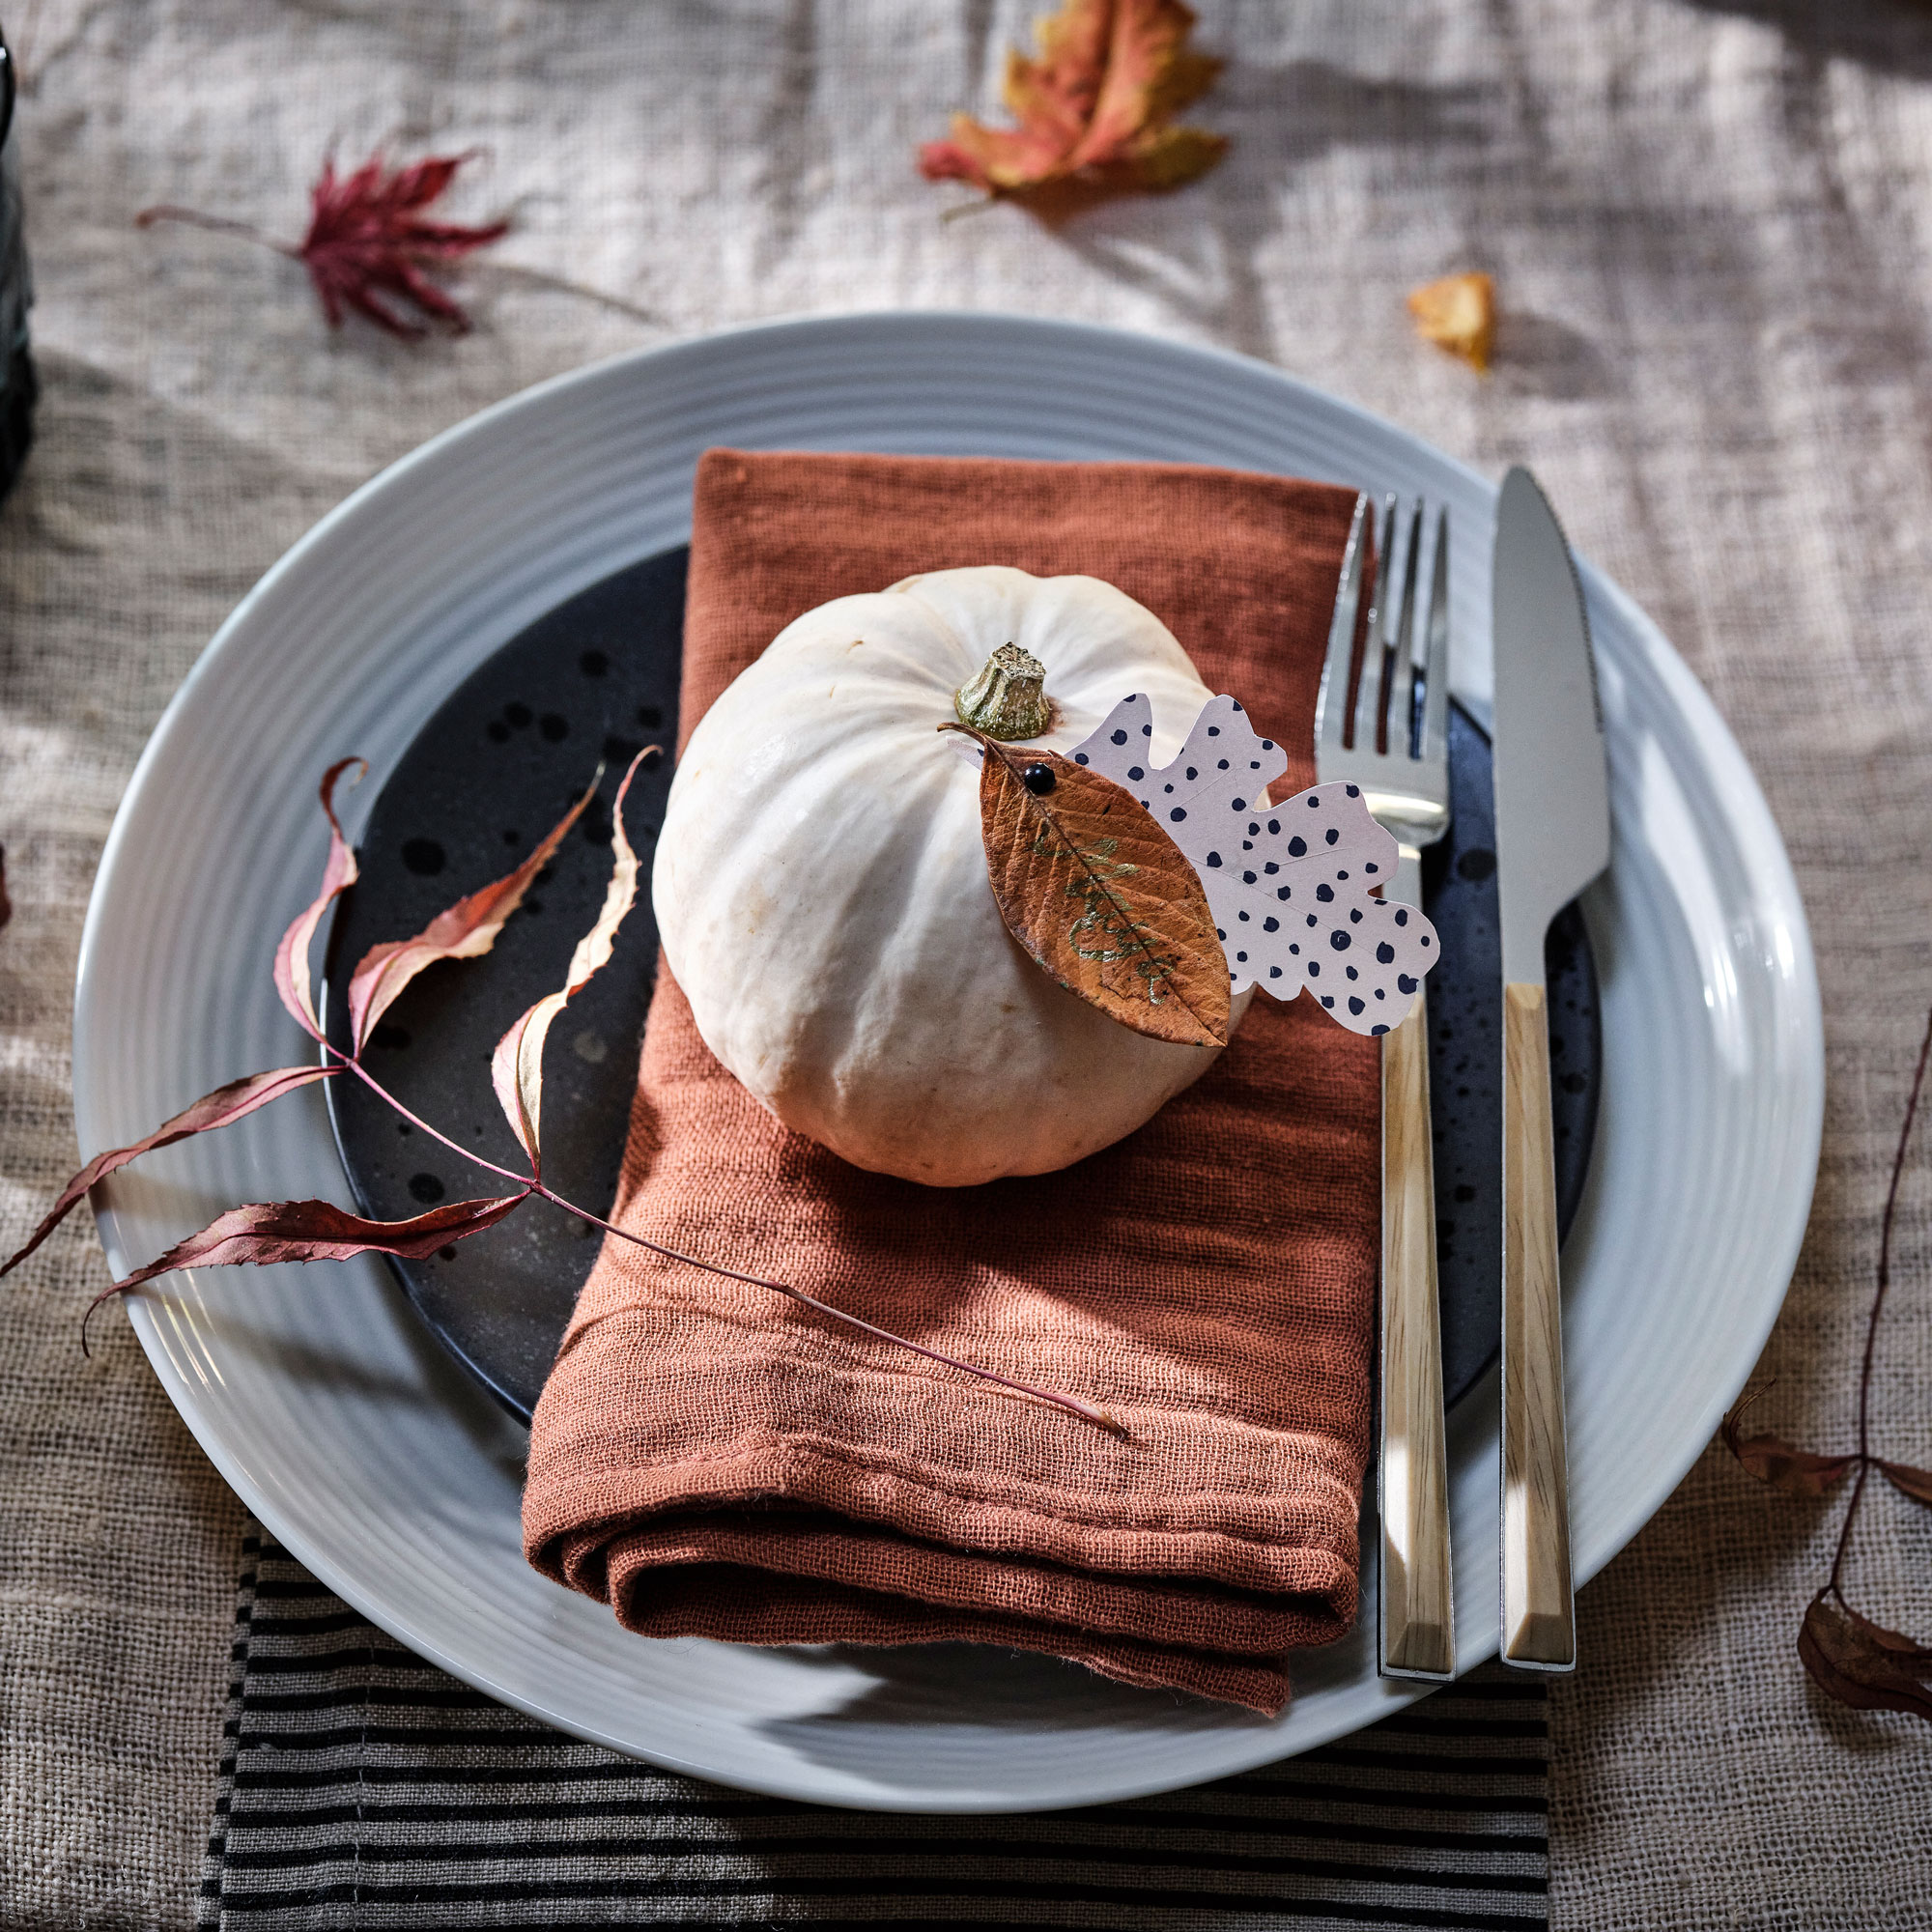
A tiny gourd with a paper and dried leaf combo makes a cute place setting your guests will love.
Cut out the shape of an oak leaf from decorative paper. Use a gold pen to write guests' names or little messages on a dried leaf. Attach both leaves to the top of the gourd with a pin.
4. Decorate with leaf découpage
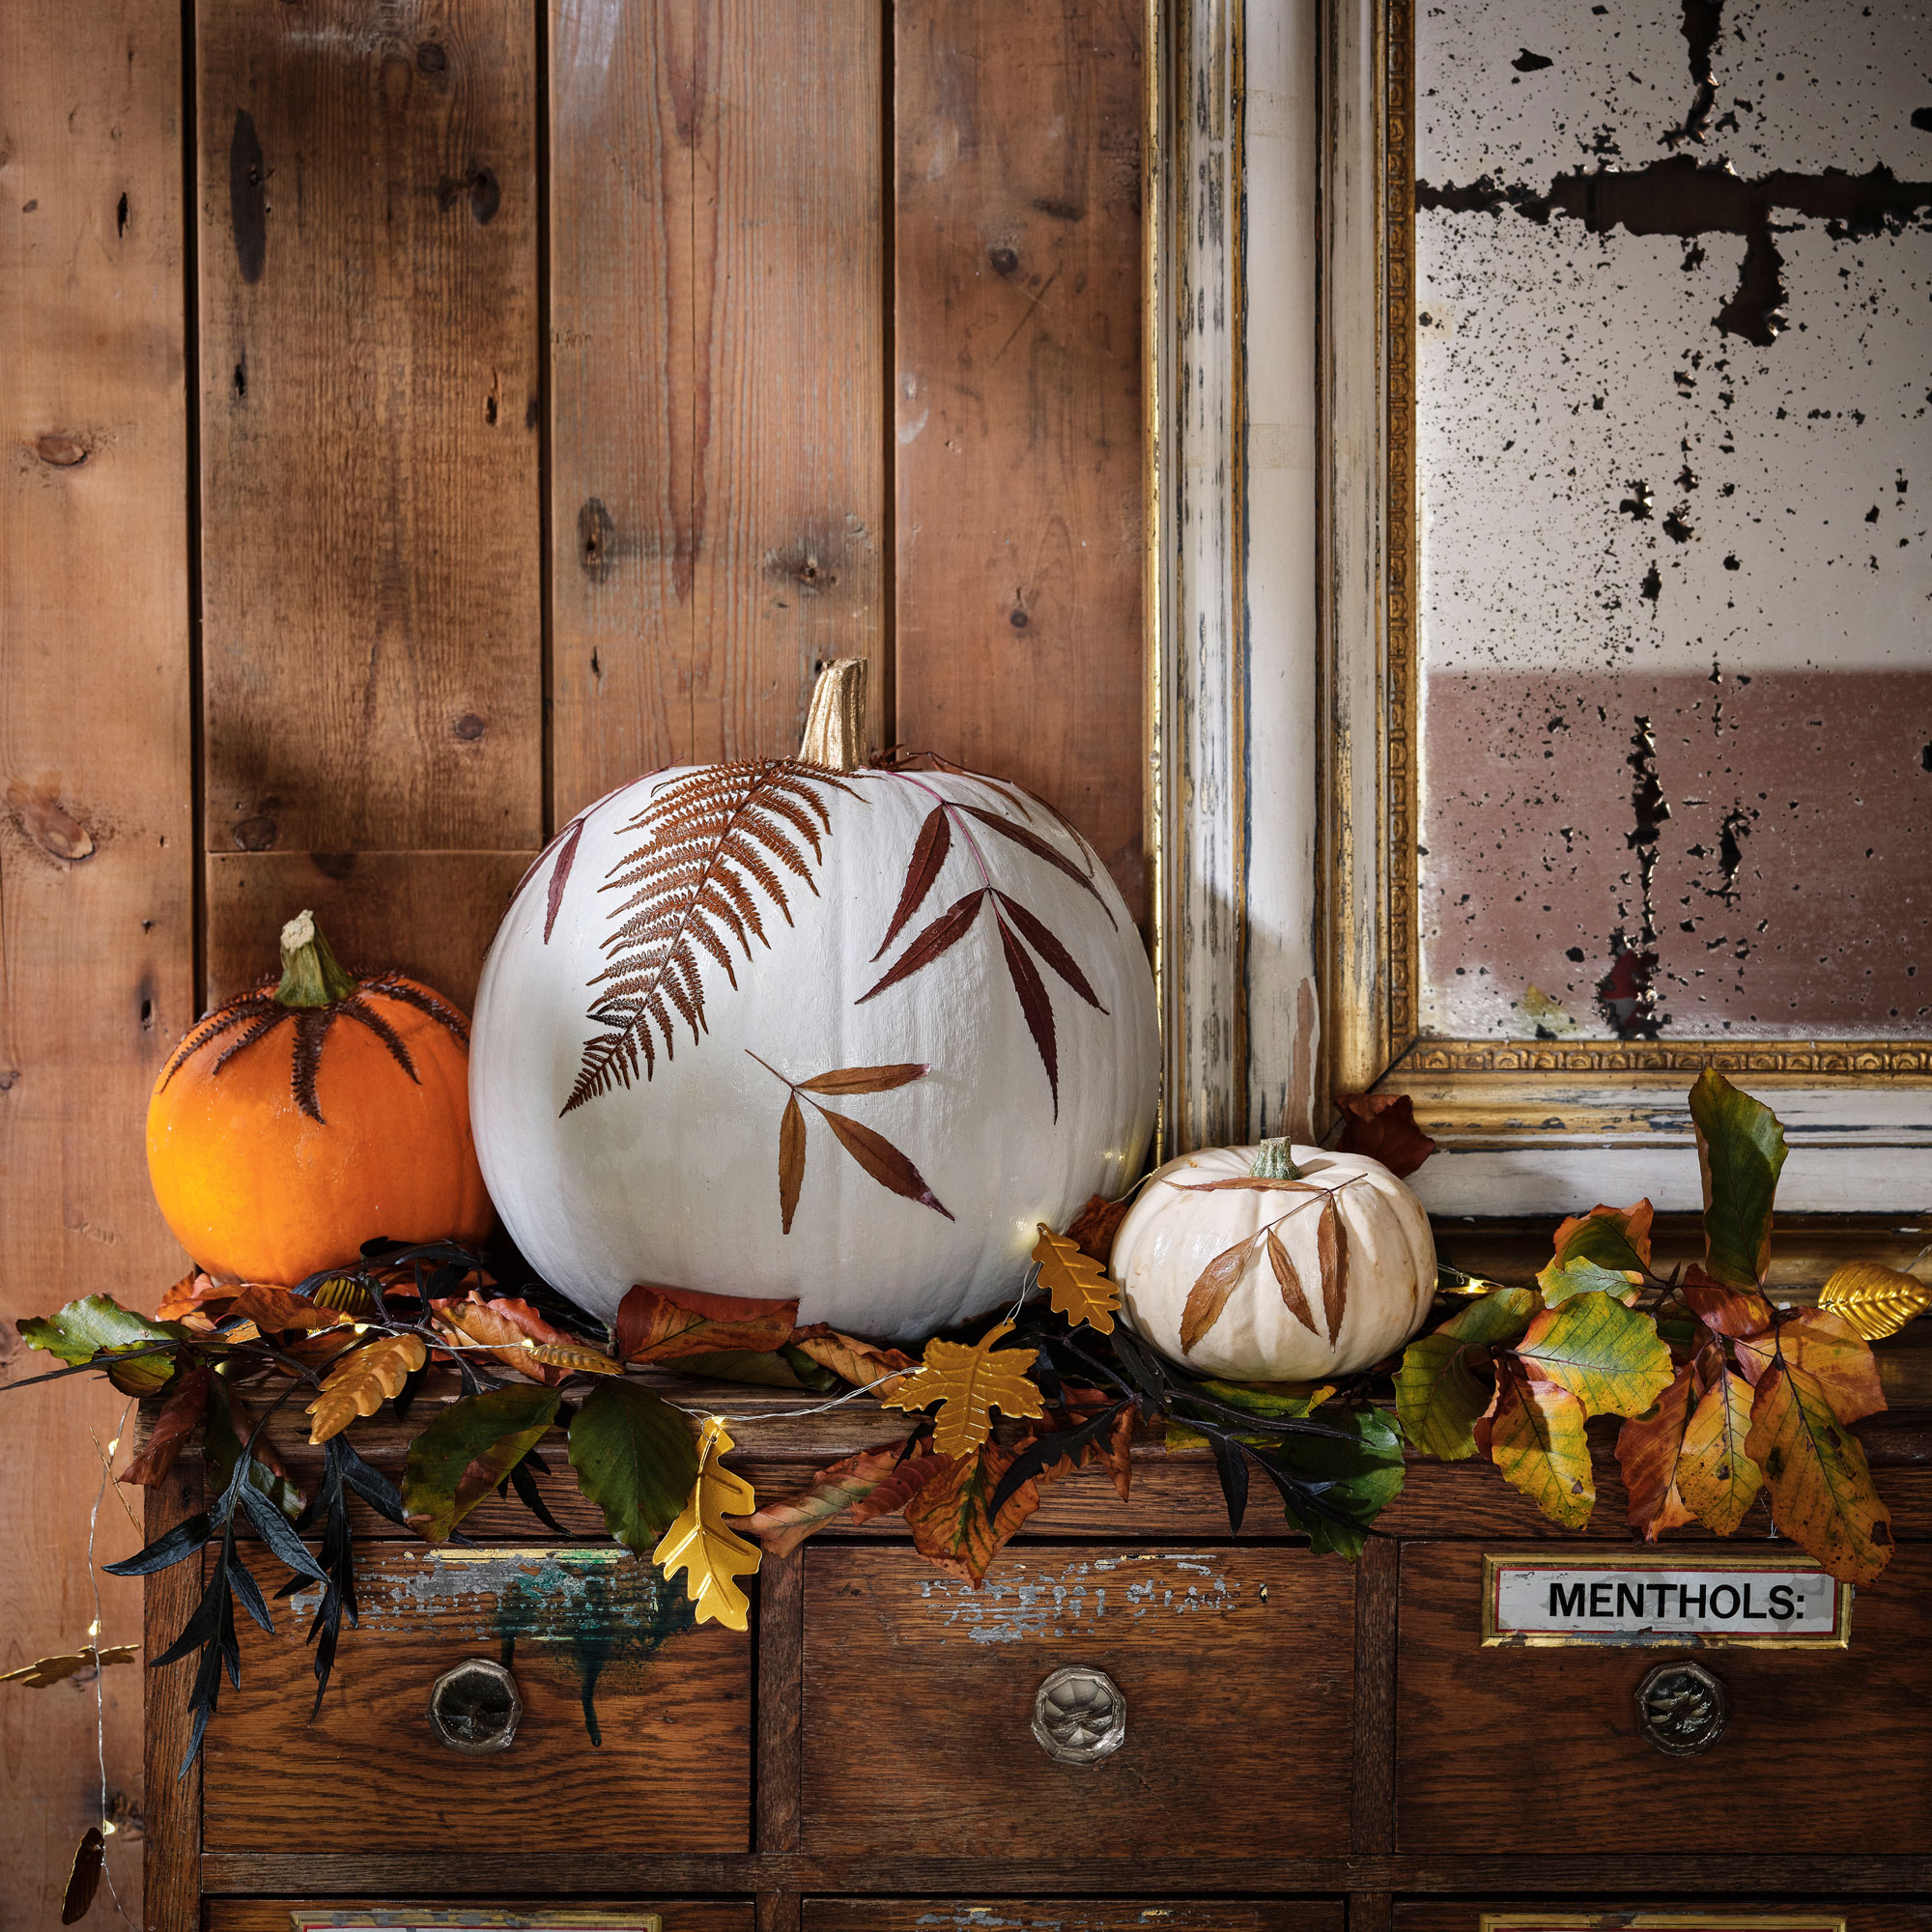
You can découpage onto a natural pumpkin or paint it first (following the steps above in idea number 1).
Gather a selection of dried leaves. Brush a layer of Décopatch glue onto the pumpkin. Carefully press on the leaves then brush another layer of glue over the top. The flatter the leaves, the easier this will be. The glue will appear white but dry clear.
Get the look: Decopatch Paperpatch Glue Varnish, £7.50, Hobbycraft
5. Create an autumnal wreath
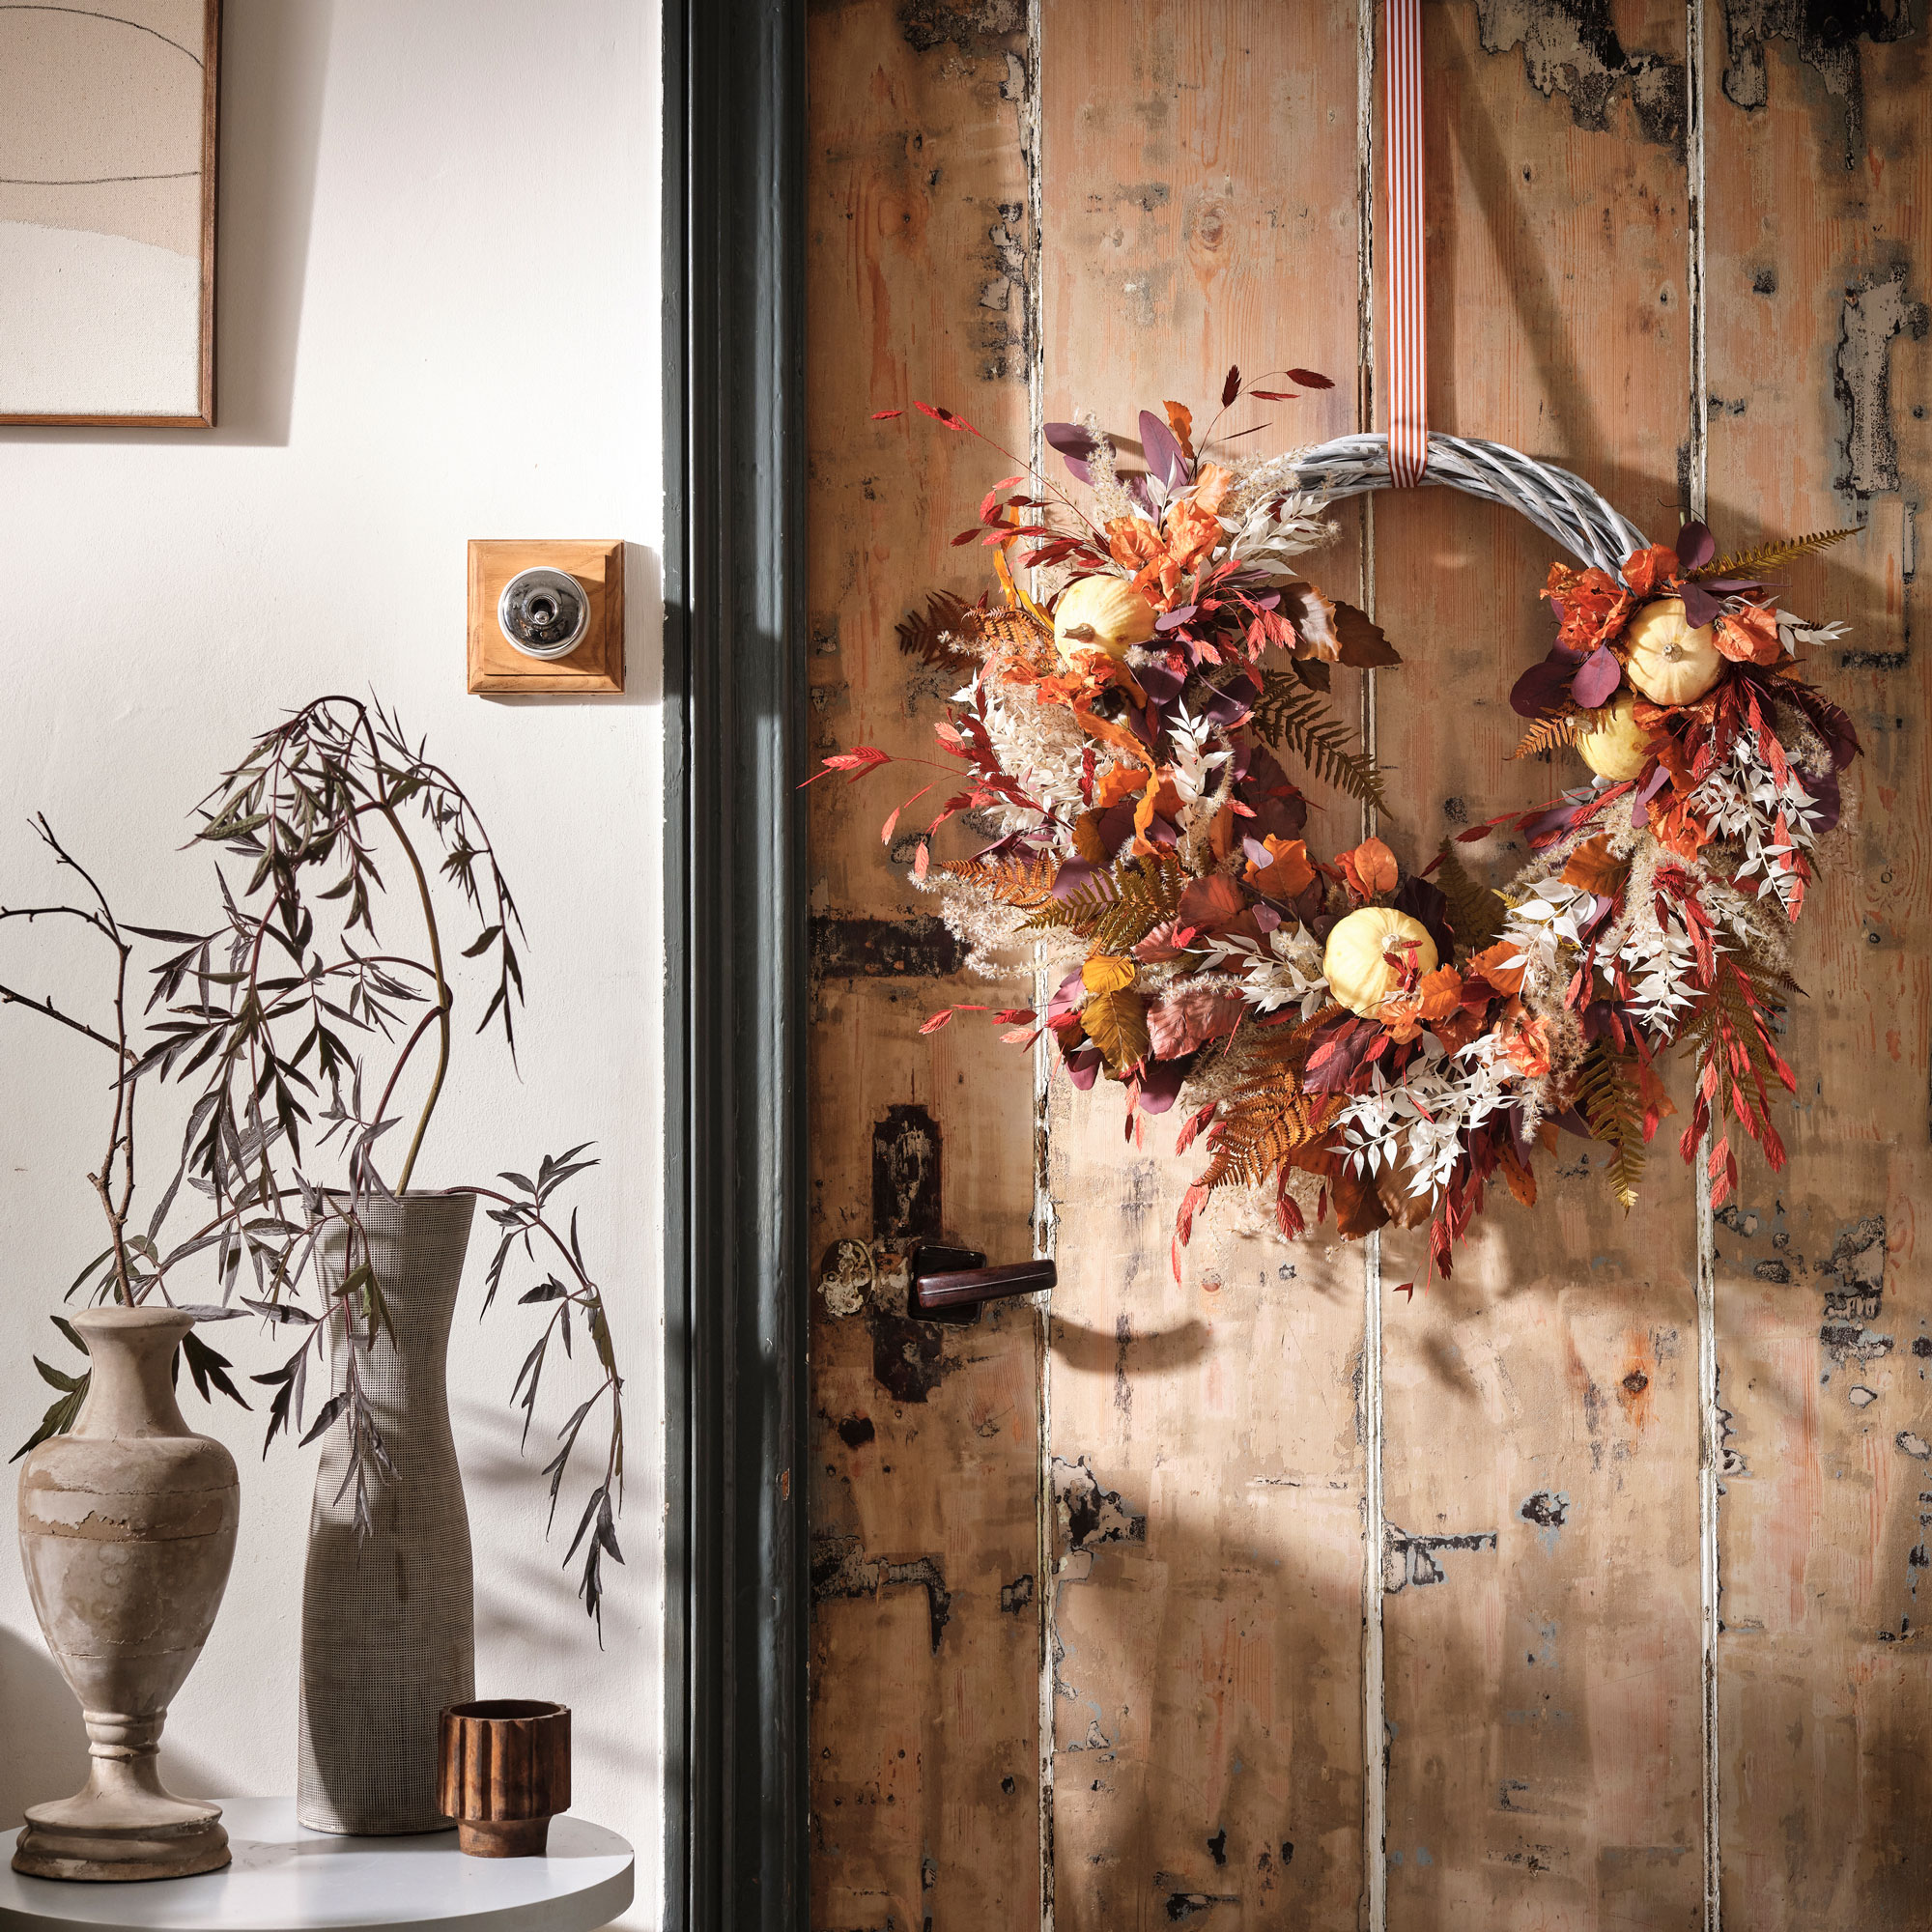
Why let everyone else have all the joy - hang your autumn wreath on your internal door for you to see every day!
Wire in mini gourds to a wreath made of dried autumn foliage that can be used year after year.
Get the look: Willow wreath base, £12, Hobbycraft
6. Have fun folding
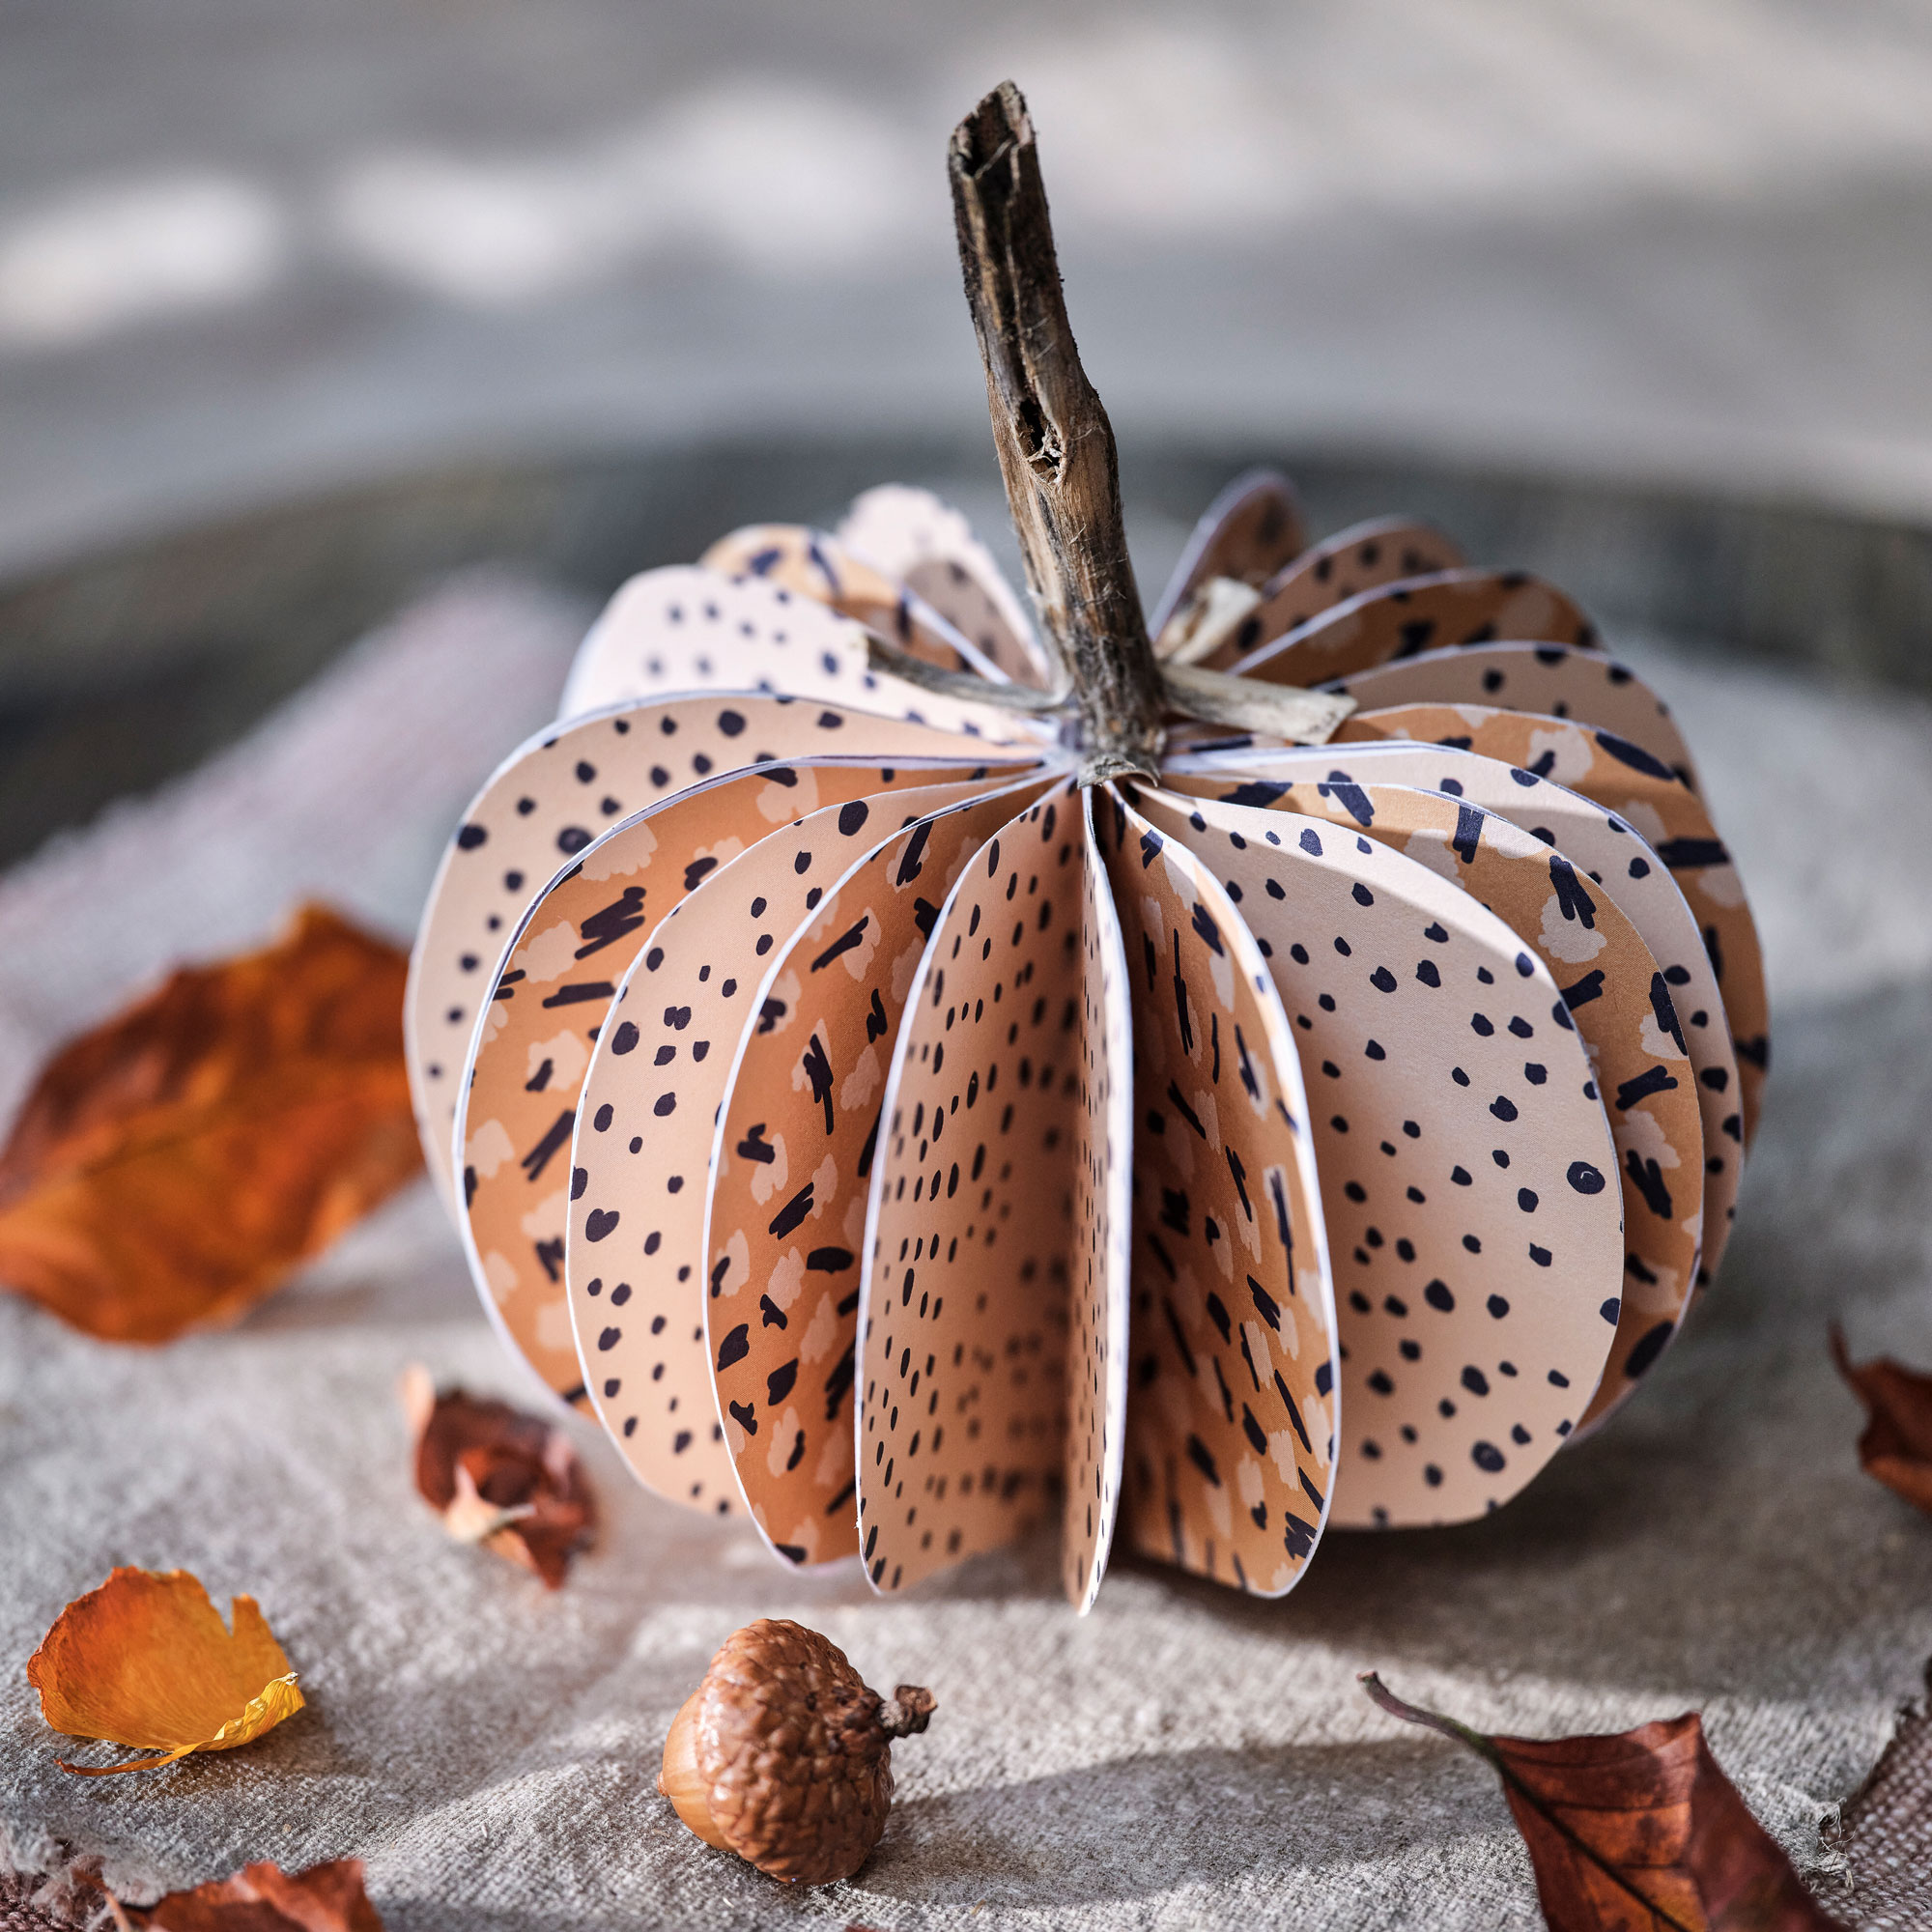
These are so enjoyable to make – you can get the whole family involved.
Start by making a template: fold a piece of scrap paper in half and draw half a pumpkin shape from the fold so when it’s unfolded, it makes a whole pumpkin.
Cut 20 pumpkin shapes out of the patterned papers then fold them in half with the patterns showing.
Glue the straight edges of the pumpkin shapes together – alternating the patterns if you wish – to form a circle. Glue a twig to the top for the stem.
7. Fashion a floral centrepiece
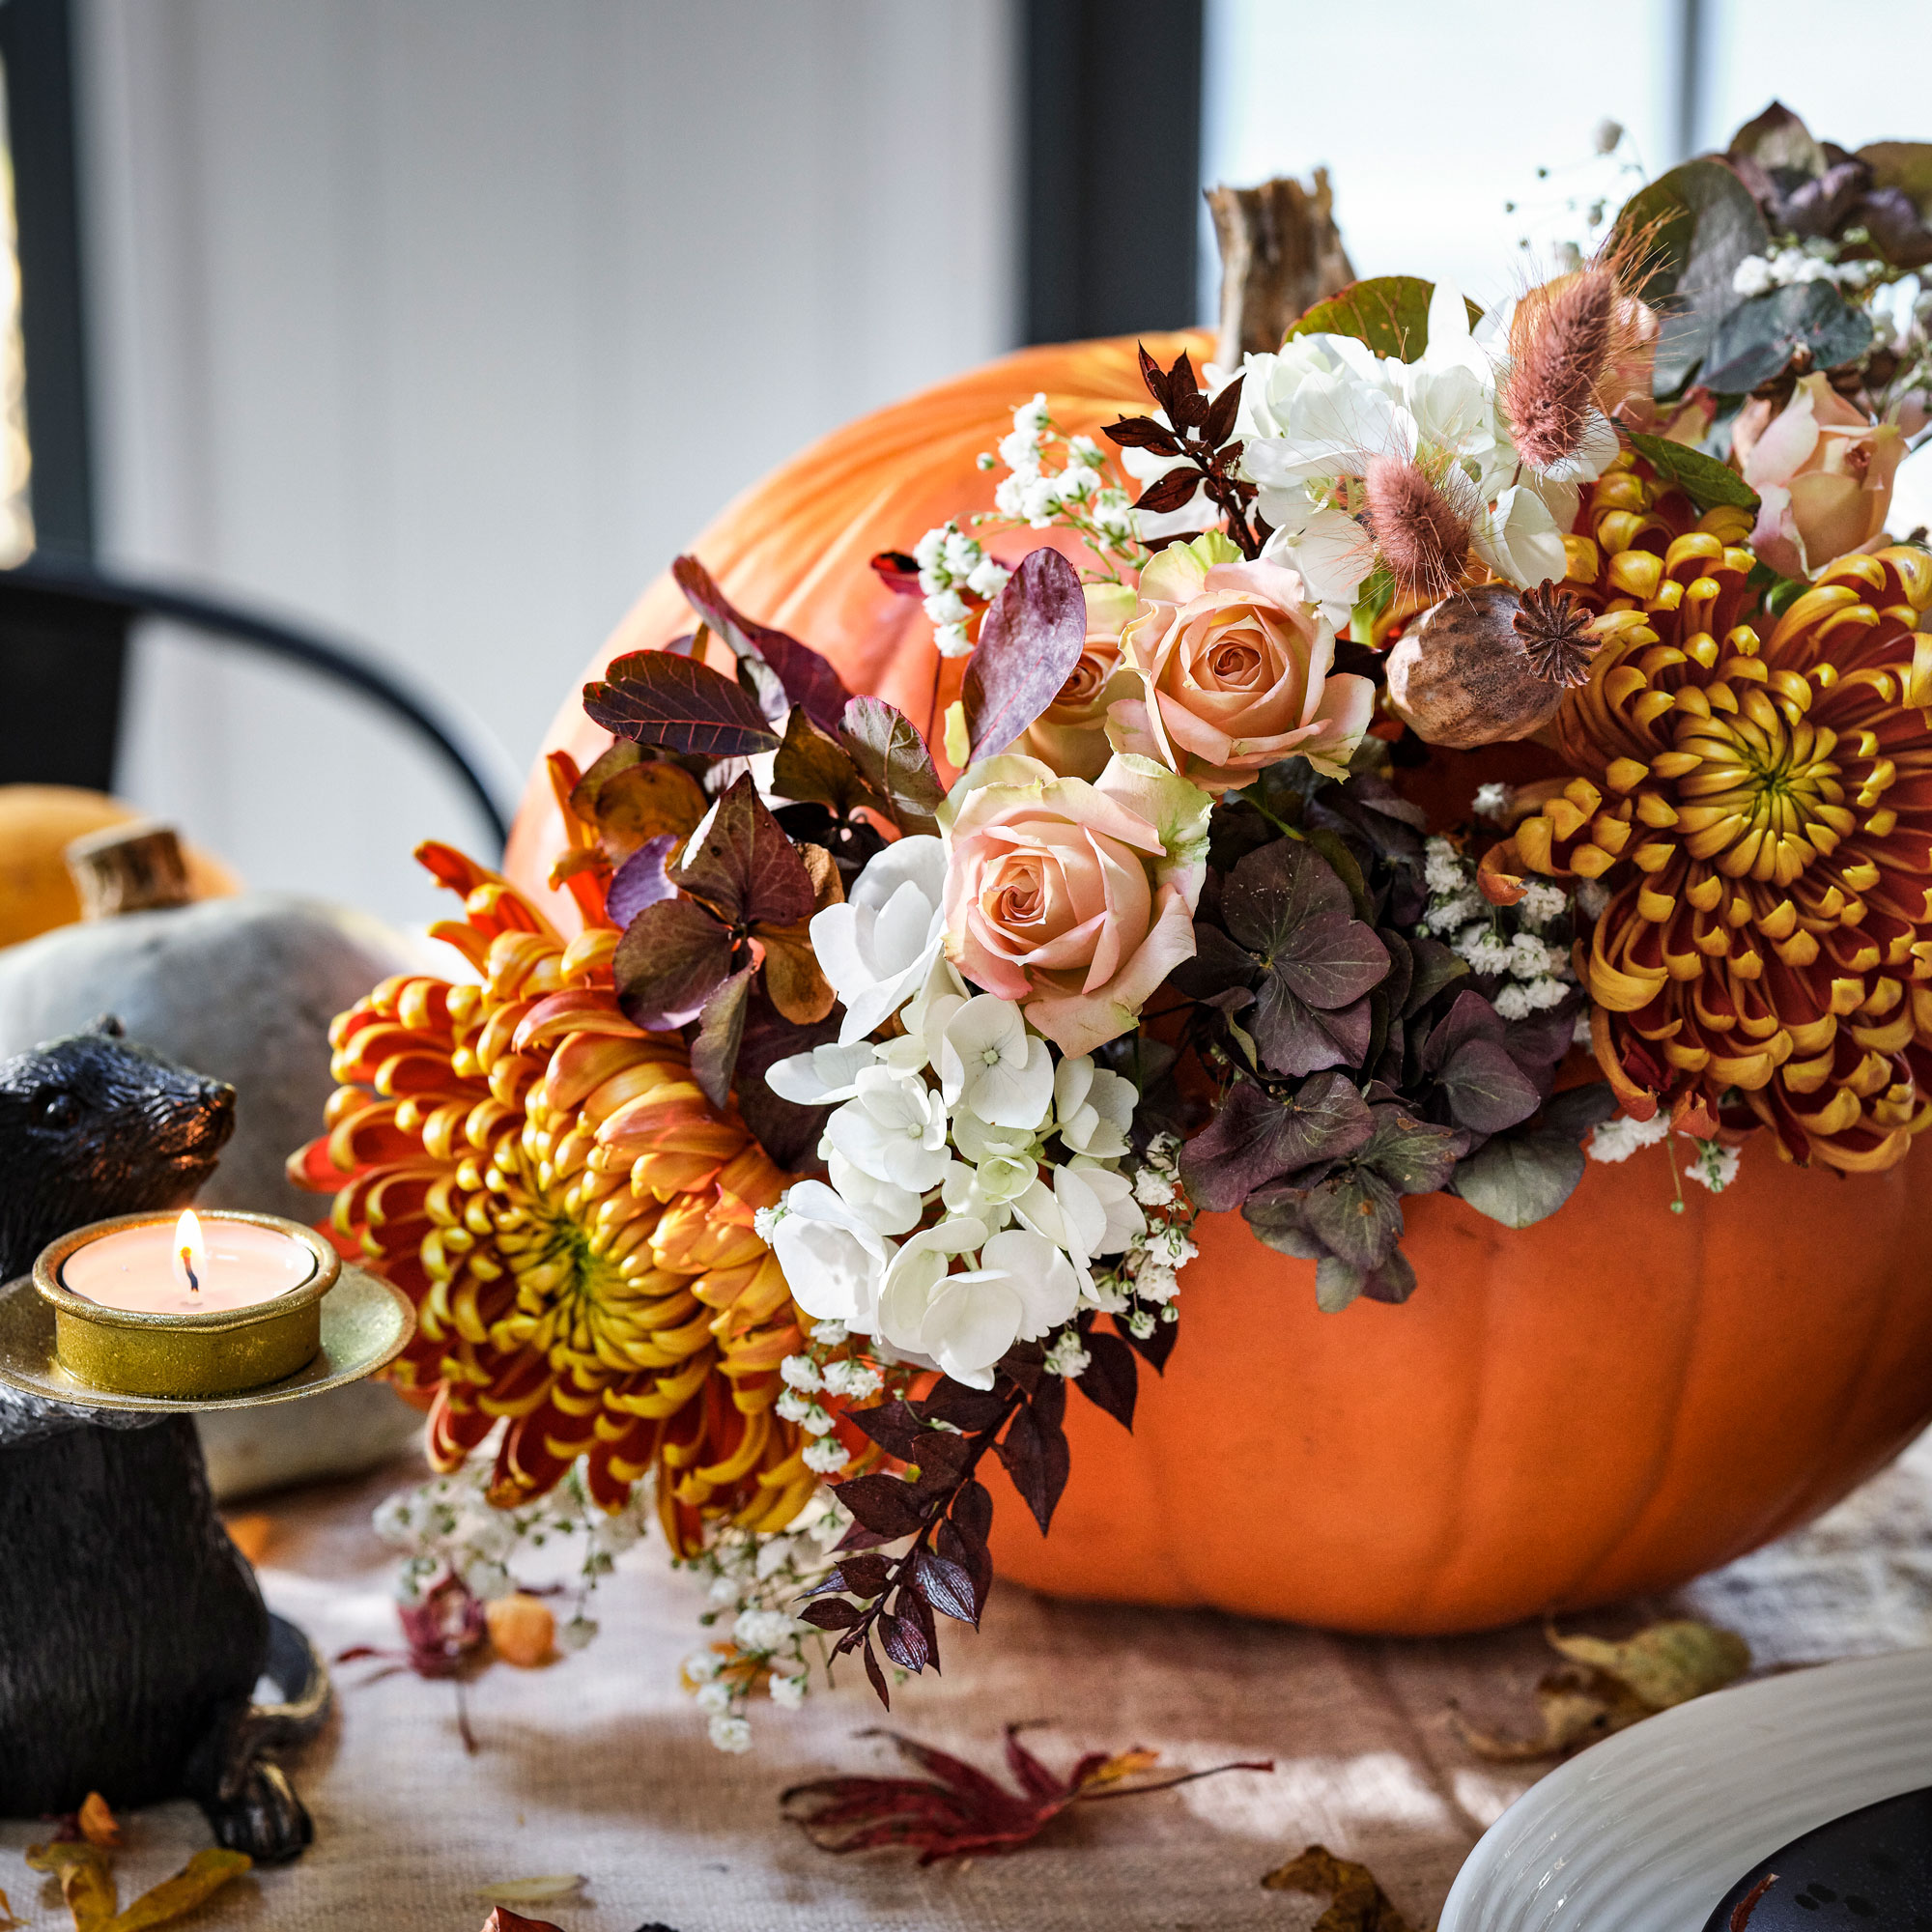
Create a striking table centre with season pumpkins and foliage. We’ve used a mix of dried and fresh blooms.
Use a drill to create holes in the pumpkin in which to push in the stems of your flowers. Start with your dried flowers then add in the fresh blooms at the last minute.
'Seasonal garden flowers such as Rose Hips, Bloom Chrysanthemums, Dahlias and foliage such as Oakleaf are perfect for this and give a truly autumnal feel around the home,' suggests Chris Wood, horticulture expert at Waitrose Garden.
8. Make some everlasting pumpkins
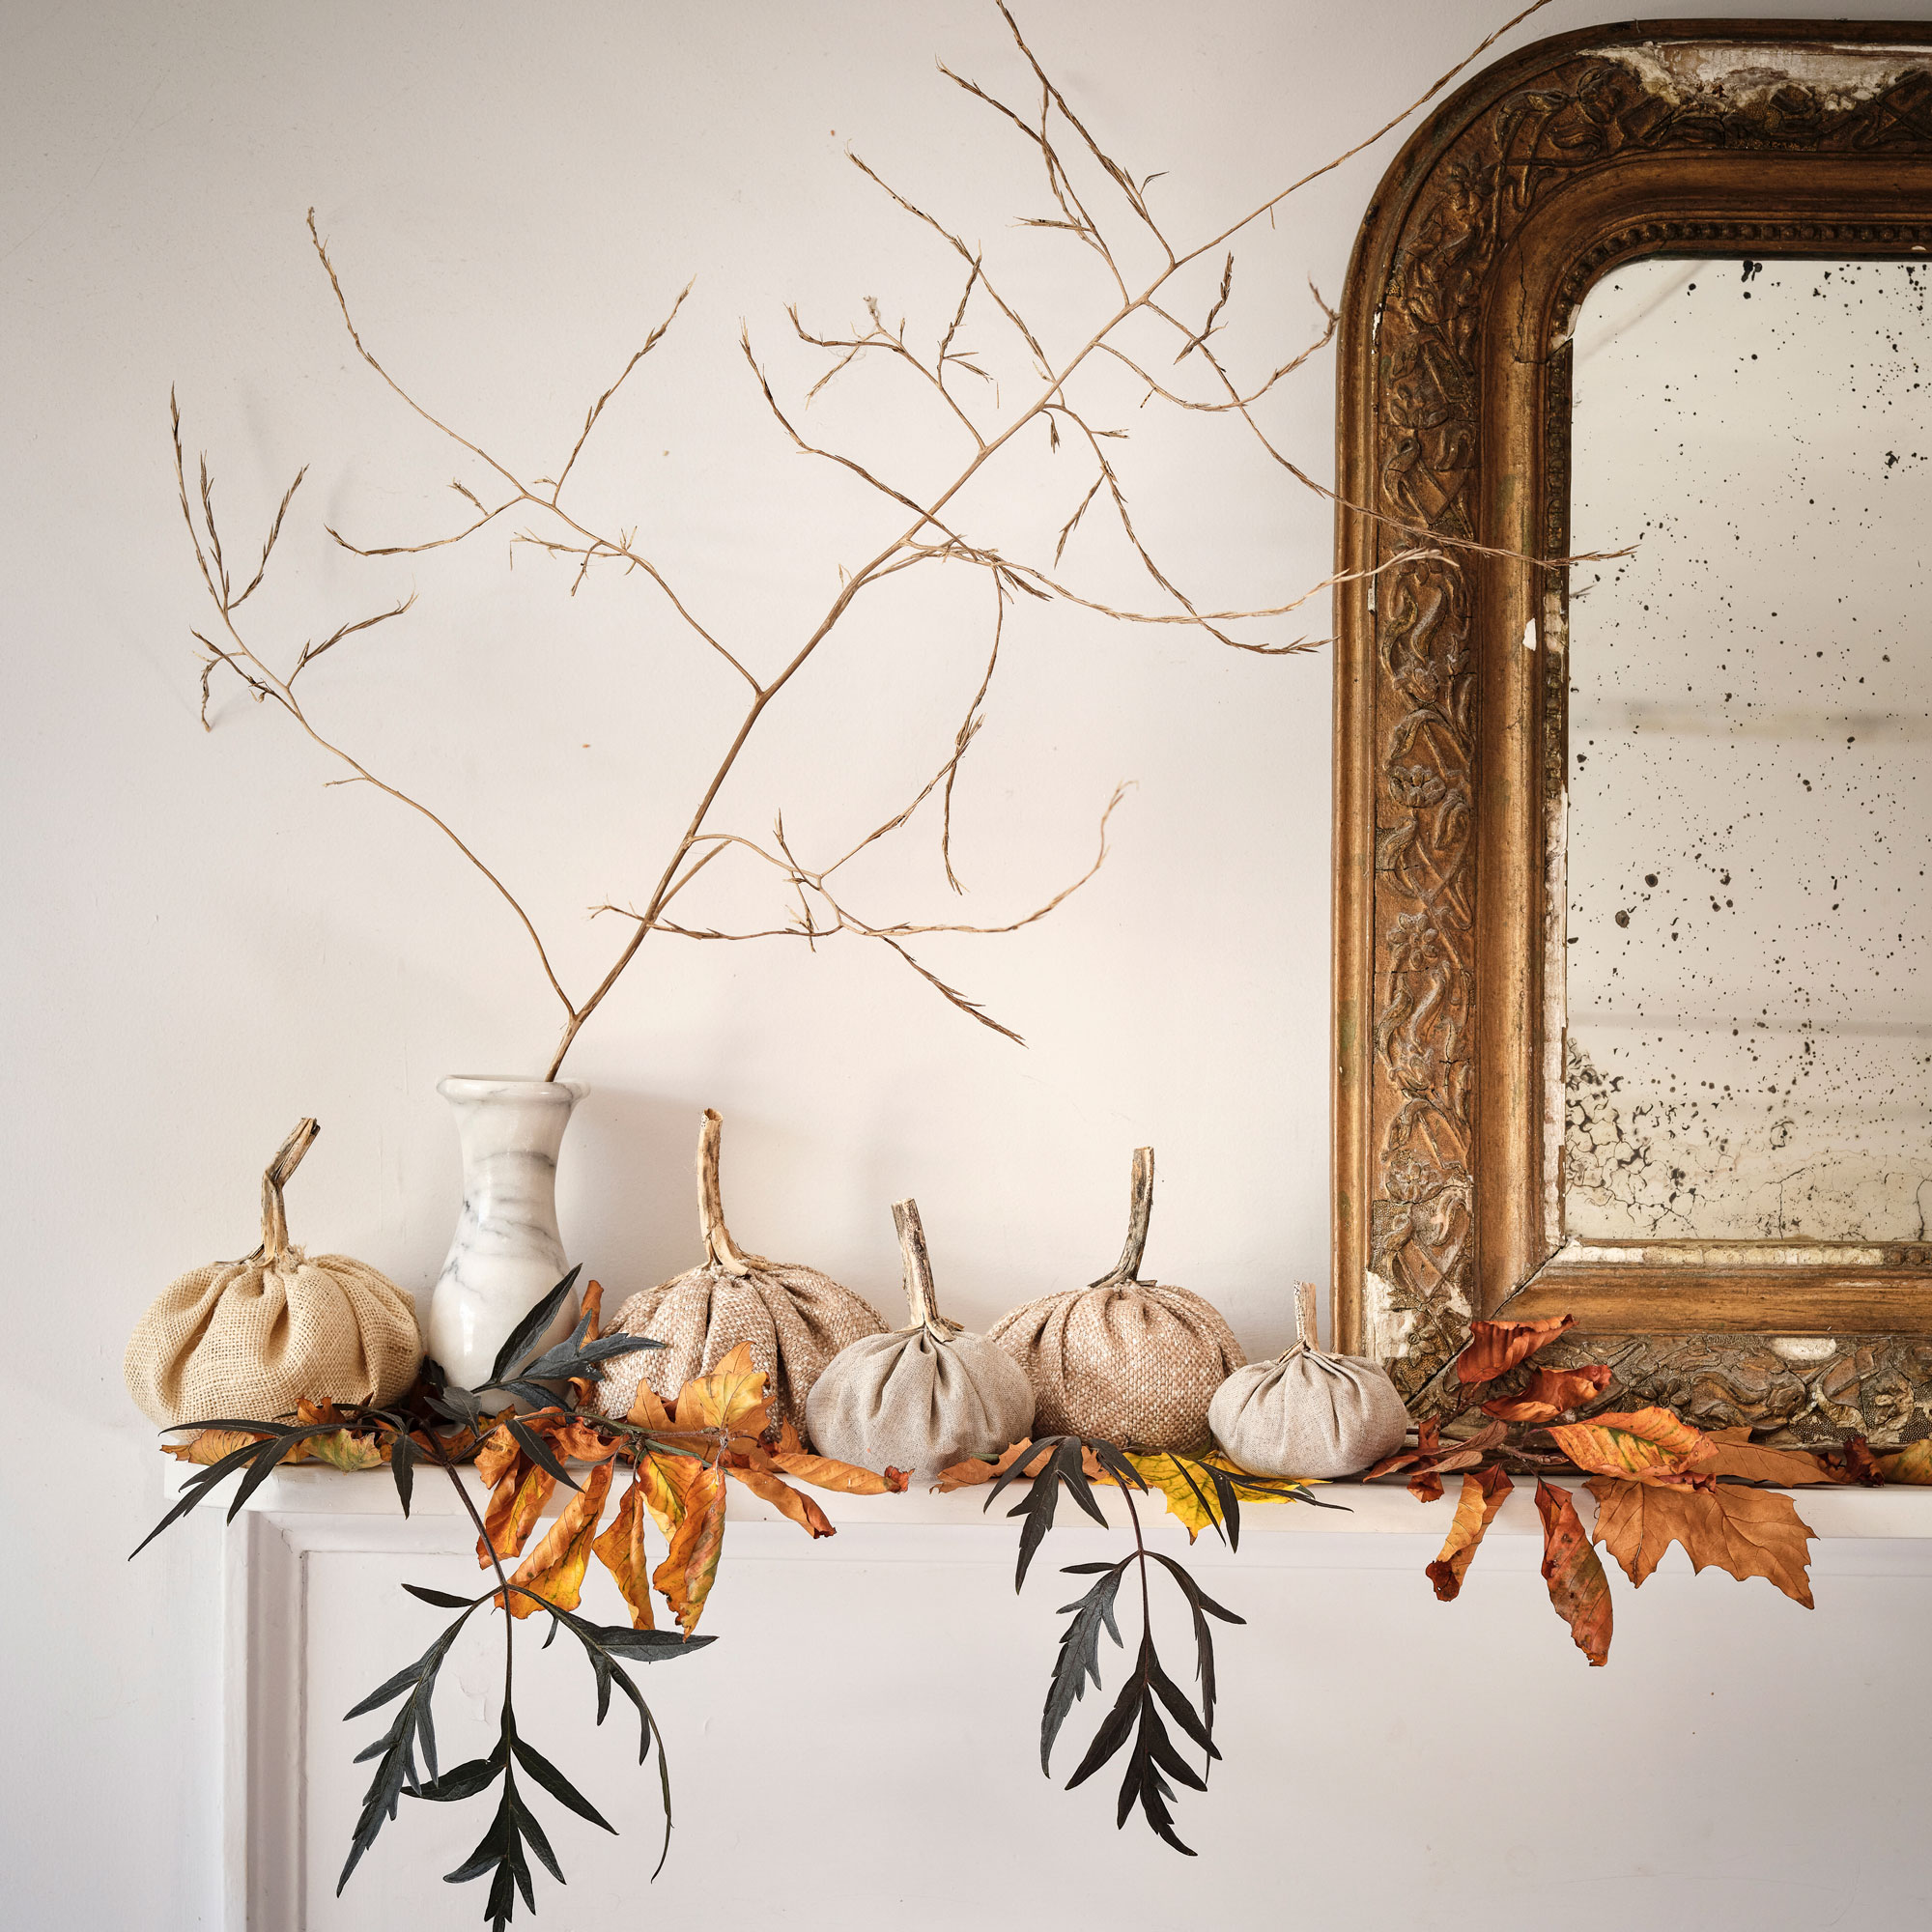
Craft yourself some cute fabric pumpkins that can be bought out year after year.
Begin by cutting out your chosen fabric - use a selection of varying size plates to create circular templates. Next, using a strong thick thread create a running stitch around the outside (approx 0.5cm in from the edge) of the circle.
Fill the base with rice to weigh it down and toy stuffing to pad it out, slowly pull the running stitch tight as you go until all the edges come together in the centre. Secure with a couple of stitches and a double knot.
Use hot glue to attach a stalk to your pumpkin, you can buy draft ones online or use twigs or dried stems.
Prefer a quick fix? Try these beauties: Fabric pumpkins, from £1 each, Hobbycraft
9. Paint them in pretty pastels
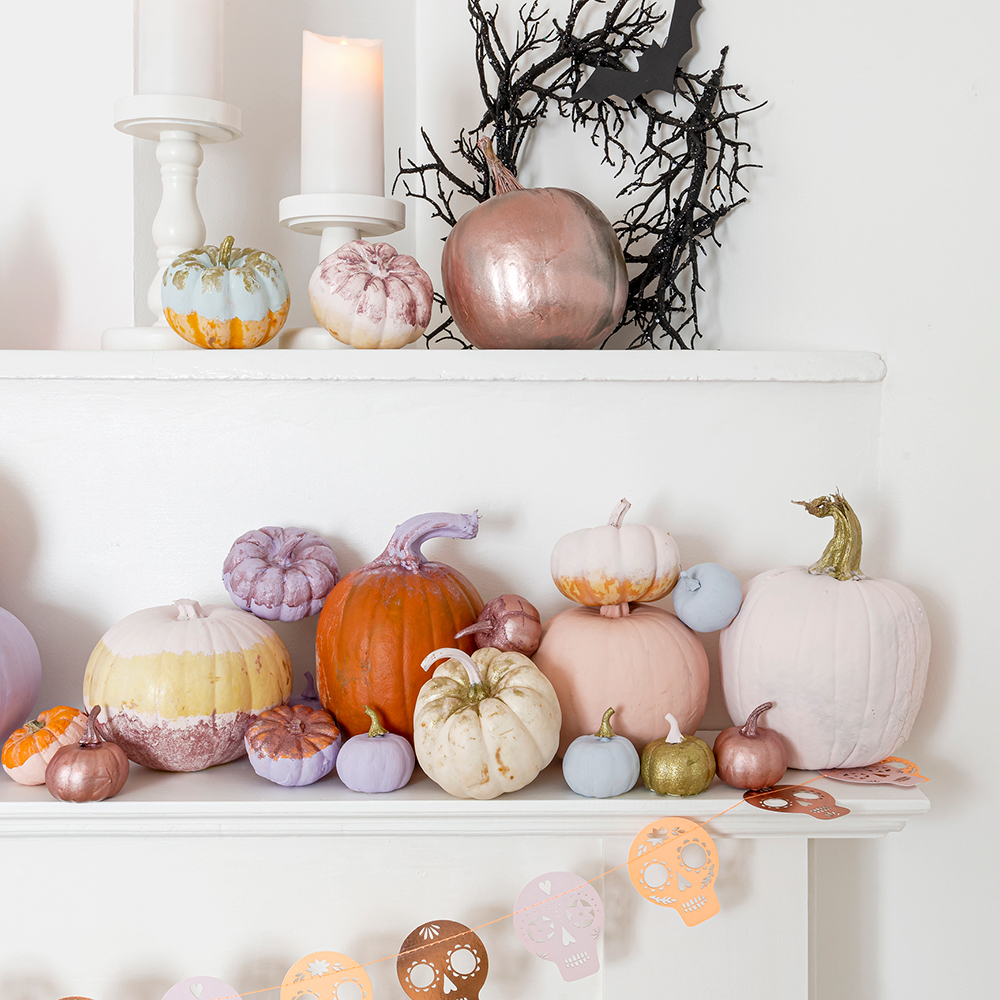
Forget the carving knife and use sugary shades to create pretty pastel-painted pumpkins.
Give them a quick wash first. When dry, use a chalky finish paint to cover your pumpkin. Next, add some sparkle with metallic or glitter paint to create an ombre effect.
Get the look: Rust-Oleum medium shimmer glitter paint in Rose, £11 for 250ml, Wilko
10. Add Matisse-inspired pattern
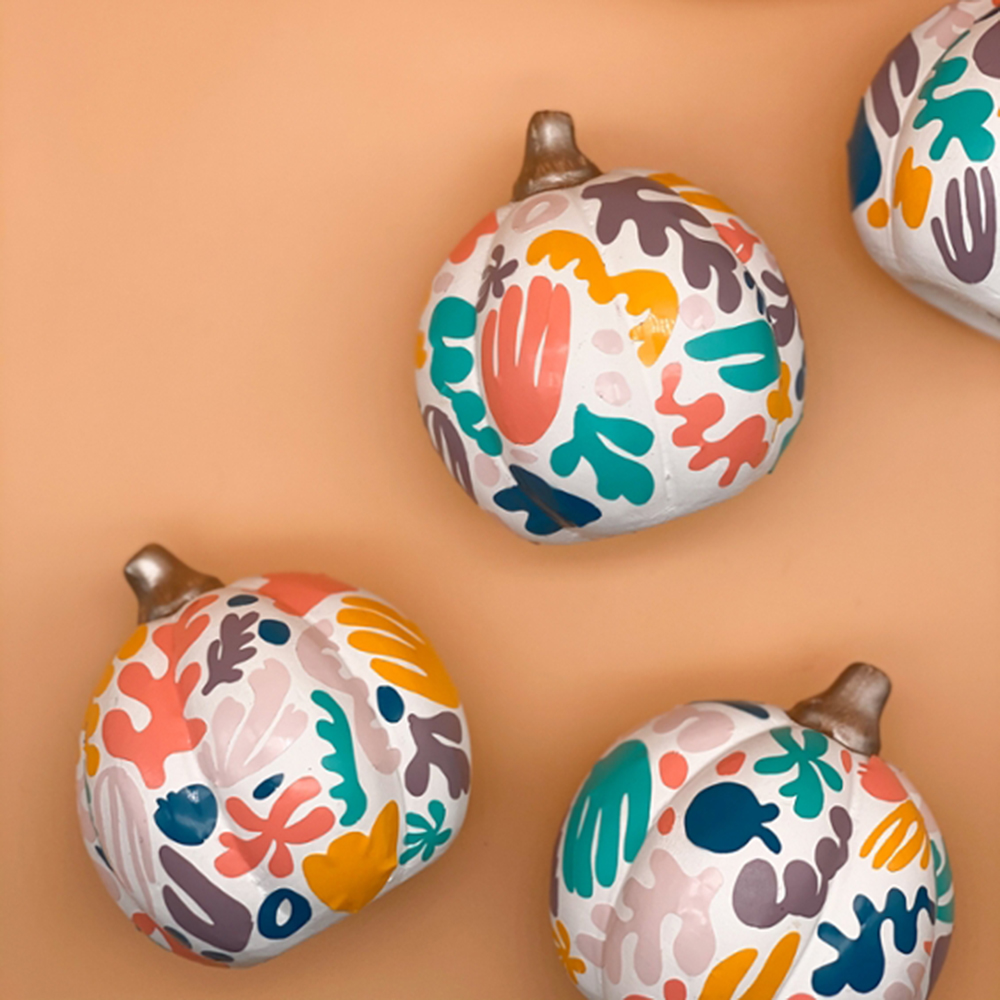
Take inspiration from Henri Matisse by covering your pumpkins in colourful abstract shapes. Paint your pumpkin white, then use a Cricut cutting machine to cut out a selection of vinyl stickers.
Stick the shapes all over your pumpkin so the colours and patterns are random. Alternatively, use different paint shades to hand draw your shapes onto your pumpkins.
Get the look: Cricut Joy cutting machine, £189.99, John Lewis & Partners
11. Brighten up ghost pumpkins
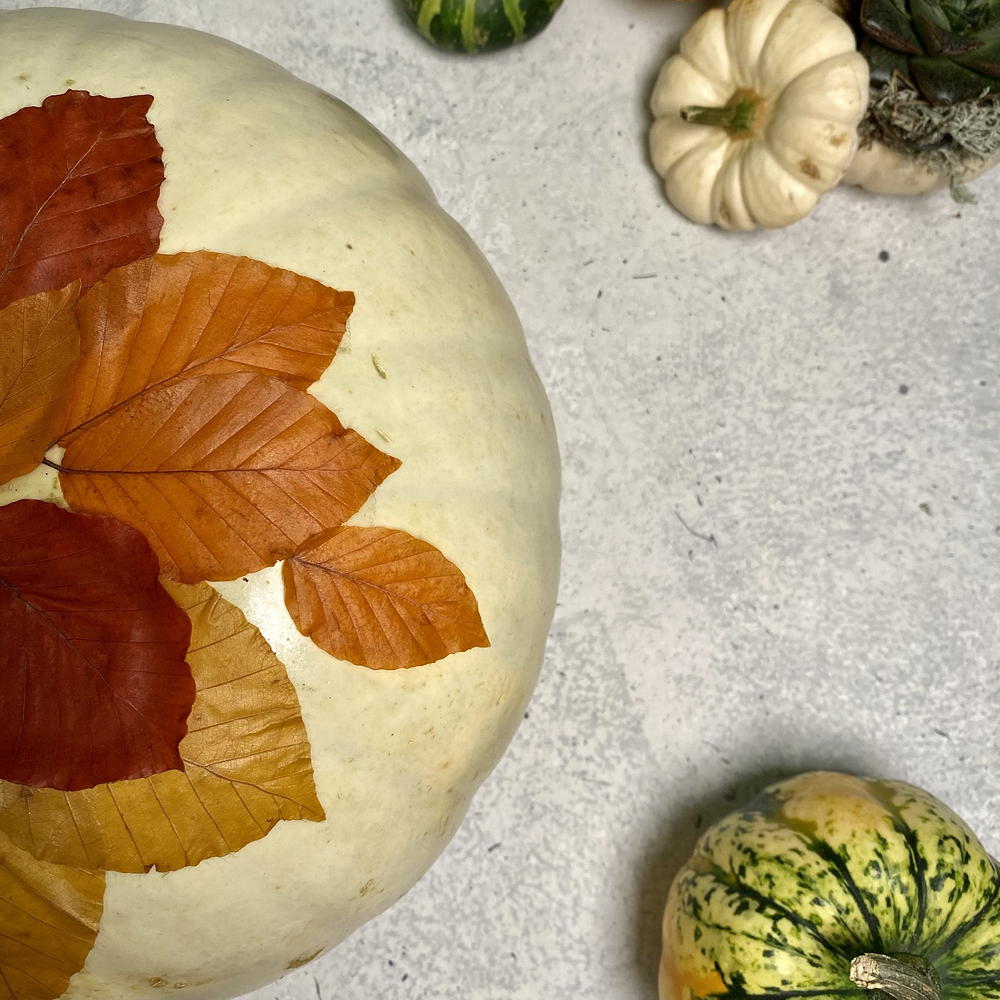
This spooky all-white pumpkin has proven hugely popular in recent years. To make your pumpkin stand out, Chris Wood from Waitrose suggests giving it a botanical twist.
'It's perfect to add a splash of natural colour to ghost pumpkins and make them stand out,' he says.
'Take stems such as ferns or grasses, or other thin leaf plants, and attach them to pumpkins using adhesive.'
12. Make a spooky mummy
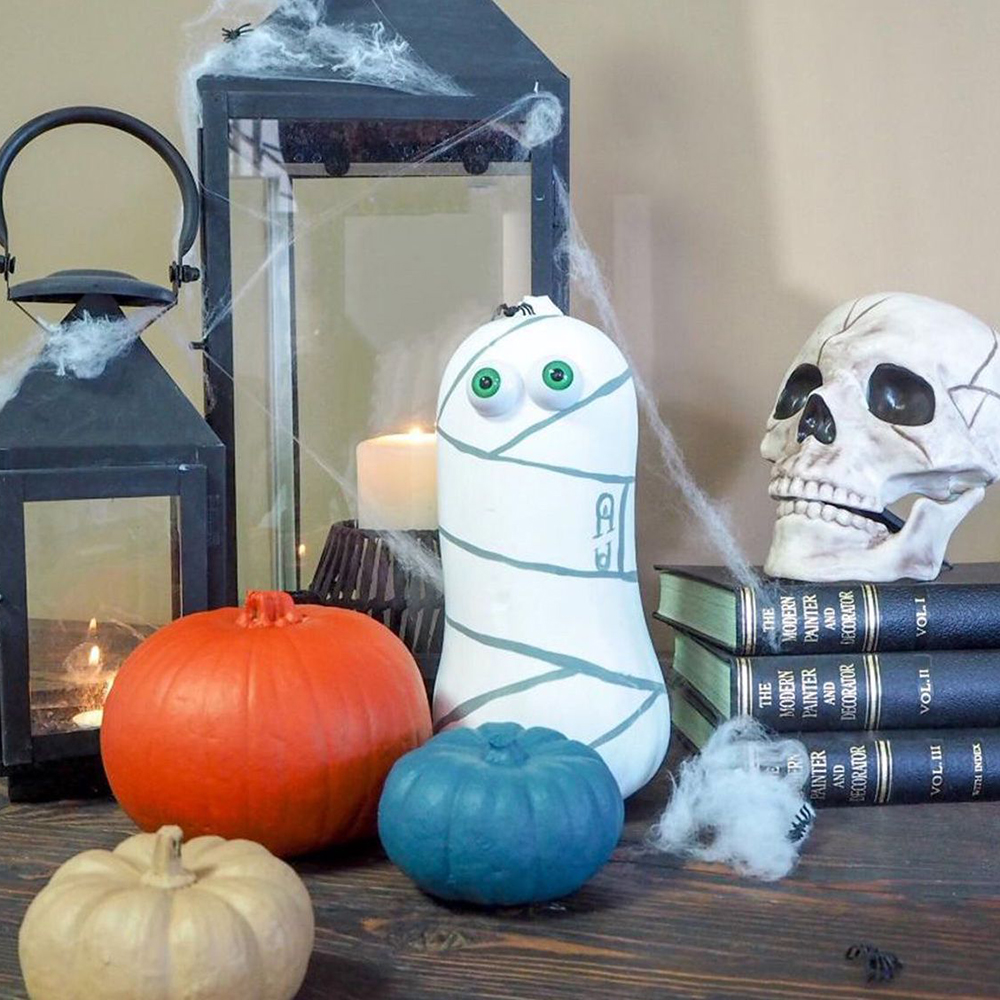
This one's definitely for the kids (or the kid in you!)
If your local supermarket all sold out of pumpkins, it's time to think outside of the box! Try using a butternut squash to make a whimsical Egyptian mummy instead.
Start by painting the squash white. Once dry, apply hand-painted grey lines to look like wrapped bandages. Add googly eyes with a glue gun or super glue. Display alongside spooky fake cobwebs, spiders and skulls for the full Hallowe'en effect.
13. Create some super cute (and super easy) characters
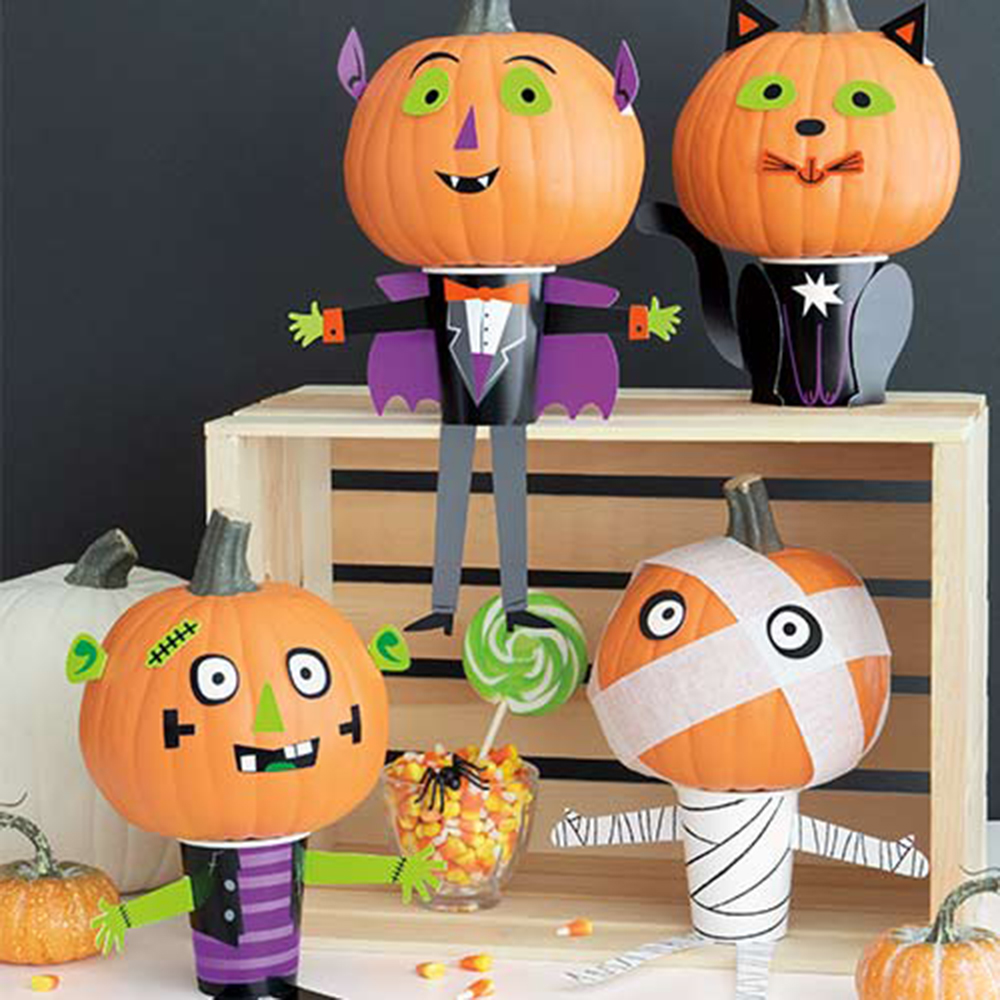
This one is great for younger kids! Get crafty with stickers, tissue paper and card to turn your pumpkins into fun Halloween-themed characters.
Decorated paper cups make perfect bodies for mummies, vampires, cats and even Frankenstein's monster.

Ginevra Benedetti has been the Deputy Editor of Ideal Home magazine since 2021. With a career in magazines spanning nearly twenty years, she has worked for the majority of the UK’s interiors magazines, both as staff and as a freelancer. She first joined the Ideal Home team in 2011, initially as the Deputy Decorating Editor and has never left! She currently oversees the publication of the brand’s magazine each month, from planning through to publication, editing, writing or commissioning the majority of the content.
- Stephanie DurrantDeputy Editor Style at Home