How to paint a radiator - an easy guide to update an ugly radiator in an afternoon
Give a tired radiator a brand new lease of life with a lick of paint in just an afternoon's work


Sign up to our newsletter for style inspiration, real homes, project and garden advice and shopping know-how
You are now subscribed
Your newsletter sign-up was successful
Radiators are one of those practical home necessities that can make, or indeed break a room scheme.
Whether you want to make a feature of it by learning how to paint a radiator in a complimenting or contrasting shade, or perhaps disguise it by figuring out how to build a radiator cover, there are options for tired looking rads.
Radiators are an essential feature in most rooms of our homes, keeping us warm and cosy in the cooler months. But they can be costly to replace so if you feel yours just isn't cutting the mustard, give this easy diy project a go and paint a radiator to transform your room scheme in just a few hours.
Even if you've never tackled a paint job before, you'll soon learn how easy it is to paint a radiator, just one of the home repairs you can DIY, saving you money on hiring a professional.
How to paint a radiator
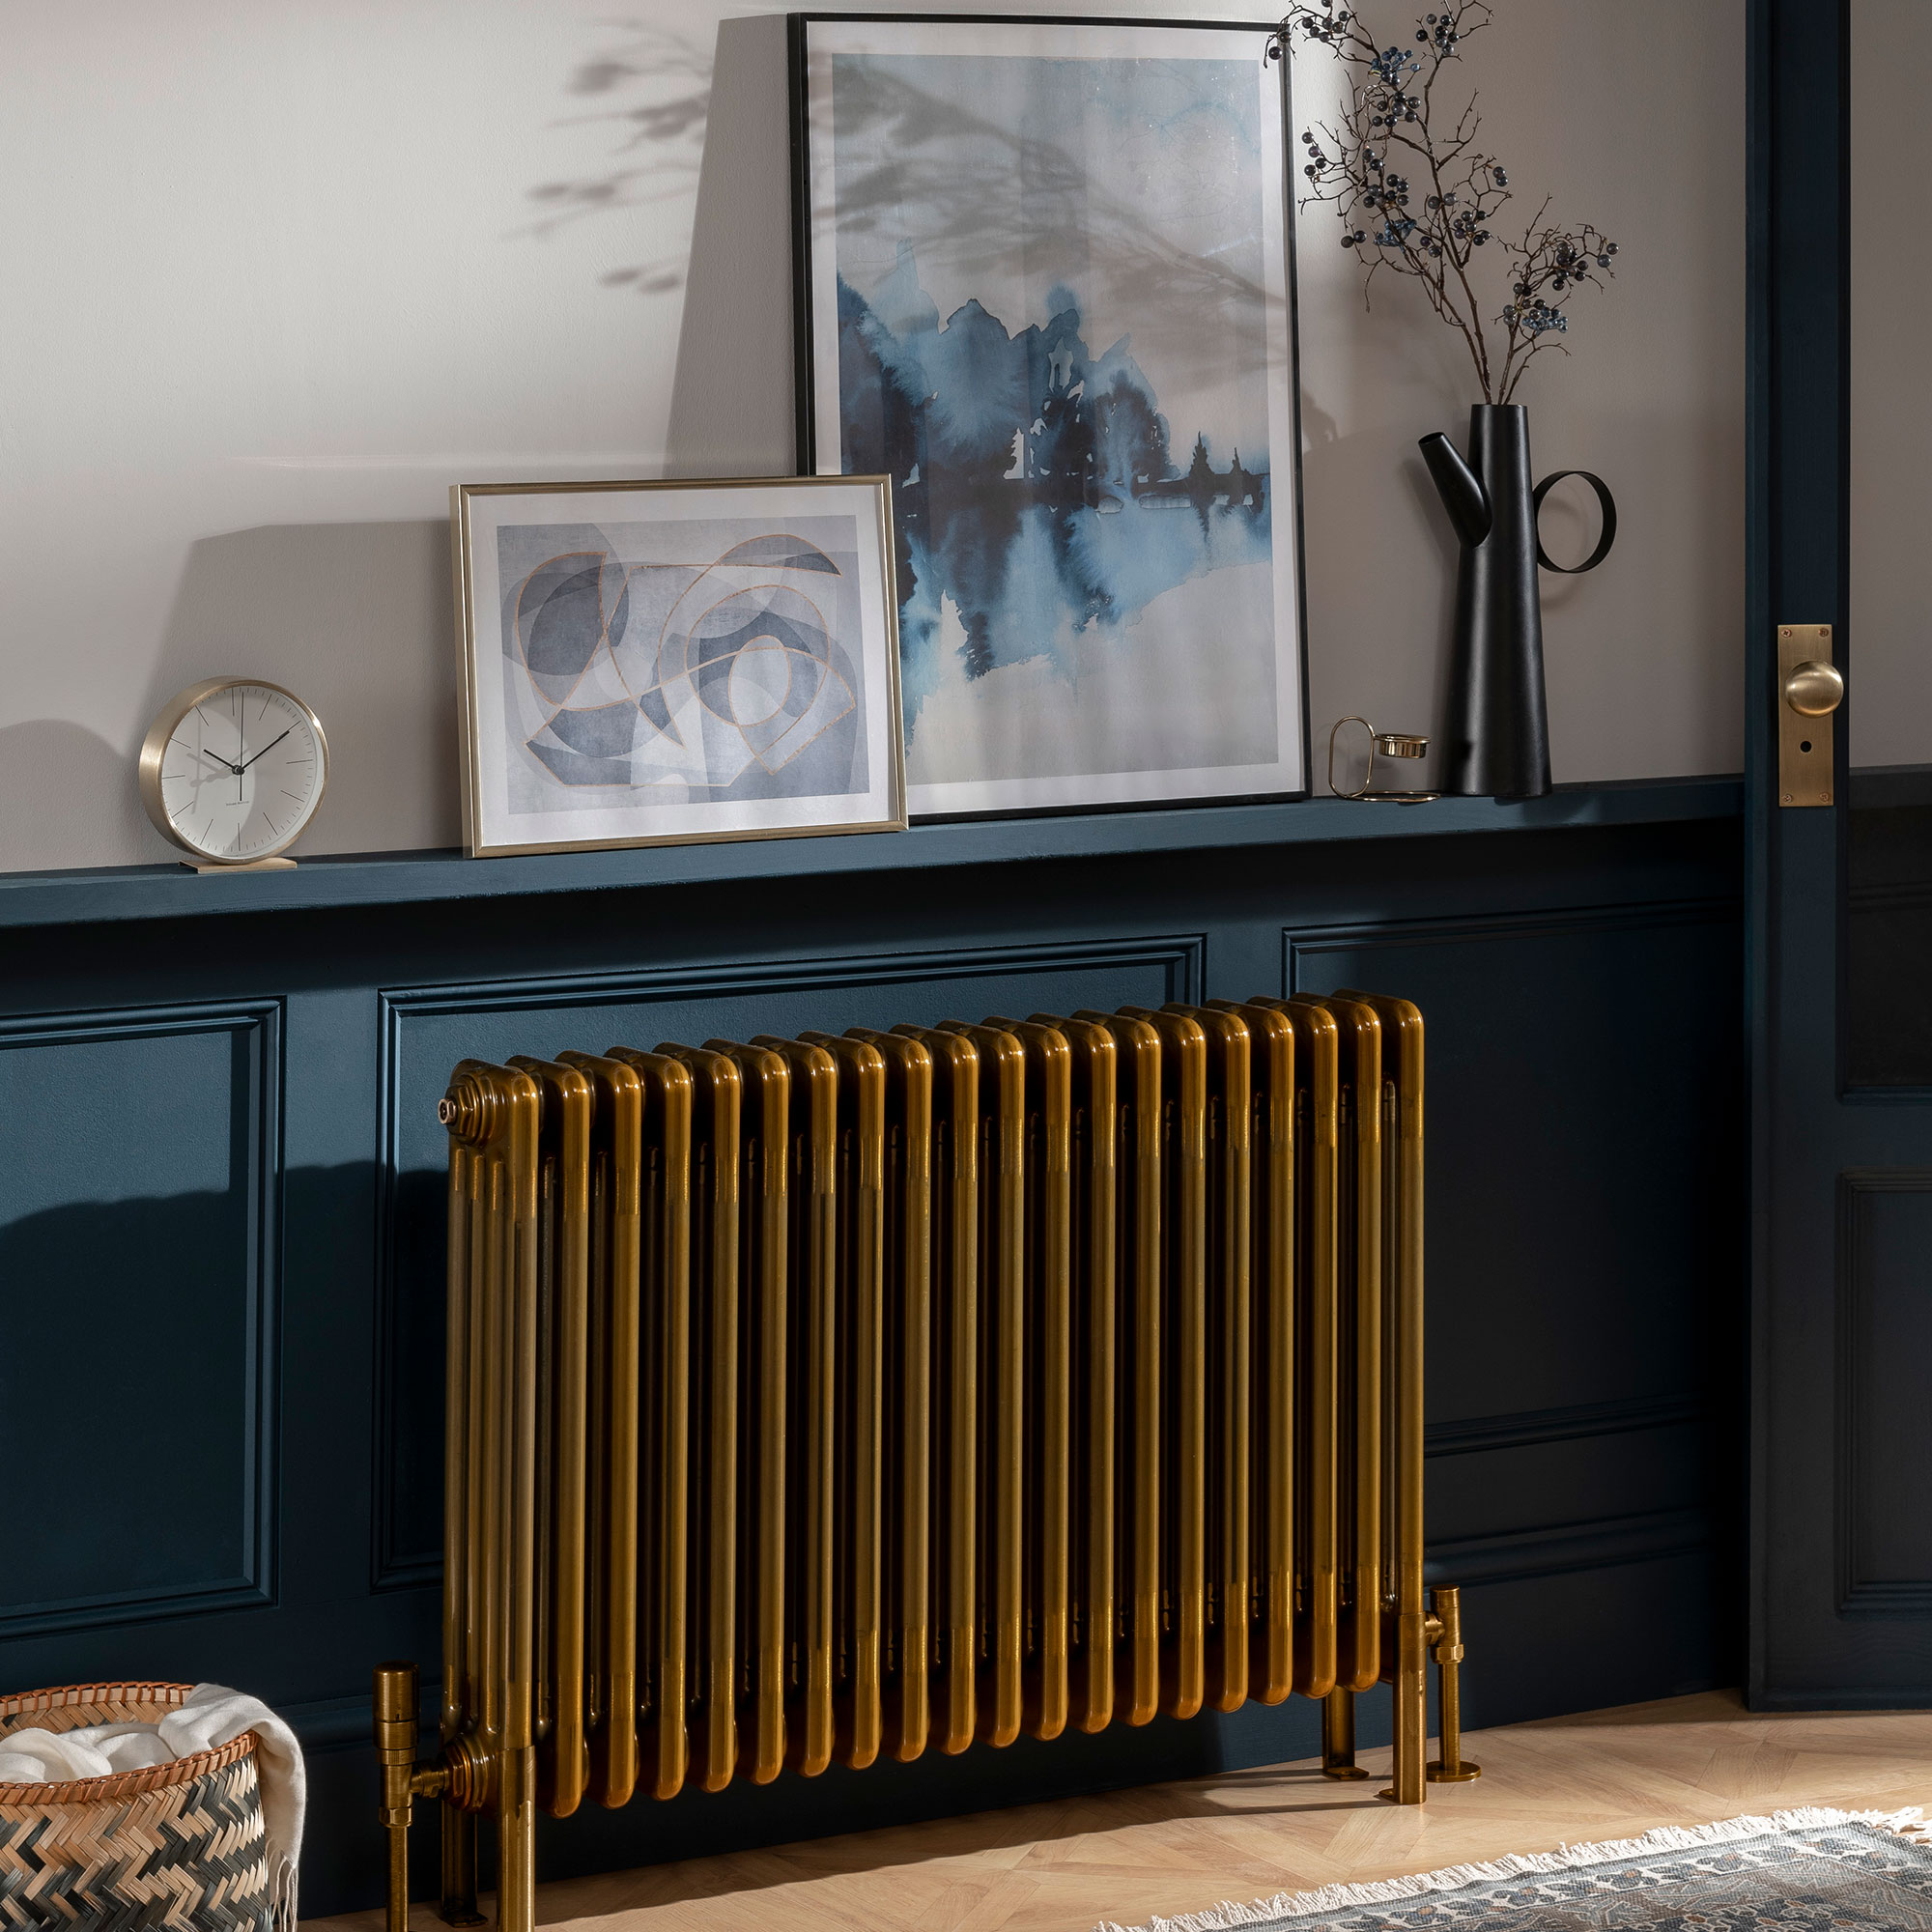
'Painting your radiator is a great way to freshen up a room especially if the radiator looks a little tired,' says Michael Rolland, Managing Director at The Paint Shed.
'While this DIY job may seem daunting as it isn’t like painting any other fixture in your home, it just means there is a little more preparation needed.'
Before you get started on your paint job, it might be worth learning how to bleed a radiator, to ensure your rad is running with optimum efficiency. While you can still do this after you've painted it, you might as well check that there are no underlying issues with your radiator that might mean it needs replacing, rendering your hard work a waste.
Sign up to our newsletter for style inspiration, real homes, project and garden advice and shopping know-how
Once you know it's all in good working order, you're ready to begin it's makeover.
What you'll need
- Dust sheets or newspaper to protect your floors
- Protective gloves
- Sandpaper
- a damp cloth
- metal primer
- metal paint
- a synthetic paint brush
Step-by-step
1. Turn off your radiator
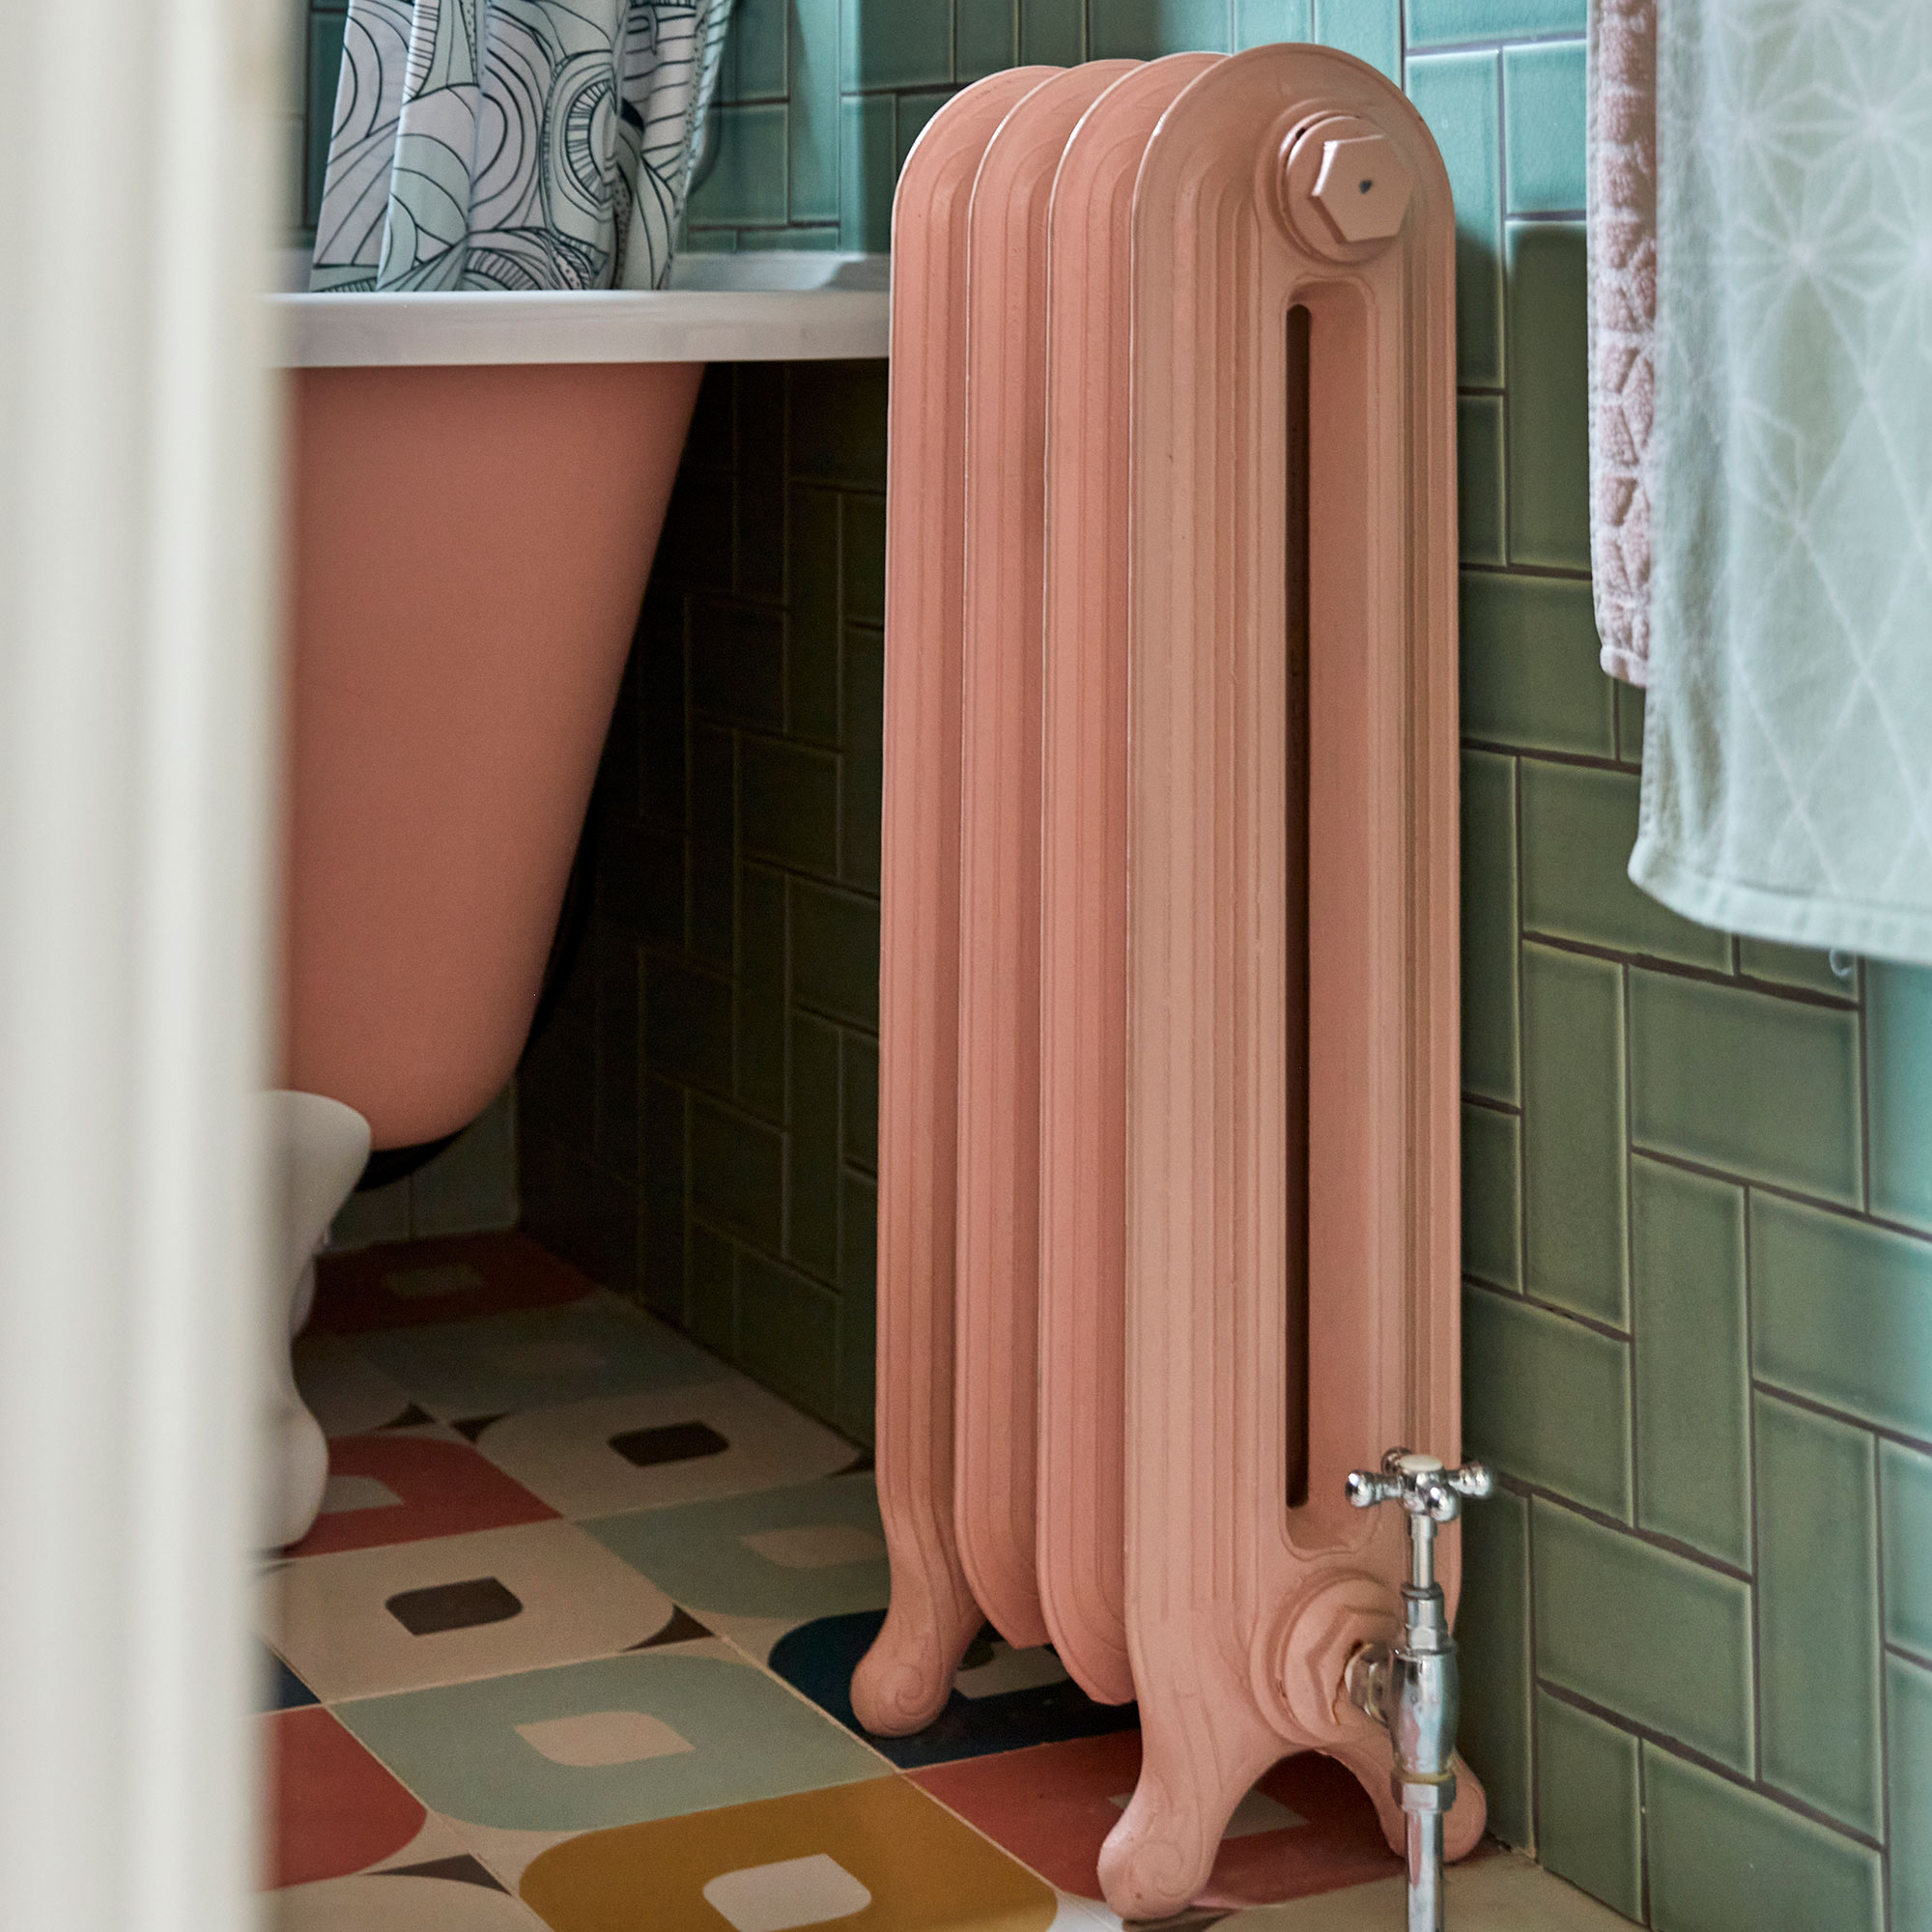
'This might seem obvious, but the first and most important step before you start painting your radiator is to make sure it is turned off and cold,' says Michael Rolland at The Paint Shed.
'Painting on a warm radiator will lead to blistering and dripping, so make sure it is completely cooled down before you begin painting.'
If you can, leave your radiator off overnight to ensure it is completely cool before getting started the next day. Again, another obvious point, but make sure the heating isn't scheduled to come on half way through your project!
2. Protect floors and walls
'Before starting, lay down a dust sheet around the radiator including the floor below and secure it with tape,' Michael advises. 'Do make sure it is a ‘paint-proof’ type of dust sheet as this will prevent ruining your floors, skirting boards or carpet with any accidental paint splashes or stray paint drops.'
'Another tip is to place some card or slide newspaper between the radiator and the wall, fixing in place with masking tape, as this will help protect your wall paint behind the radiator.'
'Be sure to also cover any valves or vents with masking tape too.'
3. Give your radiator a clean
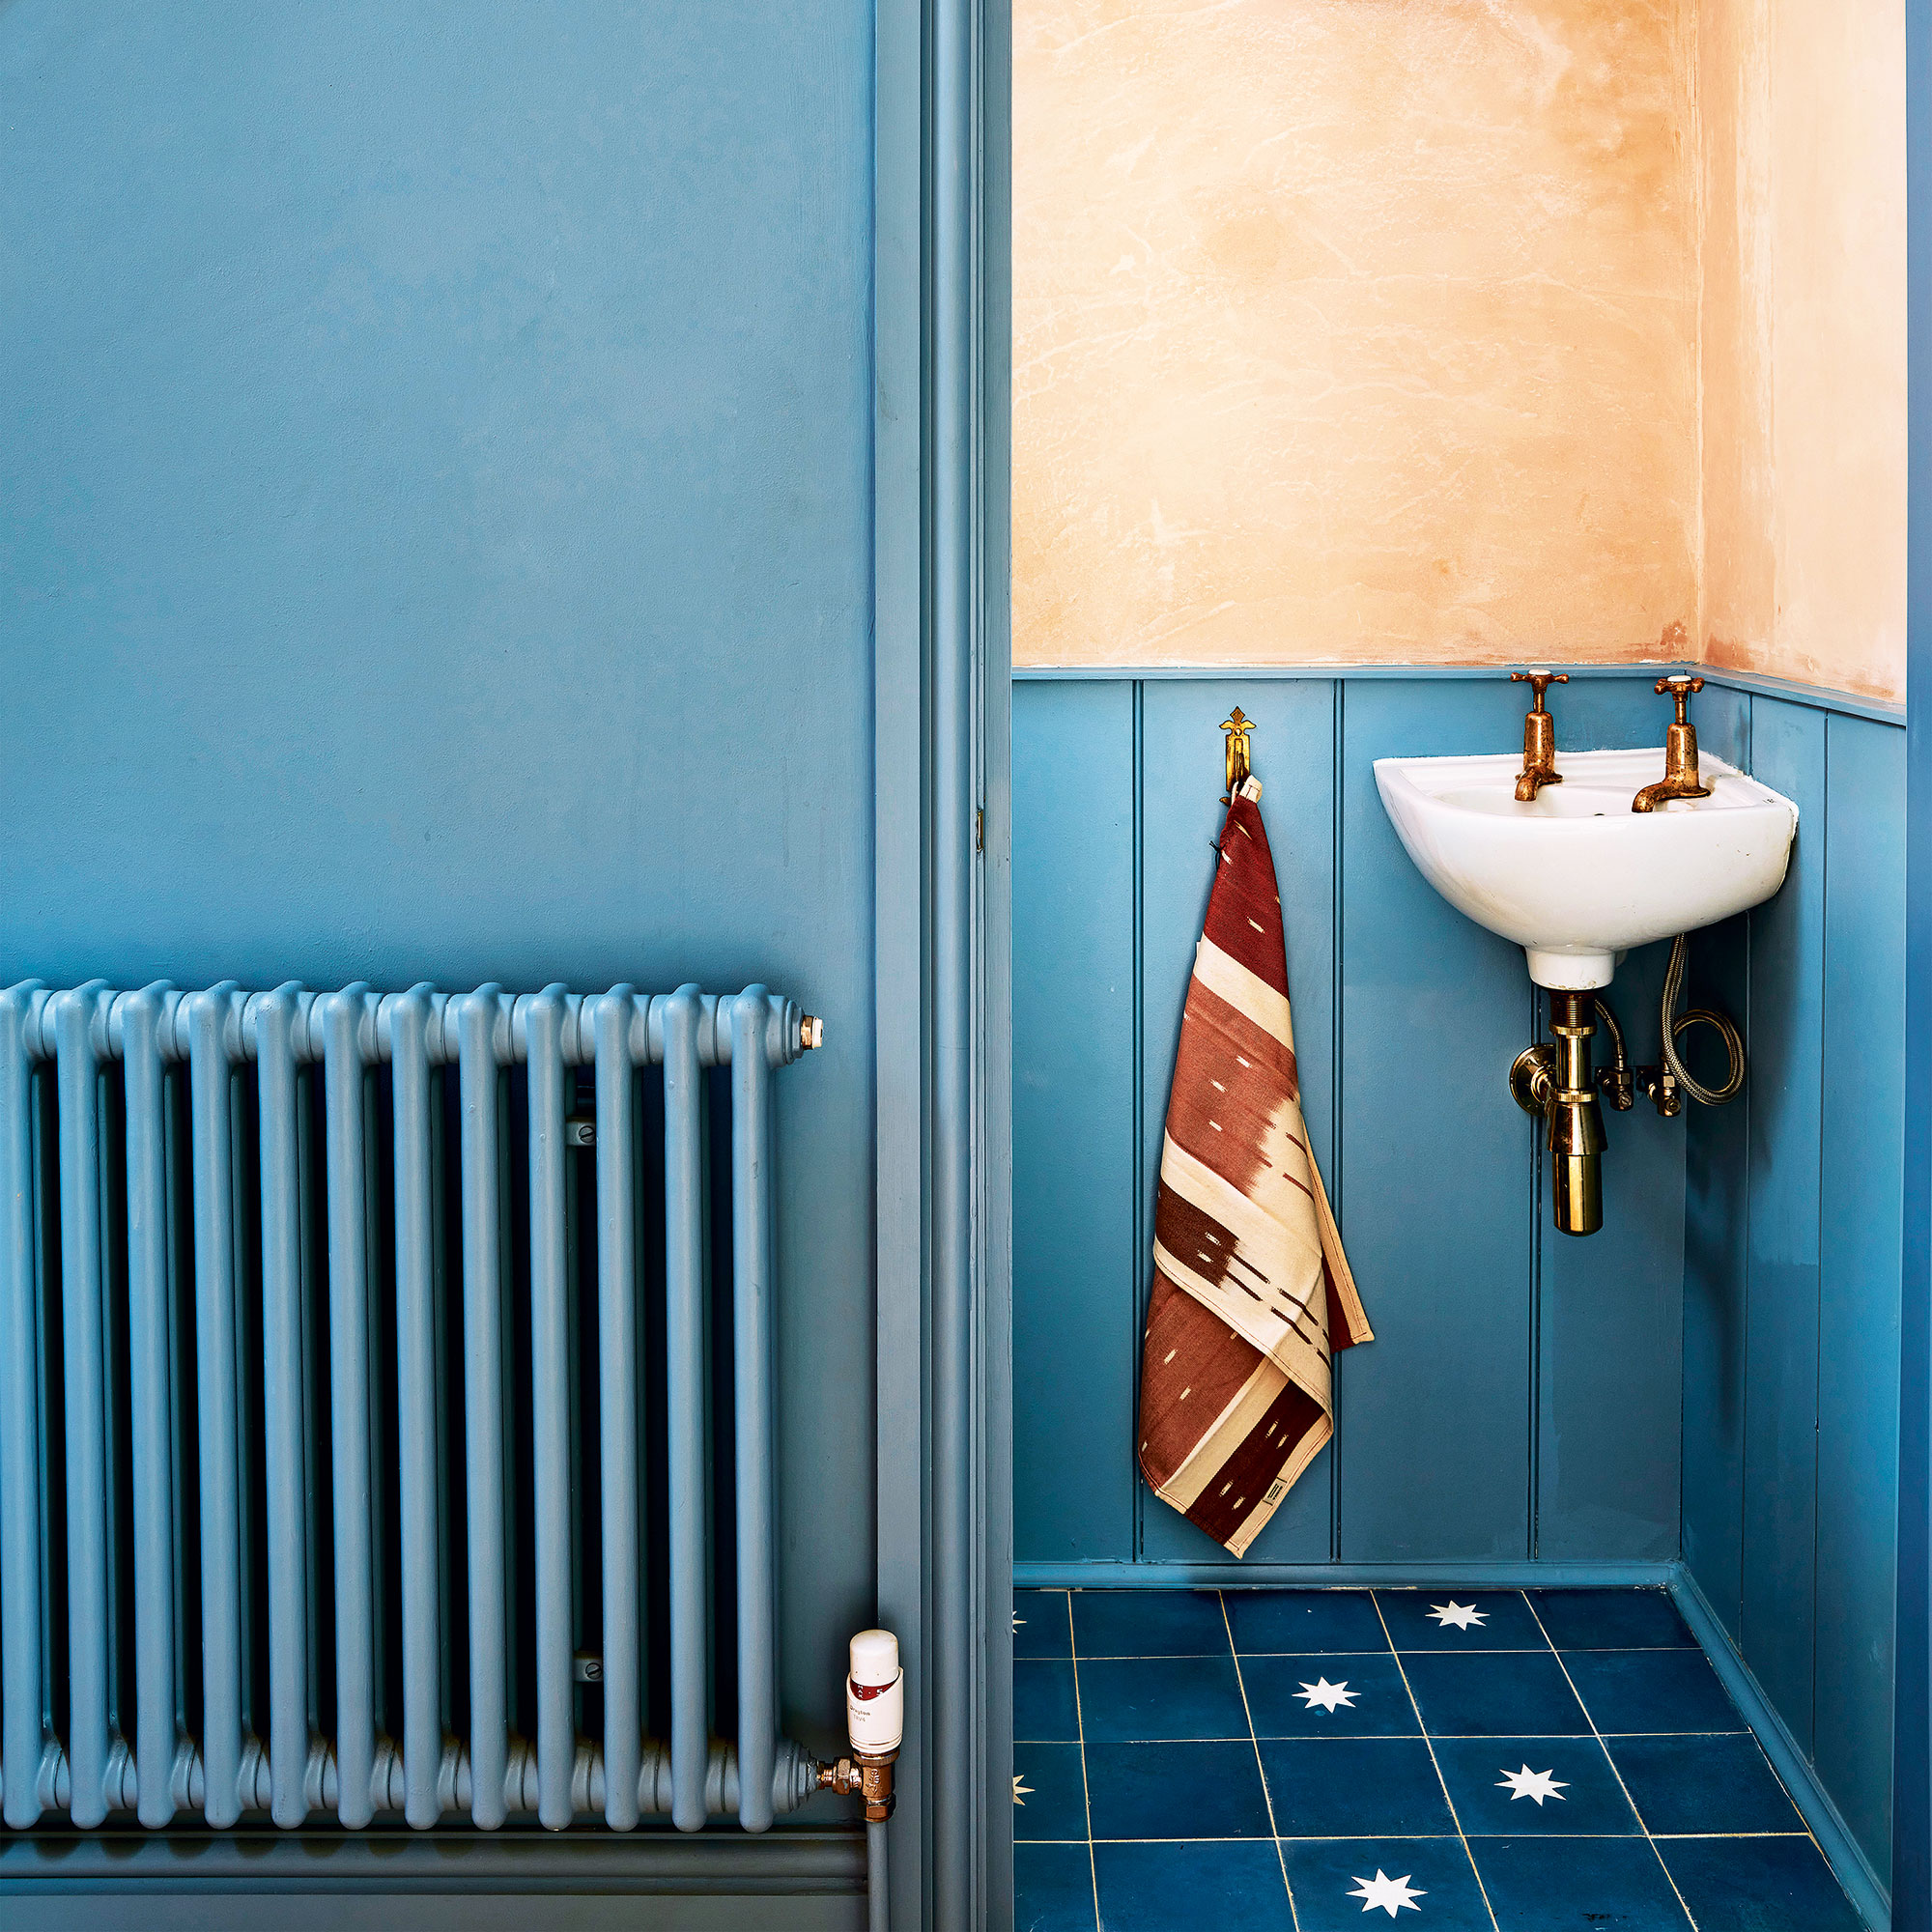
Next up it's time to clean your radiator to ensure it's ready for it's new paint job.
'It’s always a good idea to clean anything you are about to paint for a seamless finish and this is the same with a radiator,' explains Michael. 'Vacuum the radiator to be sure you have removed all dust and debris first, then give it a wipe with warm water and a mild detergent to make sure there are no sticky marks.'
4. Sand it down
Now your radiator is clean, it's time to prepare the surface for painting. If your radiator has been painted numerous times before, you might need to strip the layers of paint off too, but still start with giving it a quick sand.
Next apply a paint stripper, reading the manufacturers guide carefully so you are aware how long to leave it on and how best to remove the paint. Some brands might suggest using a scraper but just be careful not to dent and damage the structure of the radiator.
If you radiator has only been painted once or twice before, you won't need to strip it, just give it a sand.
Micheal advises, 'Using light-weight sandpaper (120 grade), give the radiator a good once over making sure to buff away any unsightly lumps or bumps in the old paint. Your dust sheet should protect the floors from any debris.'
5. Prime the surface
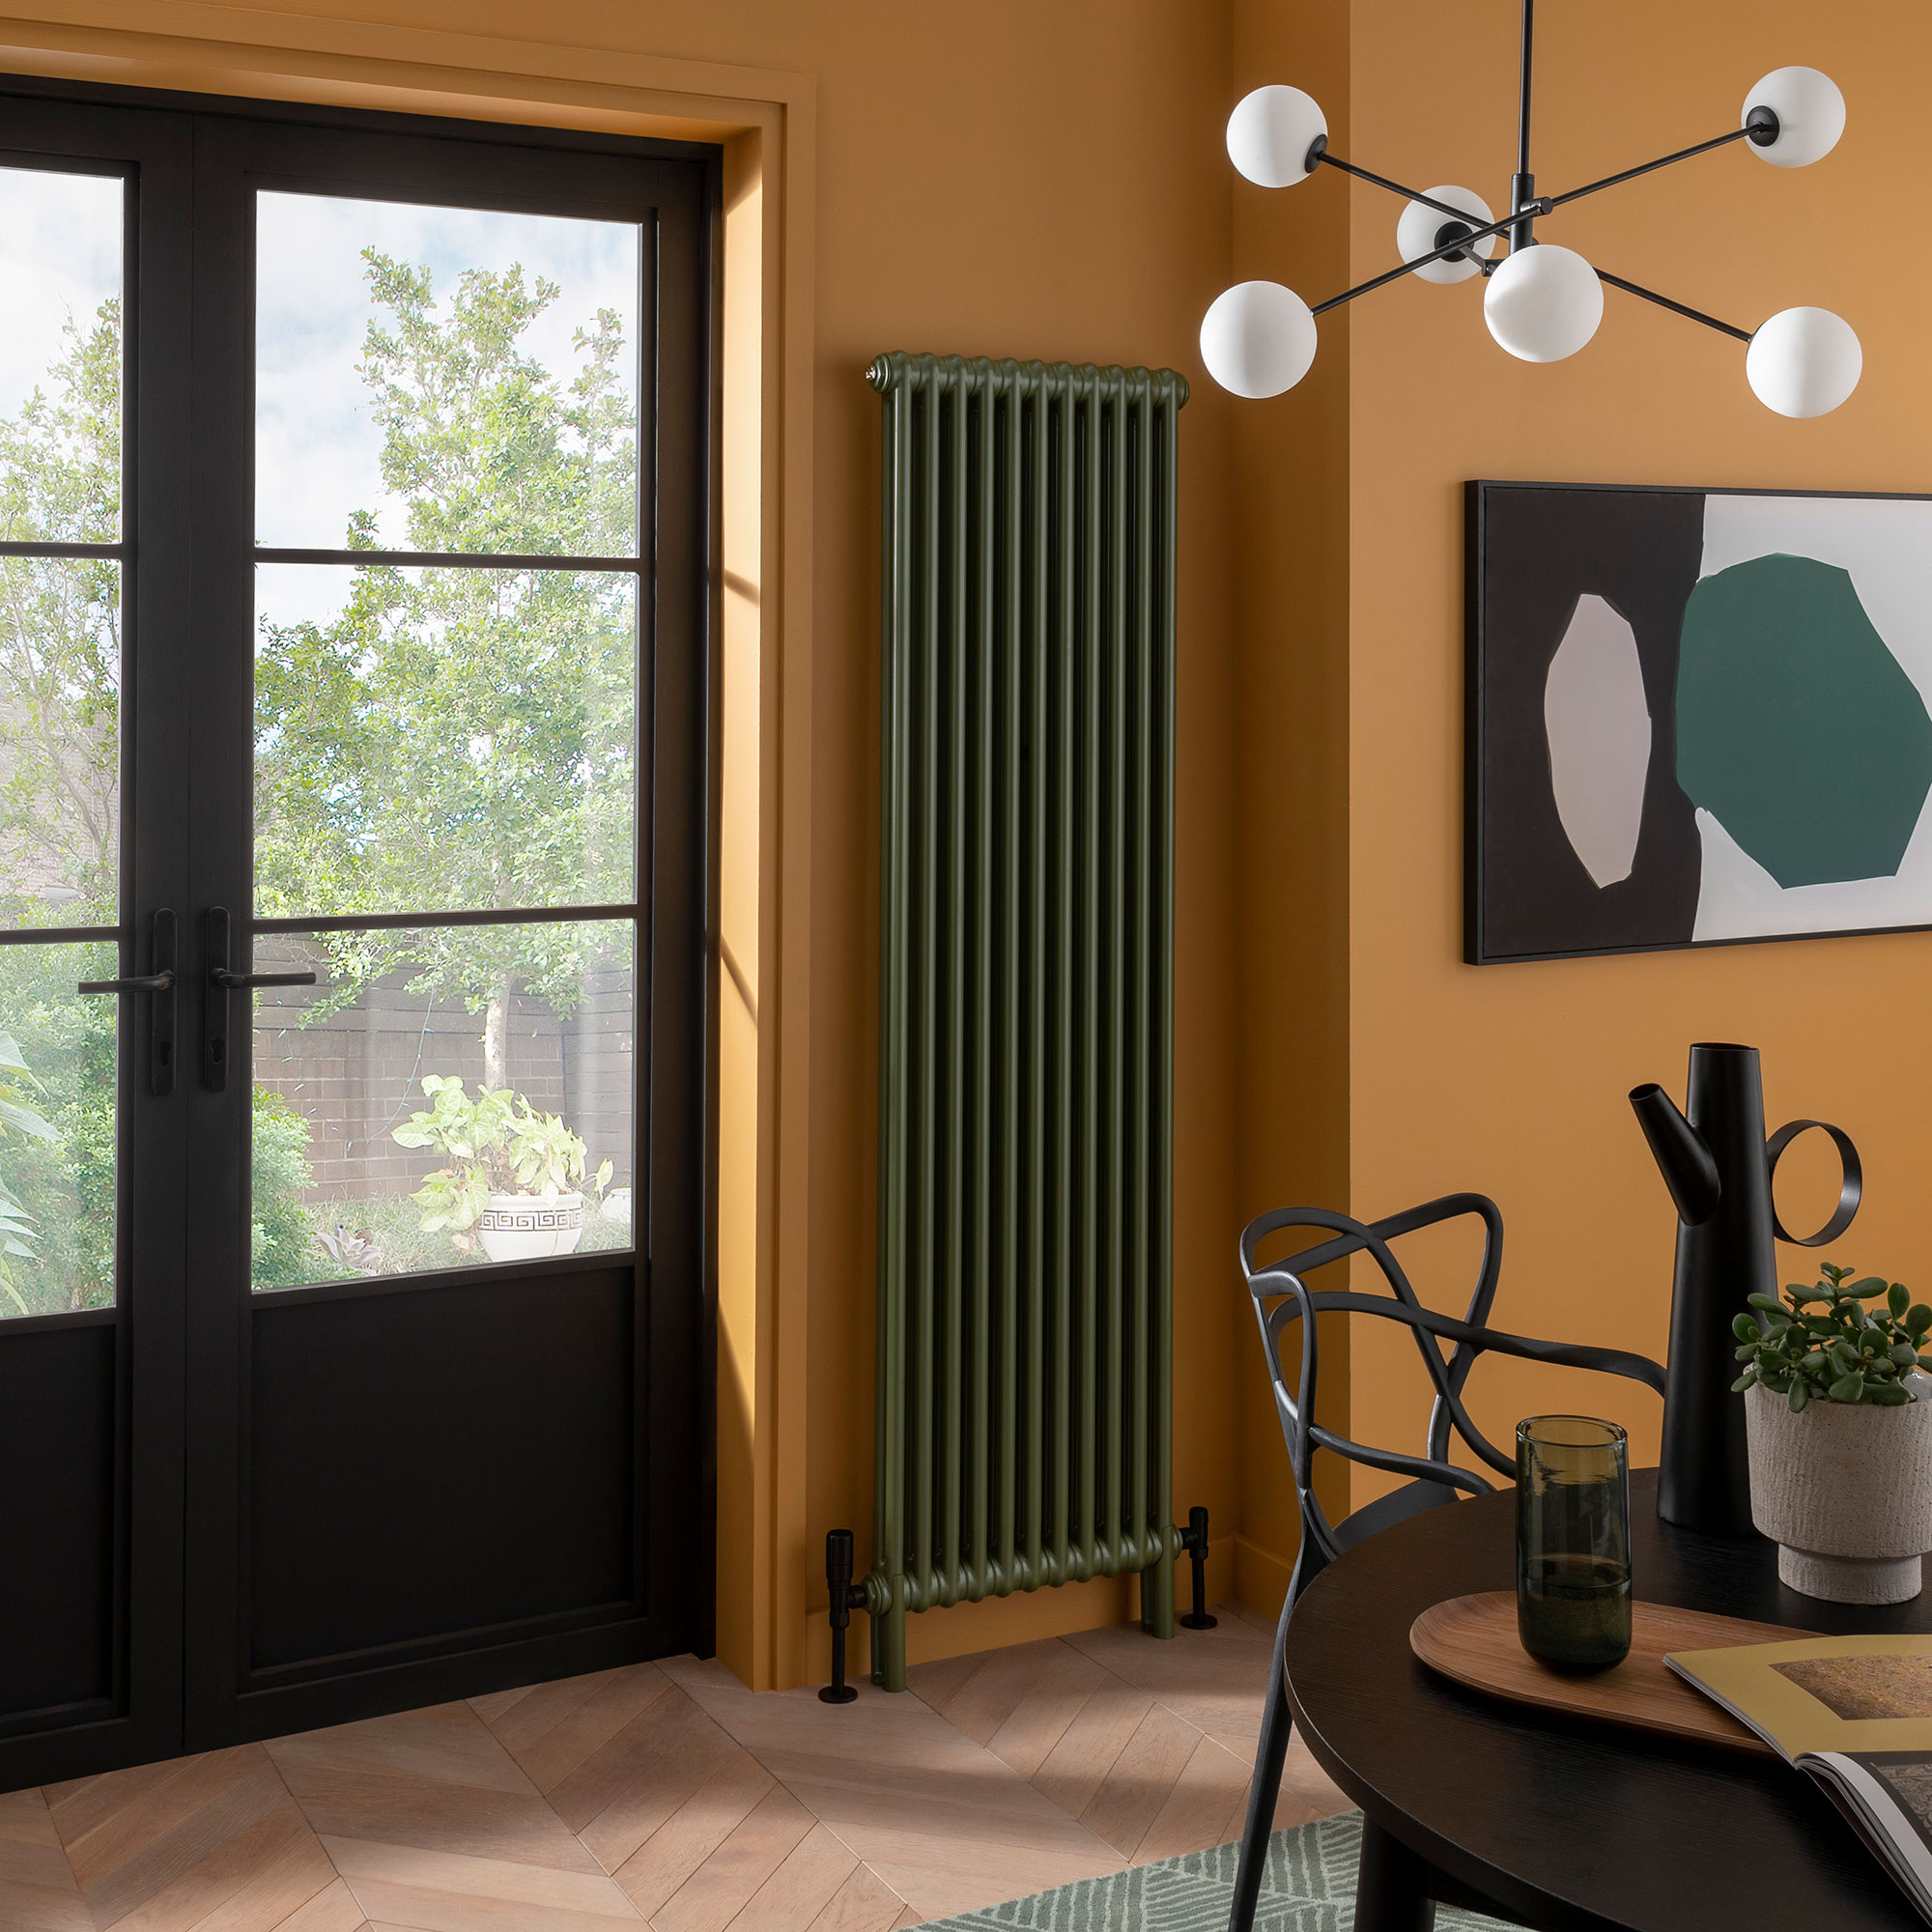
The last stage of preparation is to prime your radiator. This both protects the radiator and gives the paint the best surface to adhere to.
'If there is any bare metal exposed through the sanding process, you should apply at least one coat of metal primer paint prior to painting with colour,' says Michael. 'Make sure you research which primer to choose for metal surfaces, as a wood primer won't work for this job.'
6. Start painting
Now your radiator is clean, prepped and primed, it's time to start painting.
'The best paint to use for a radiator is a water based satin or gloss finish metal paint, as it is best suited to constant changes in heat and a nice finish,' Michael advises.
'Make sure you stir the paint well before and during use. Using a synthetic paint brush, start painting the radiator, in the same direction as the grooves. Less is more when it comes to loading up the paint on your brush. You should extend the brush into the paint tin or paint pail so that only one-third of the bristles are dipped in the paint, otherwise, you will drip paint everywhere.'
'For best results, start by using the edge of a 2-inch brush to paint the edges then move onto the face.'
'At the front, work in small sections, beginning with the mouldings then the top followed by the bottom before bringing the two together. Finish painting the top and bottom edges overlapping onto the previous paint for an even finish.'
'When it comes to painting the back of the radiator this can be a bit tricker. You can use a long-handled mini roller frame and mini microfibre roller cover. If your radiator is close to the wall and you are unable to fit a roller behind, you can use a small brush and reach around as far behind as possible.'
7. Leave it to dry
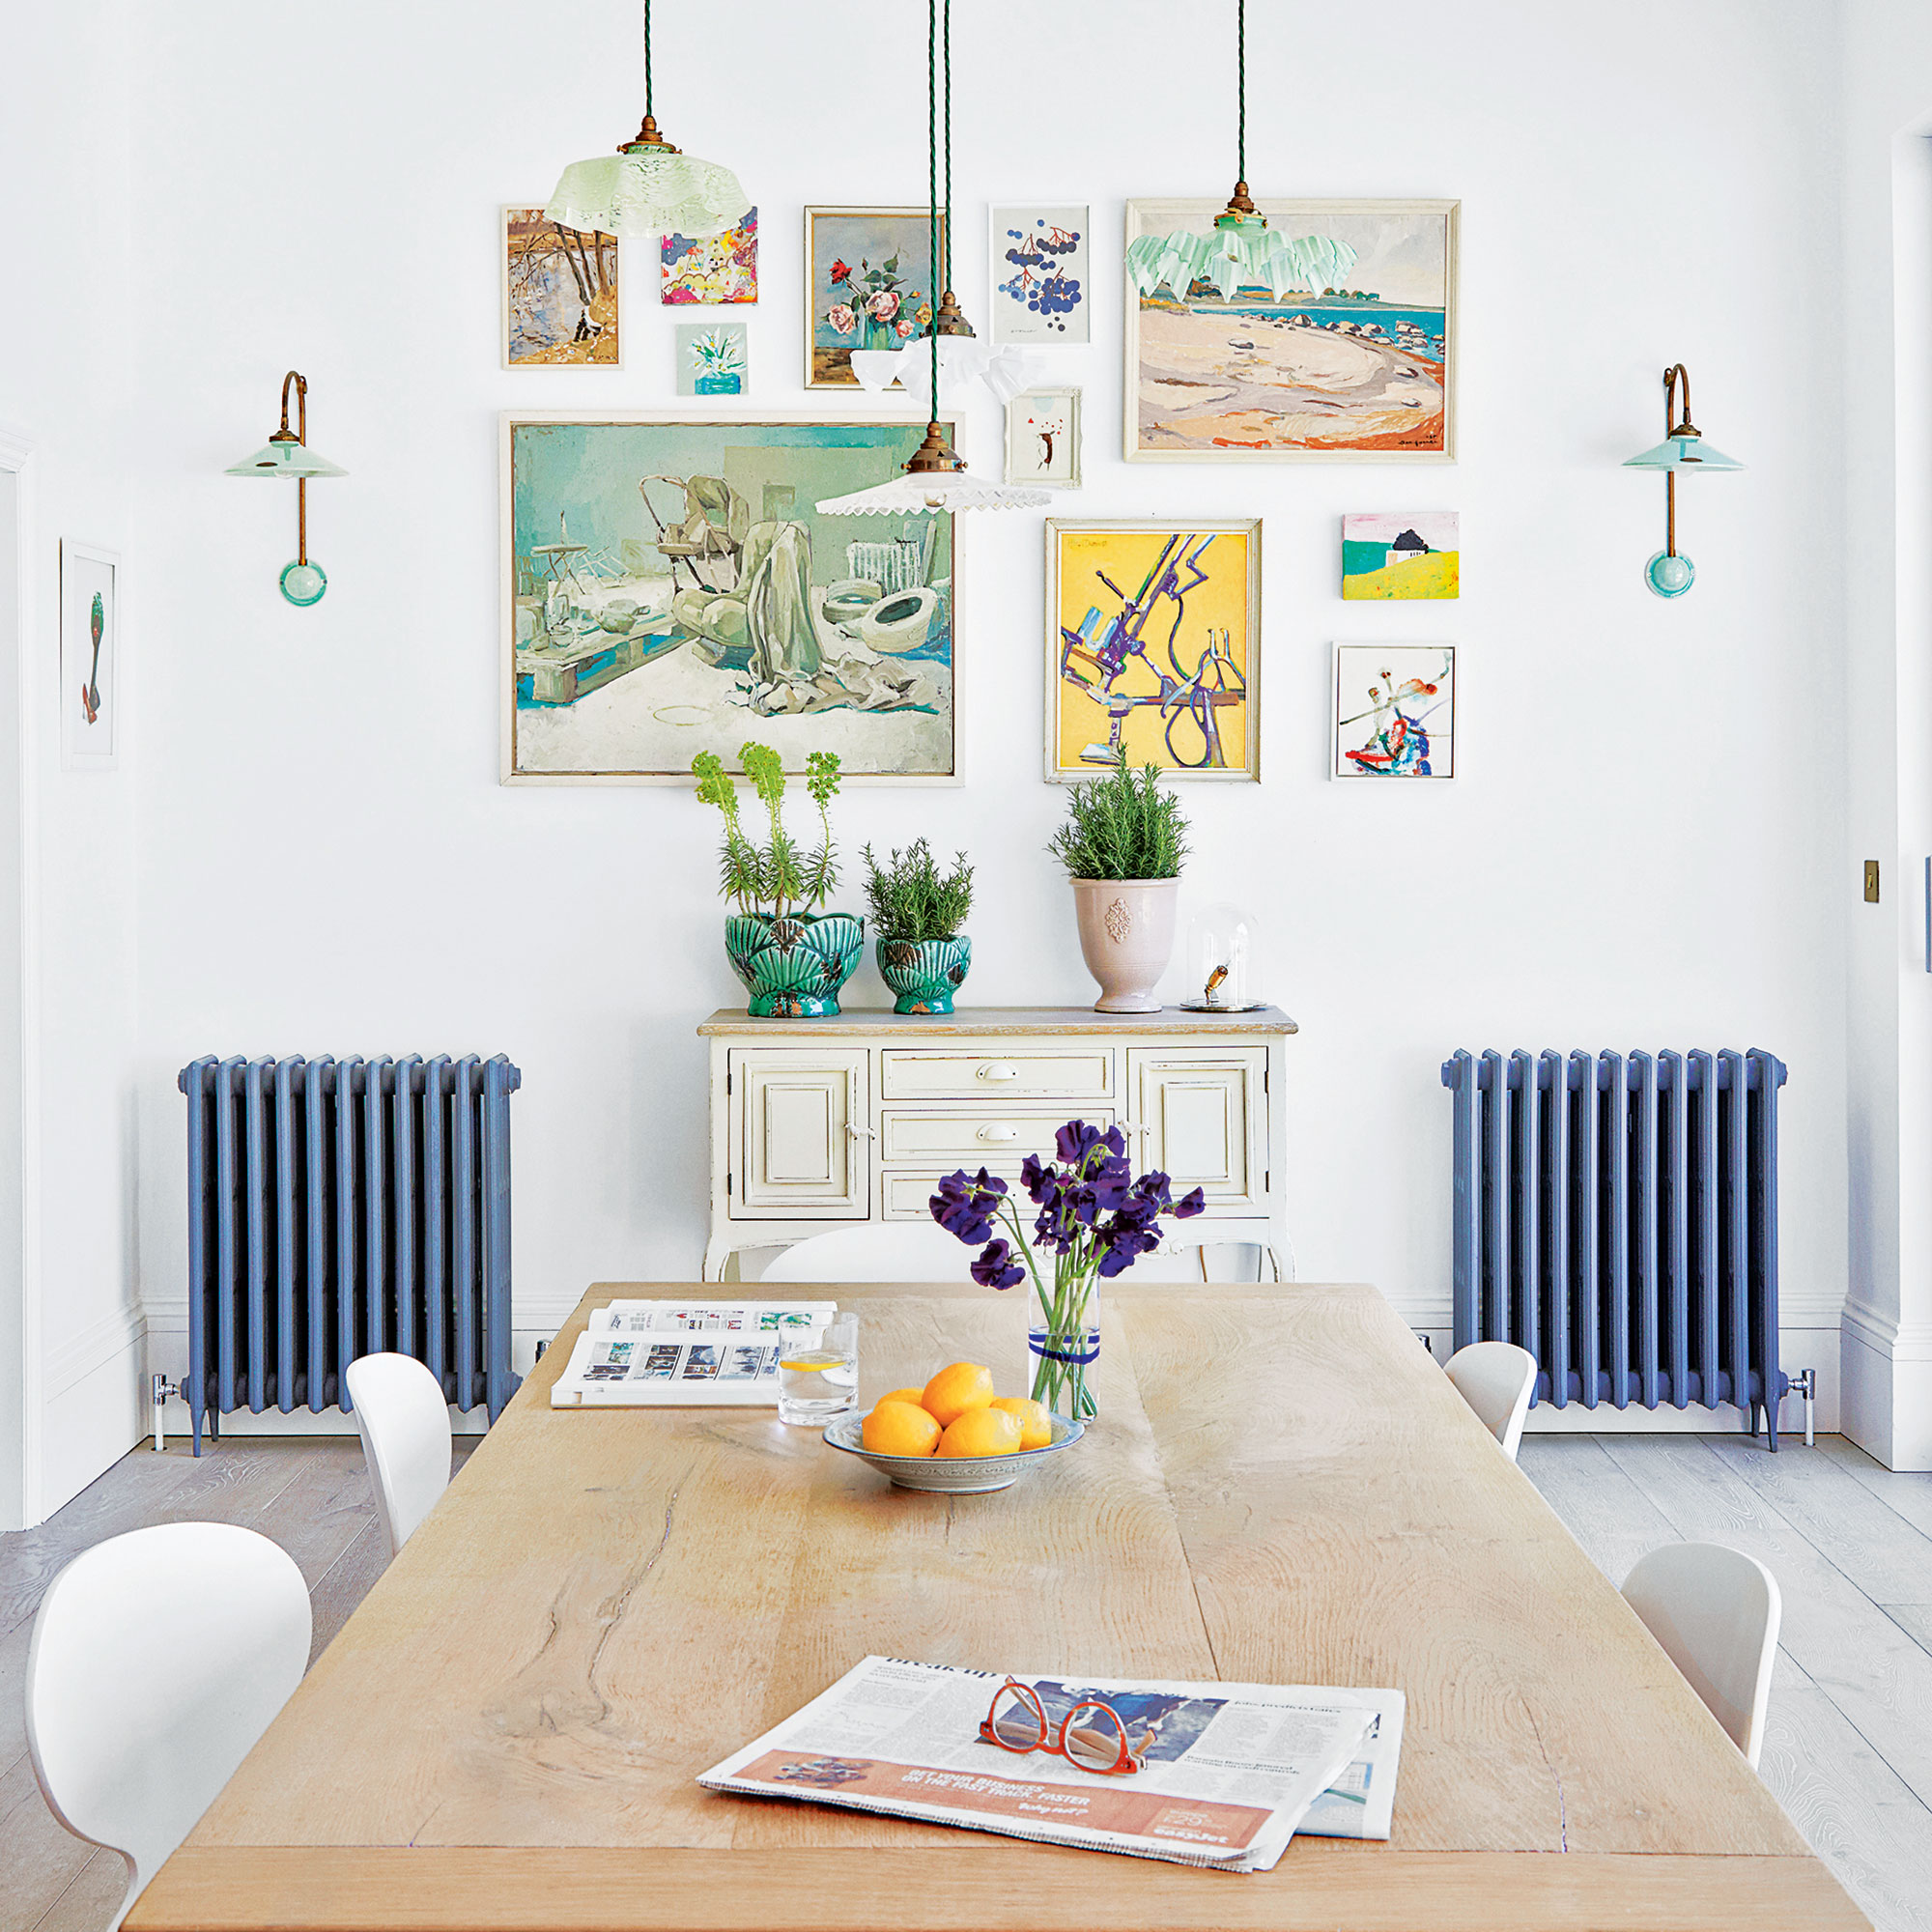
Once you are happy with your paint job and have checked for any drips, leave your radiator to dry.
Michael advises, 'Leave the paint to dry overnight and apply a second coat as before.'
'Several thin coats are better than one or two thick coats, as not only will you achieve a much smoother surface appearance, but you will get a harder and more chip-resistant finish. You should also ensure that the paint is completely dry before applying another coat of paint on top – otherwise, the results will be disappointing.'
Leave the radiator to dry for at least 24 hours before turning the heating on again, so ensure you don't ruin the paintwork you've just completed. Don't worry if you notice a strong paint smell when you do turn on the heating, as long as the paint has dried completely, this will disappear in a few days.
FAQs
What kind of paint do you use on a radiator?
You'll need to make sure you use the right kind of paint on your radiator, as normal emulsion won't be able to handle the constant heating and cooling and is likely to crack leaving you with a less than desirable finish.
Metal paint is best, or even a specialist radiator paint that can handle high heats.
Your local DIY or trade store can advise you on the best paint to use and how much of it you'll need too. There is also the option to use a metal spray paint, but this is probably most effective if you remove the radiator first. While this is of course an option, it will depend how DIY savvy you are, as it can be a messy job and is probably best left to a plumber to remove and re-install.
Can you paint straight onto a radiator?
Whether you can paint straight on to a radiator will depend on what condition it is in and whether it has been painted before. If any raw metal is showing (after sanding) it will definitely benefit a layer of primer first and if it's never been painted before, you might want to prime it too.
If you use a decent undercoat-primer duo, it is possible to use normal emulsion on a radiator, but otherwise it's wisest to use metal paint for the best results.
When in doubt, a primer will always result in a better finish so although it makes the process a little longer, it might be worth investing the time.

Holly Walsh is a freelance Interiors Writer and Shopping Editor, but worked in-house here at Ideal Home for nearly 10 years. With a background of studies in Interior Design, her career in interior journalism was a no-brainer and her passion for decorating homes is still as strong now 15 years after she started, as it ever was. While Holly has written for most of the home titles at Future, including Livingetc, Country Homes & Interiors, Homes and Gardens, Woman & Home and Style at Home, Ideal Home has always been her ideal home, and she can still be found sharing her expertise and advice across both the printed magazine and the website, while also raising her two young children.