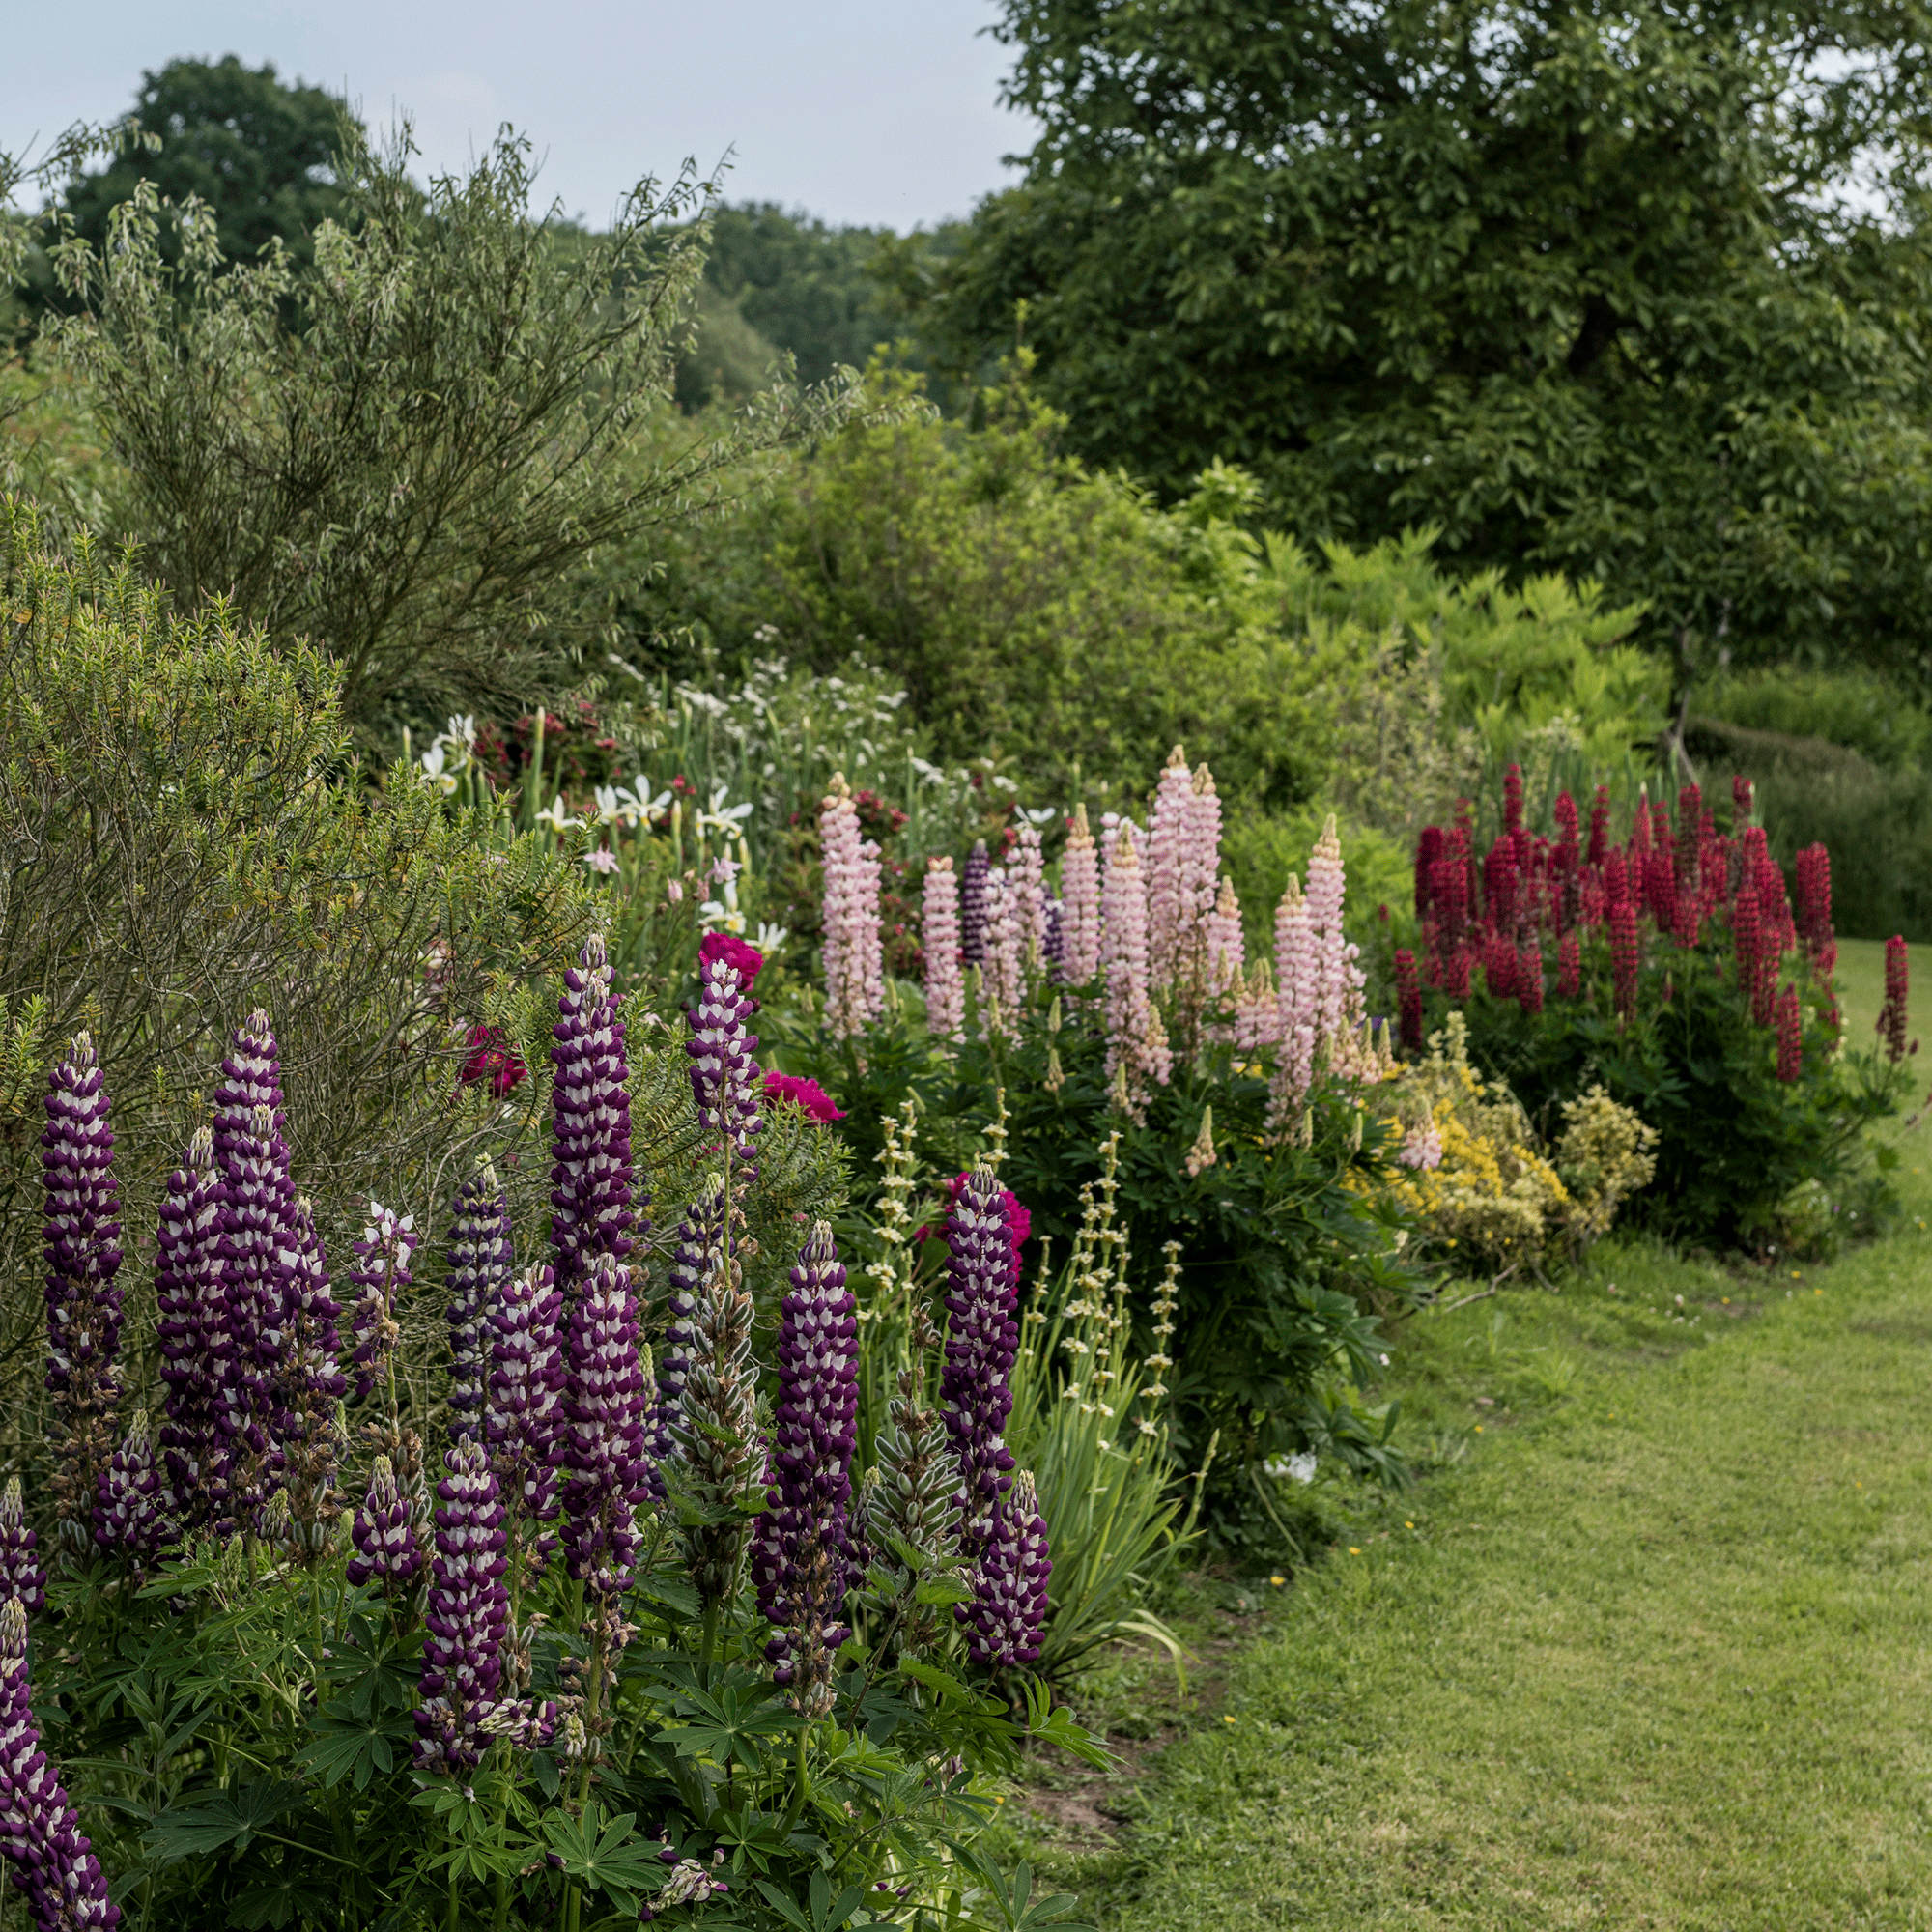
How to propagate lupins – three ways to grow the beautiful blooms for free
Learn how to propagate lupins from cuttings, seeds or division

EDITOR’S NOTE: An earlier version of this article included a quote from a purported expert whose credentials we have not been able to verify. The quote has been removed. We regret this lapse in our verification process and have updated our internal protocols to reduce the risk of recurrence.
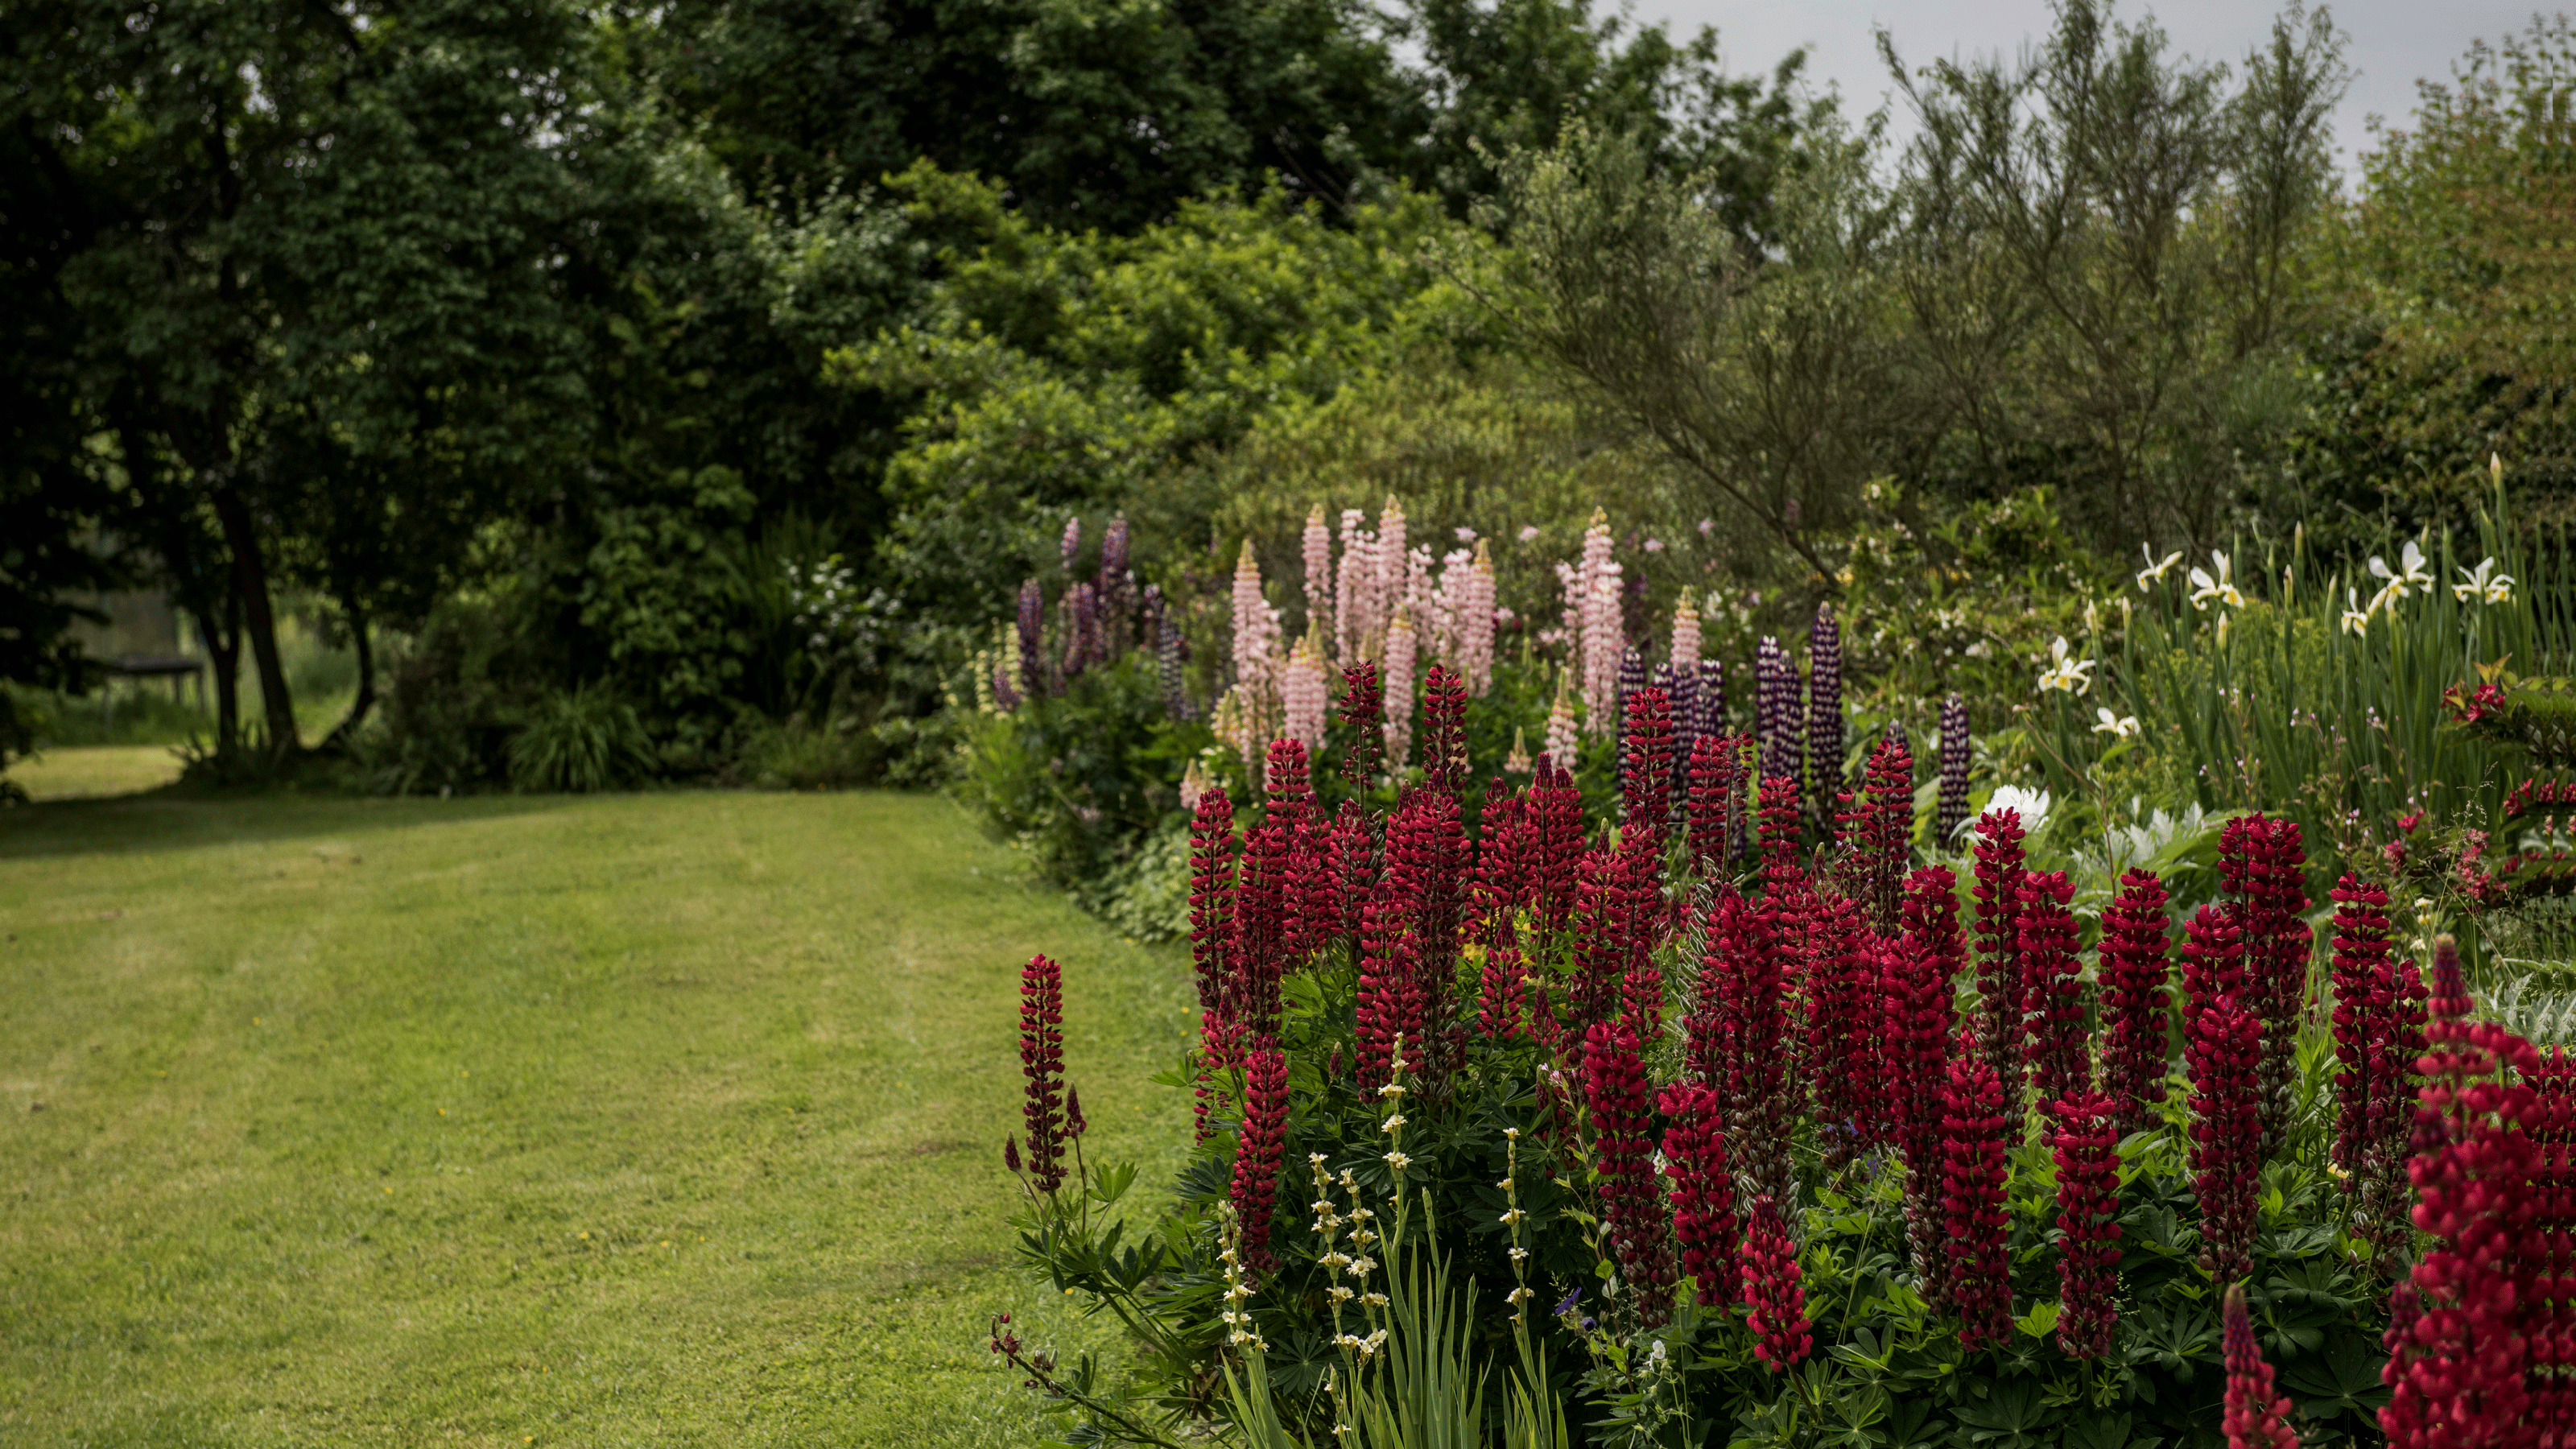
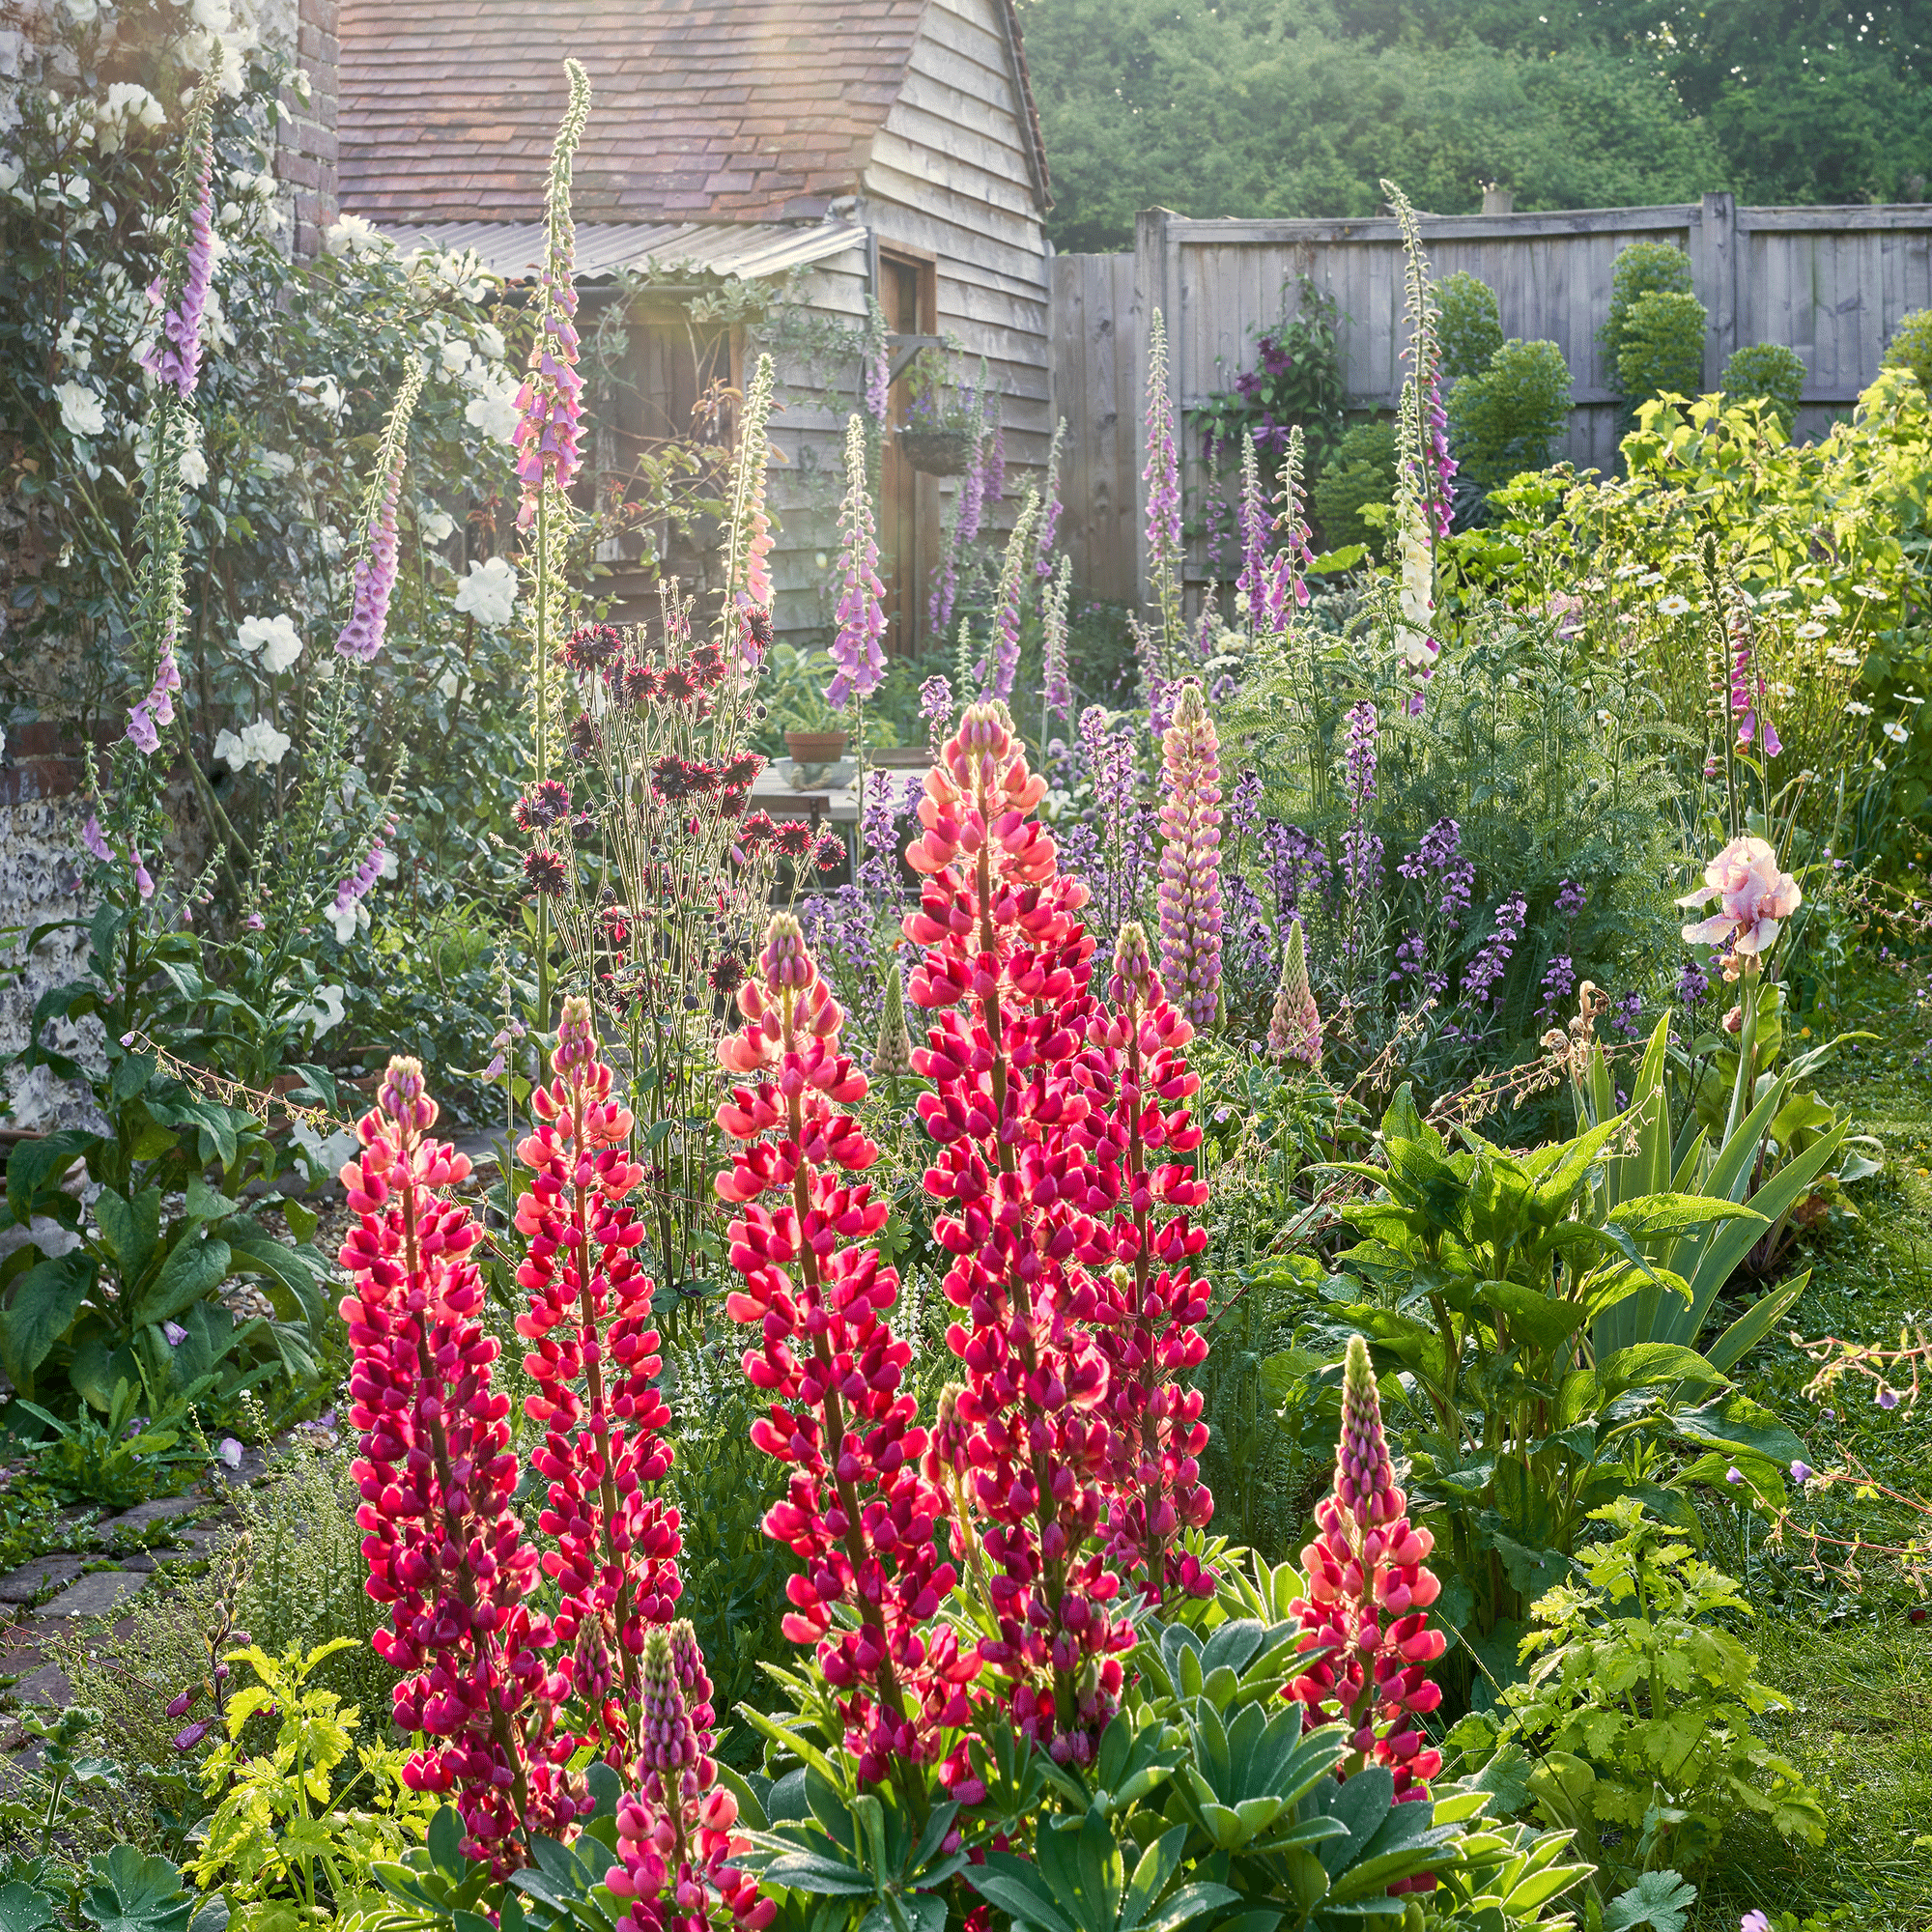
Lupins are one of the most beautiful blooms to grow in our gardens and they immediately give you that on-trend cottage garden aesthetic. But the costs of buying young or more established lupins from the garden centre can soon add up. This is when propagation really comes in handy.
This budget-friendly garden idea essentially allows you to grow new plants for free or for much less than it would to purchase them. So, if you’ve always wanted to add lupins to your garden borders or existing garden design, you can do so at little or no expense through propagation.
How to propagate lupins
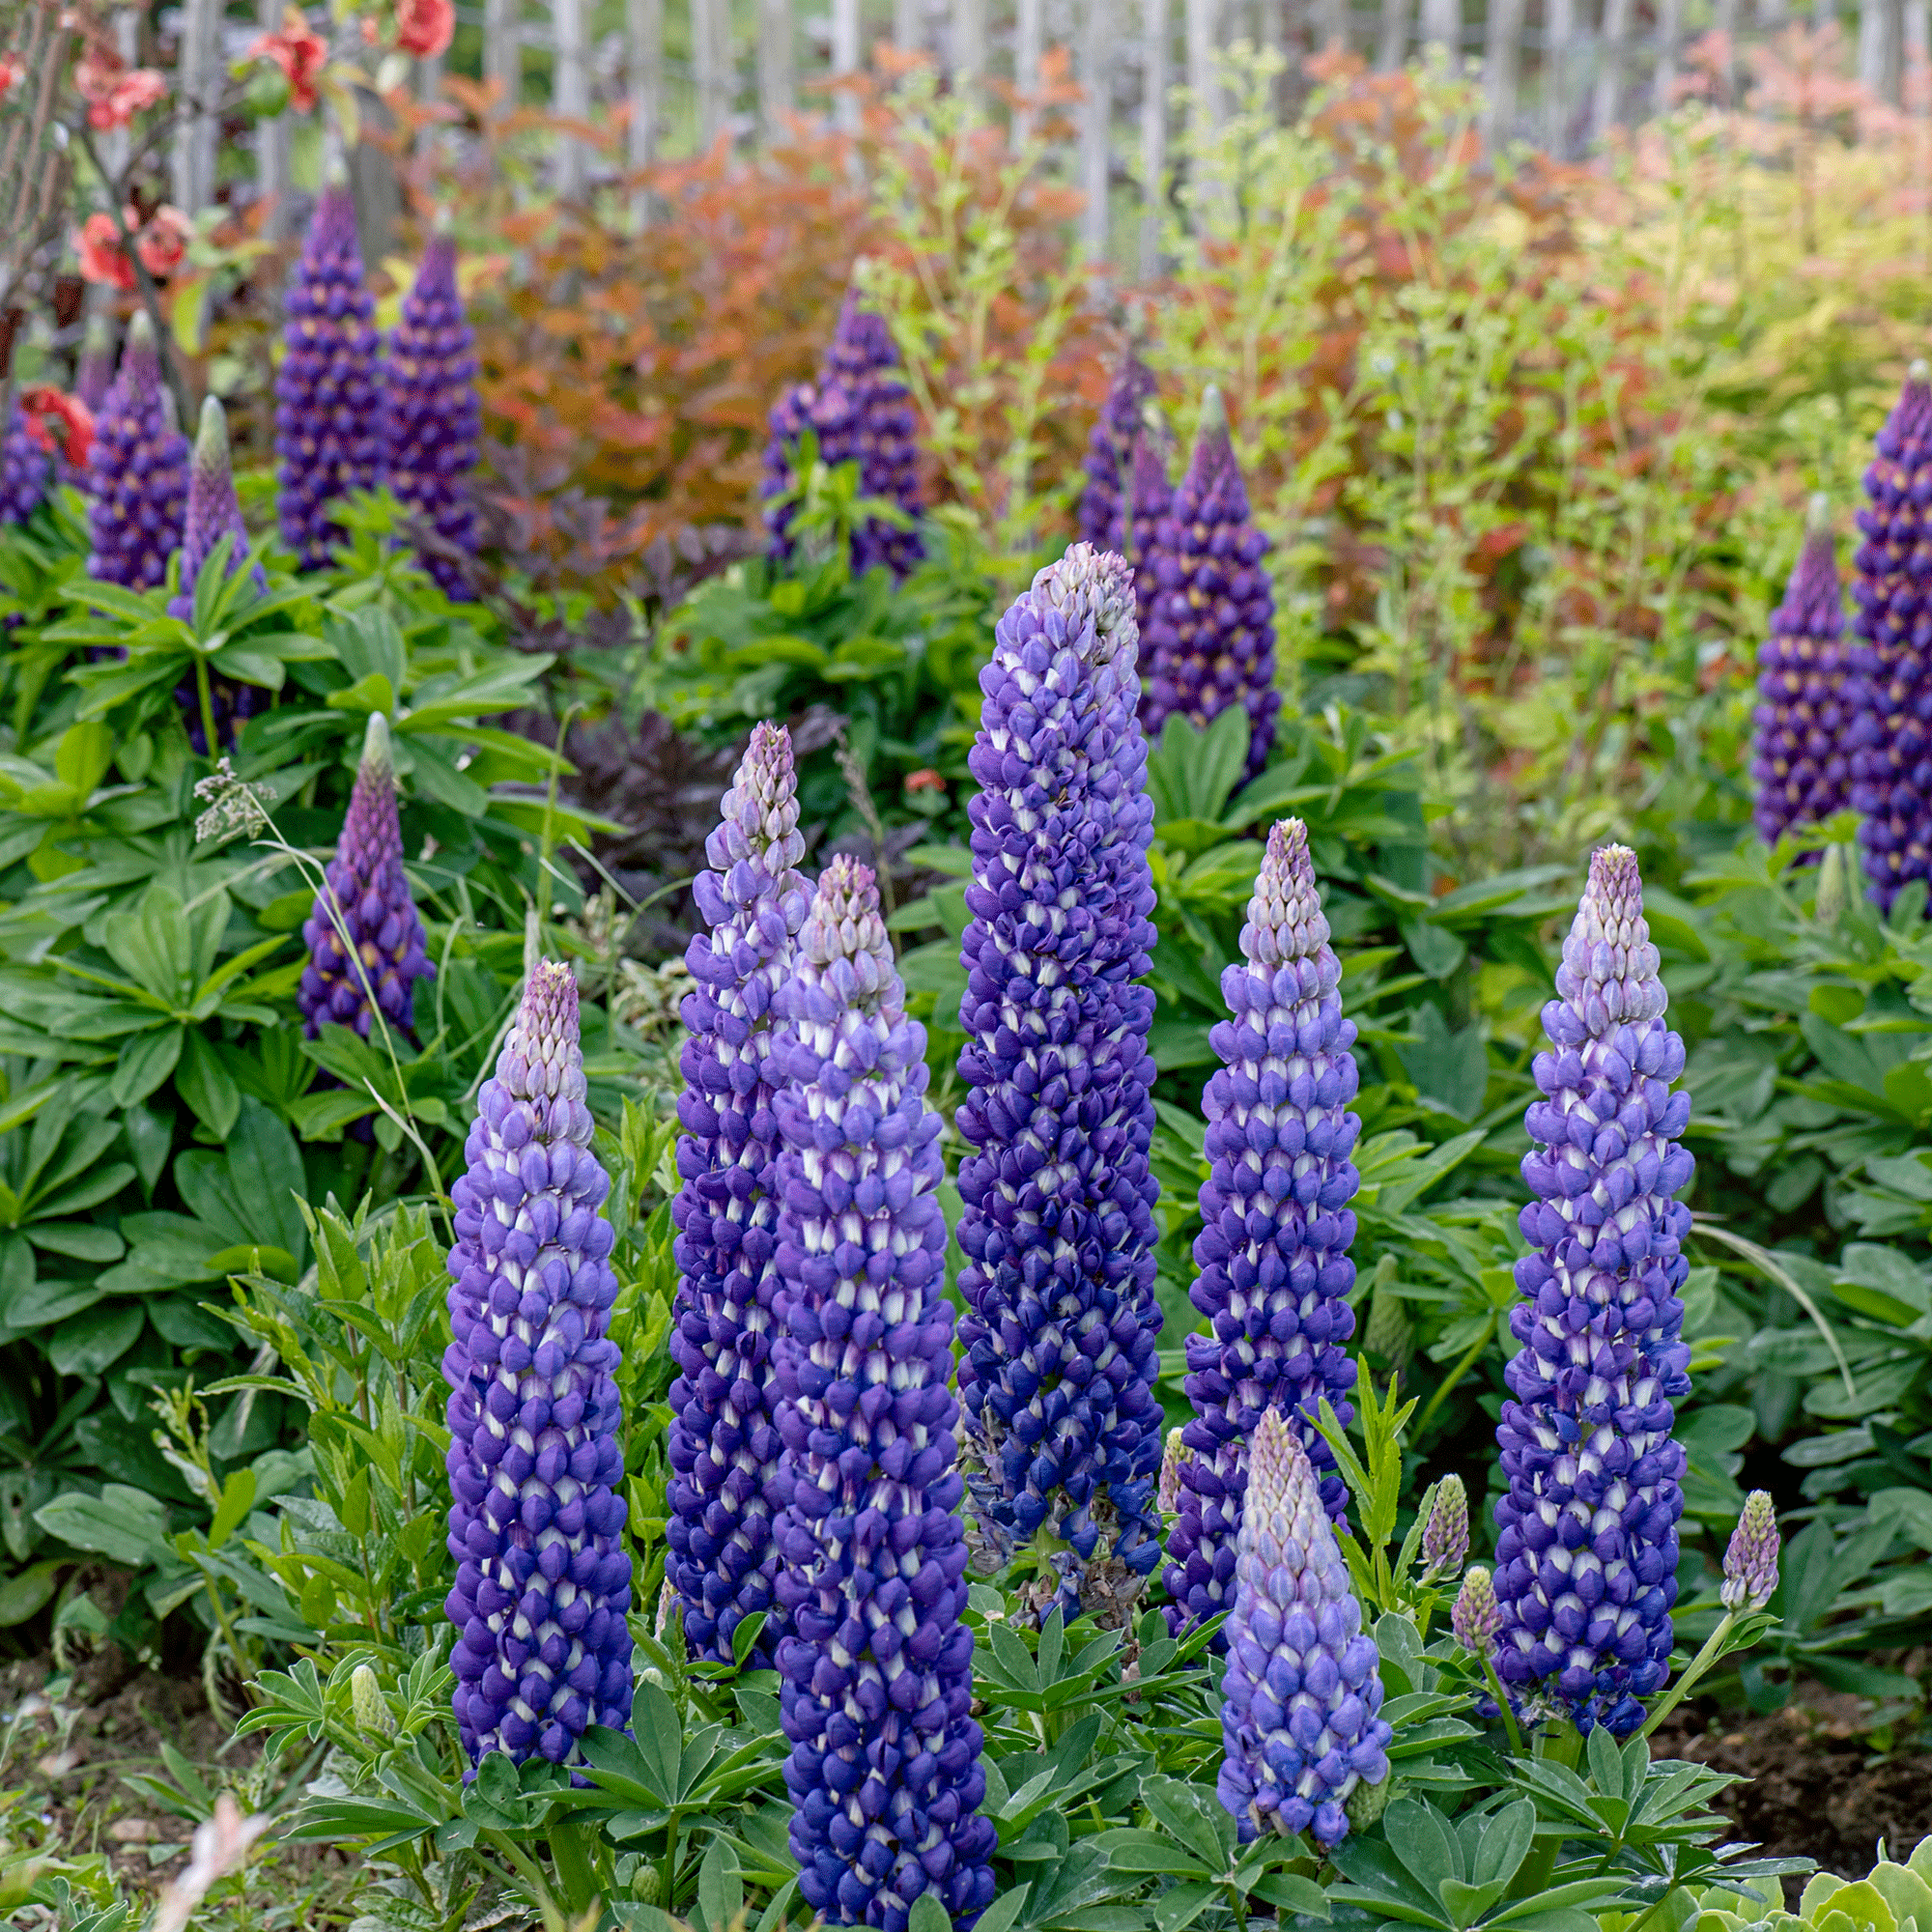
Lupins can be propagated in three different ways. You can either grow new lupins from cuttings, seeds and seed pods or division.

Each method has its own distinct steps, which is why we've expanded upon each one with their own easy to follow guide.
What you’ll need
- A healthy lupin plant
- Secateurs, shears or sharp scissors
- Small pots or containers with drainage holes
- A dibber or pencil
- Rooting hormone; this Wilko Rooting Powder has great reviews
- Good quality peat-free seed compost; the Miracle-Gro Premium All Purpose Peat Free Compost from Amazon is a great option
- A plastic bag or bottle
- An envelope
- A watering can with a rose attachment; try this Steel Watering Can from Amazon
How to propagate lupins from cuttings
If you choose to propagate from cuttings, you’ll firstly want to choose a healthy lupin plant to take the cuttings from.
‘For best results with basal cuttings, it’s important to take the cuttings between March and April when the plant is producing new growth which is suitable for cuttings,’ reveals Dani Turner, customer experience director at Bunches.
‘You want to get to the base of the plant, as close to the crown as possible, where the stem meets the root system,’ she continues. ‘For the best results, get a clean and sharp knife to help ensure one single swift cut at the base is made without unnecessary damage to the lupin.’
Once you have your cutting, ‘take off all the leaves apart from those at the top of the cutting,’ Angela Slater, gardening expert at Hayes Garden World, instructs. Then it’s time to prepare the cuttings to be planted. In a medium-size pot of soil with drainage holes, use a dibber or pencil to make some holes.
Next you can dip the ends of your cutting in rooting hormone and plant it ‘up to about within an inch of the top leaves,’ Angela asserts.
‘To mimic and create humidity, place a clear plastic cover or a plastic bag over your pot,’ Andrew White, gardening enthusiast at Rhino Greenhouses Direct, suggests. Alternatively, you can also use an empty plastic bottle.
And if you’re looking to get the exact same colour as the original plant, ‘an advantage of basal cuttings is that the resulting plant will be genetically identical to the parent plant – if you have a rarer colour we therefore recommend basal cuttings,’ Dani adds.
How to propagate lupins from seed pods
If you plan on propagating from seeds or seed pods, it is incredibly important that you don’t deadhead your lupins. Essentially, you want to allow some of your lupin spikes to finish flowering, as this is when the seed pods will form.
When they’ve turned from green to brown, they are ready to be harvested. We recommend keeping your seeds in an envelope to give you somewhere to store them while you wait to plant them. You can also resume deadheading once you’ve harvested all the seeds that you might need.
Once they’ve dried out, the seeds should pop out on their own or you can gently apply pressure to the seed pod to release the seeds.
‘Cold stratification helps encourage germination so, over winter, you can plant your seeds in soil to do this naturally,’ outlines Dani. While in spring, you’ll want to ‘soak the seeds in water the night before you intend to plant them to also aid the germination process.’
The best time to plant lupin seeds is in February and spring. Prepare some small plant pots or a seed tray with well-draining soil or compost and ‘sprinkle your seeds evenly on the surface of the soil, gently pressing them down but make sure you don’t bury your seeds,’ Andrew affirms.
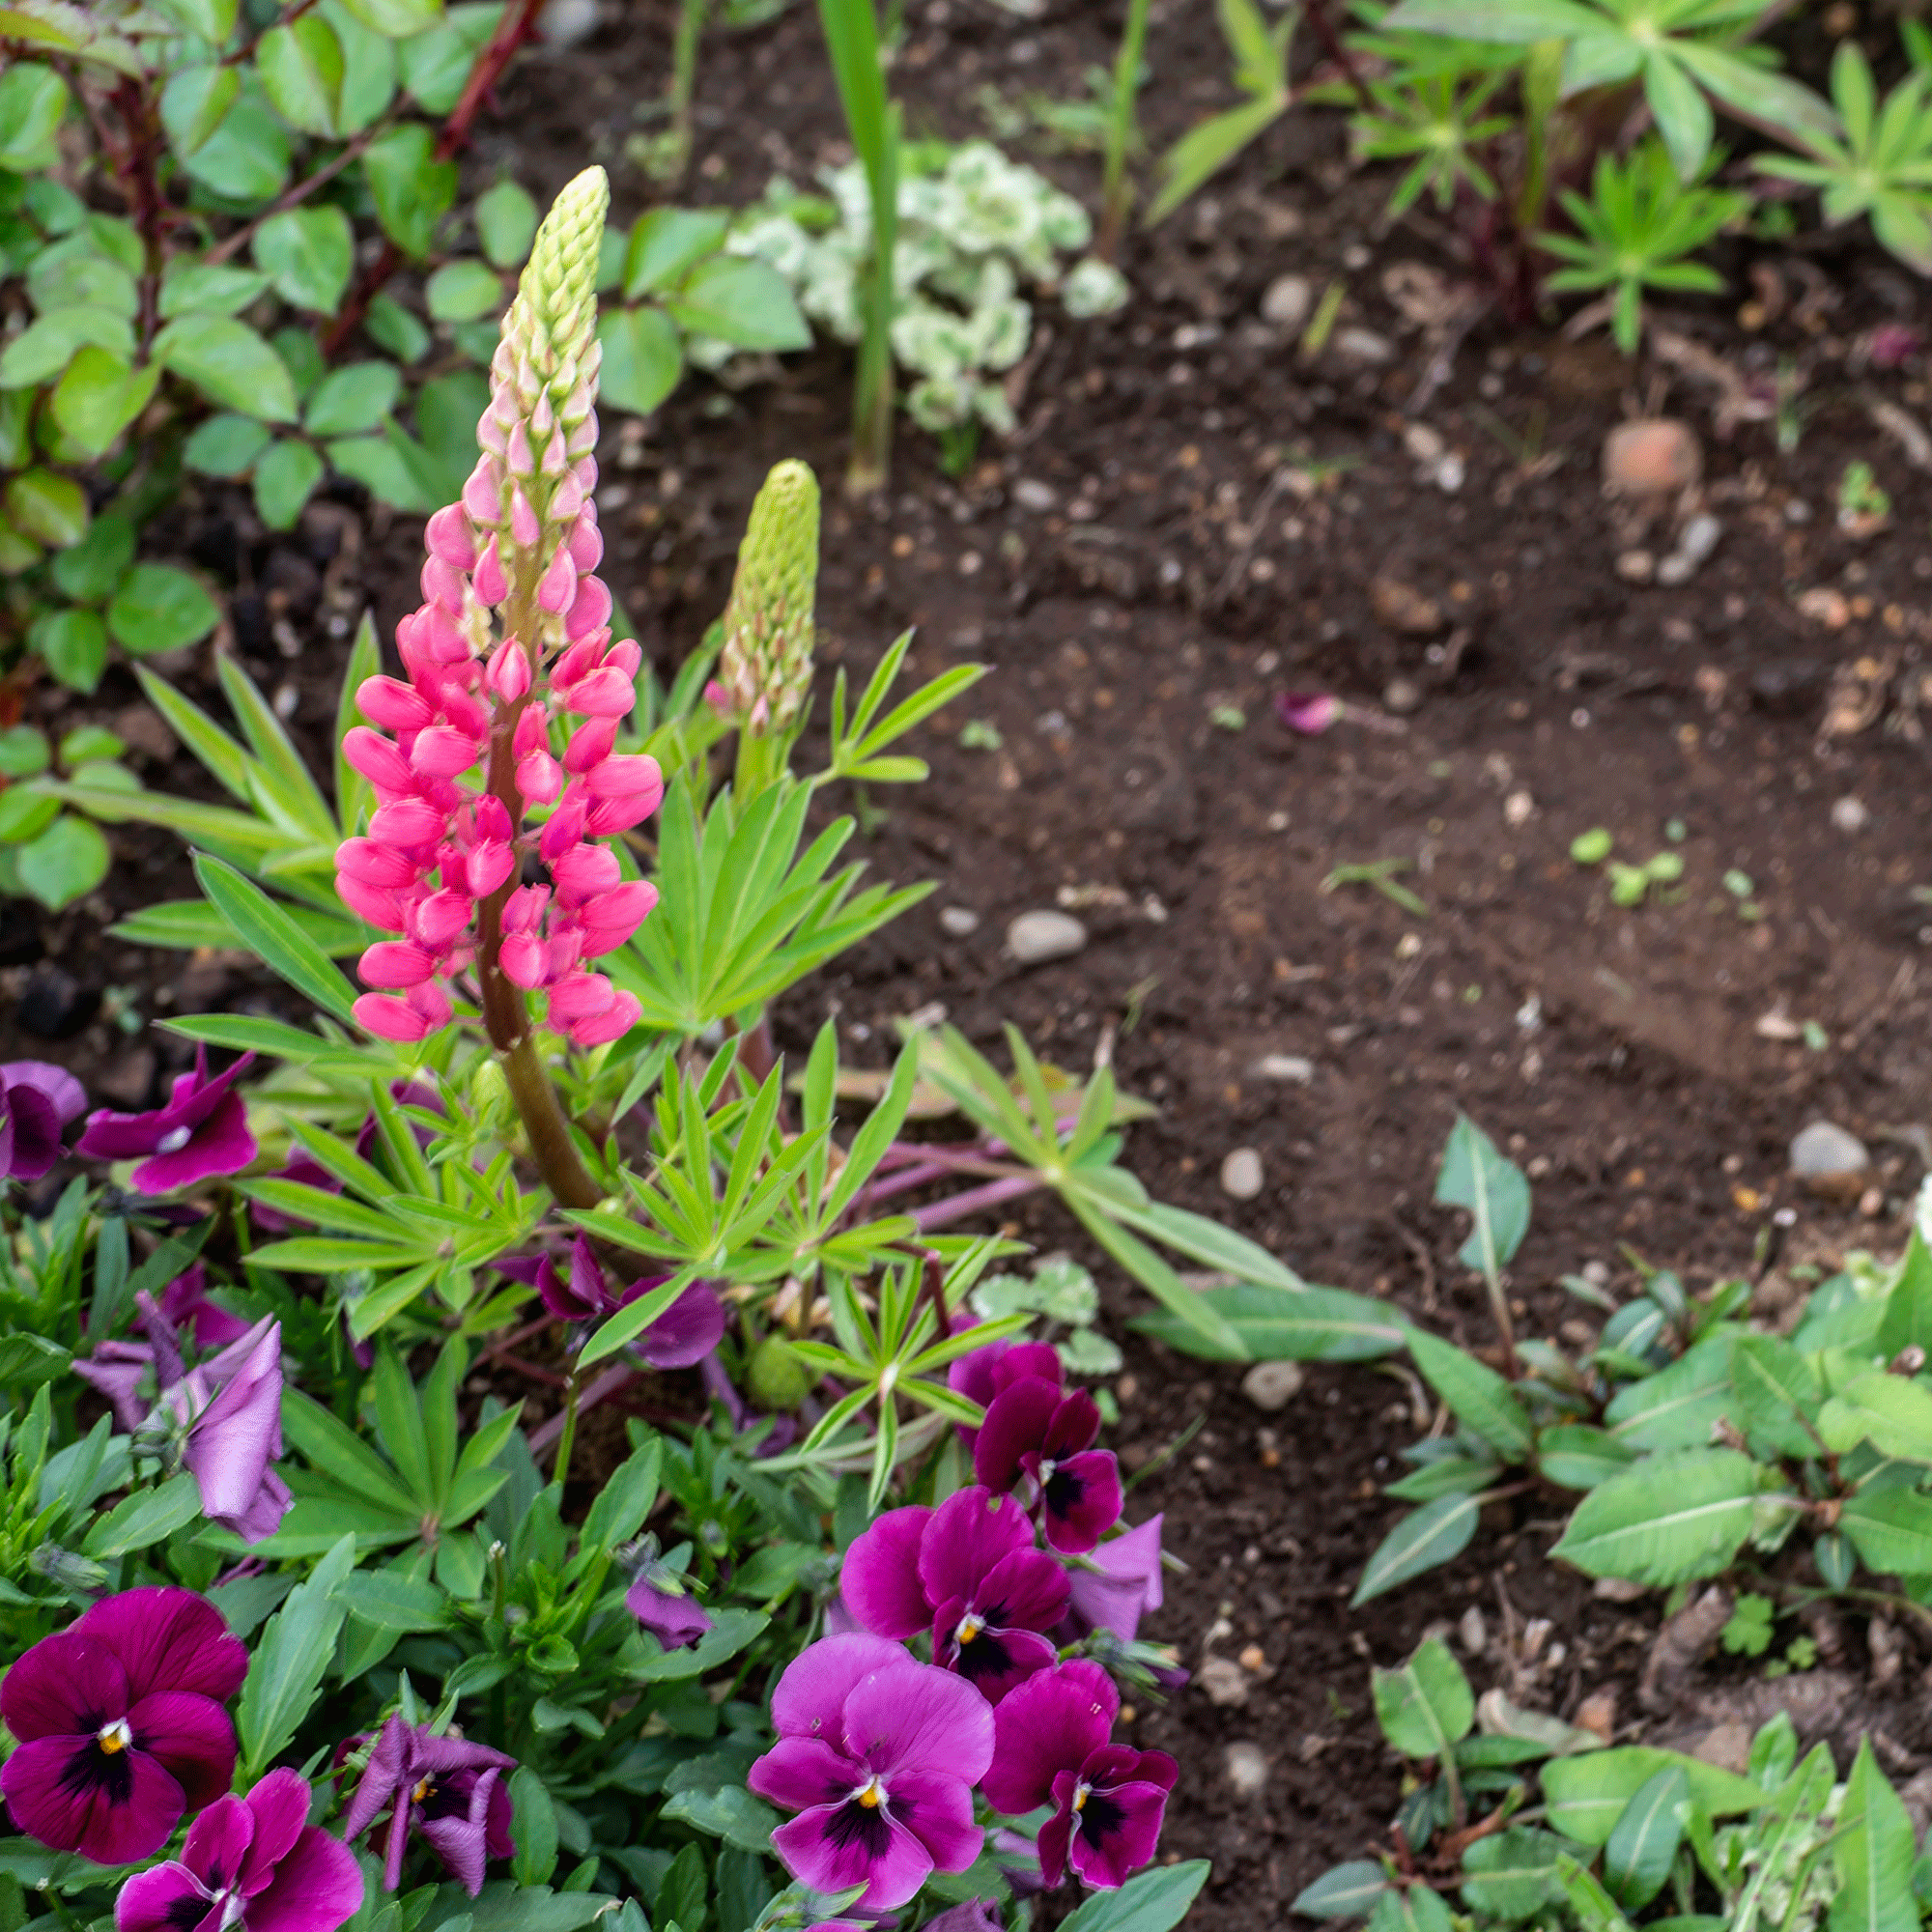
‘It is important to note that seeds don't replicate a 'true form' of the plant, so when grown these lupins will grow in a range of different colours and sizes,’ confirms Steve Chilton, garden expert at LeisureBench.
How to propagate lupins through division
It is possible to divide lupins in the spring. But as they grow with a central root, it’s not always the easiest way to generate new plants.
It is also, ‘seen to be a more complex way to propagate your lupin plant due to lupins’ having a long and deep rooting system,’ Andrew concludes.
But if you do choose division, there are a few things that you’ll want to bear in mind. ‘This must be performed in spring and it is known to be a fairly difficult process with low success rates,’ Steve says.
Again, you’ll want to select a healthy mature lupin plant to start with, which will split into several pieces. Angela recommends that you should, ‘gently dig out the plant. Pull into pieces, each containing plenty of roots and new shoots.’
‘Lupins are prone to damage through division so be very gentle throughout the process,’ outlines Andrew. ‘Using shears or scissors, trim off any damaged or longer roots.’
You’ll want to ‘plant immediately into prepared holes in the garden or pot up in good quality peat-free multi-purpose compost,’ Angela continues. Just make sure that all the roots are covered.
Where to position lupins
Whichever propagation method you choose, ‘the final step is to water the containers and place the lupin cuttings somewhere warm with indirect sunlight. Once they are established you can transplant them into larger pots or in the garden,’ Dani says. Just take care not to overwater them as this can lead to rot.
As they tend to grow upright and reach between 50cm and a metre in height, they need a bit of shelter to protect them from the elements and reduce the likelihood of them being damaged by strong winds.
