How to make soap at home – an easy step-by-step guide
Create fragrant combinations to elevate bathtime

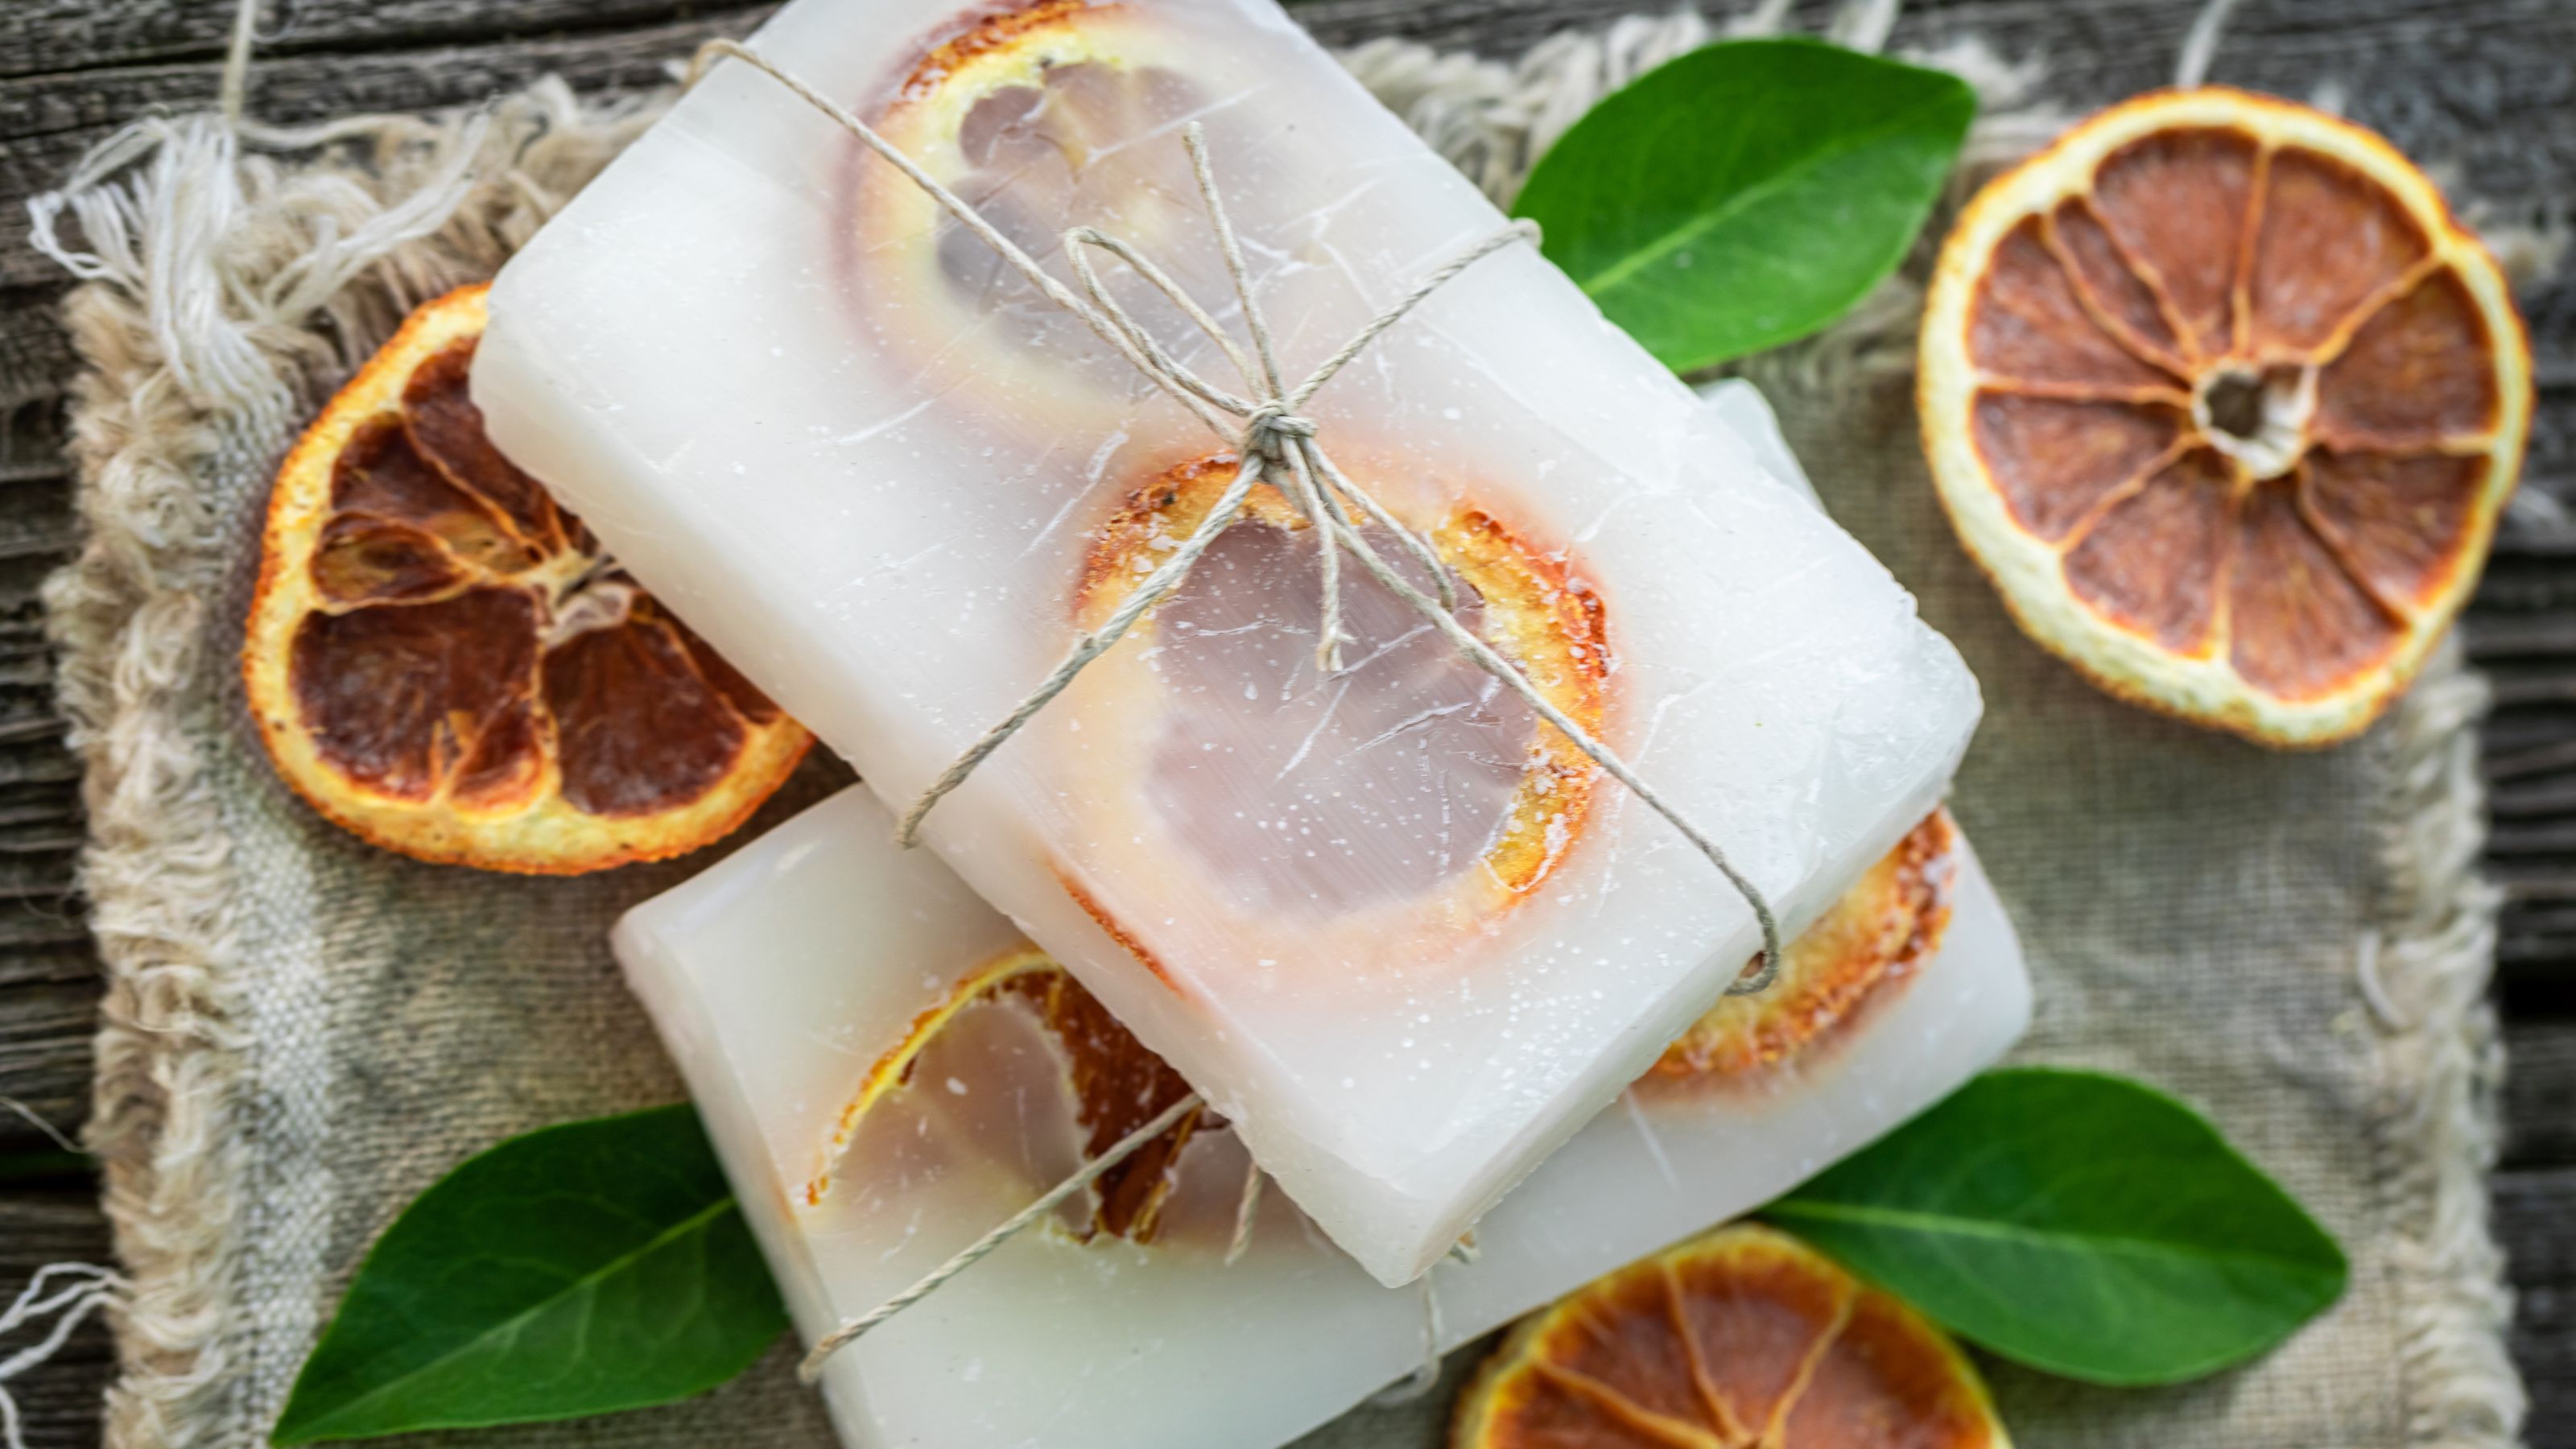
Learn how to make soap at home and you'll fall in love with the range of colour and fragrance combinations you can create – perfect for bringing the benefits of aromatherapy to your bathroom ideas.
Using a melt-and-pour soap base makes it surprisingly easy to make soap at home as it does away with the need to work with highly caustic lye – one of the key ingredients of traditional soap-making.
When you start to make soap at home, you'll be surprised by the simplicity of the process – one of the most challenging parts is deciding on the fragrance for your soap.
Why not look to the best essential oils for sleep for a soothing lavender combination that will help you relax, or perhaps invigorate your morning shower with zingy citrus or fresh mint smells that will wake you up? You can create different types of soap to suit different moods and times of day.
What you'll need
Additionally, you'll need to gather...
- Glass bowl
- Saucepan
- Wooden spoon
- Soap colouring – if desired
- Mix-ins such as dried flowers, dried citrus slices, coffee grounds, biodegradable cosmetic-grade glitter
- Spray bottle with isopropyl alcohol (optional)
1. Prepare the soap base
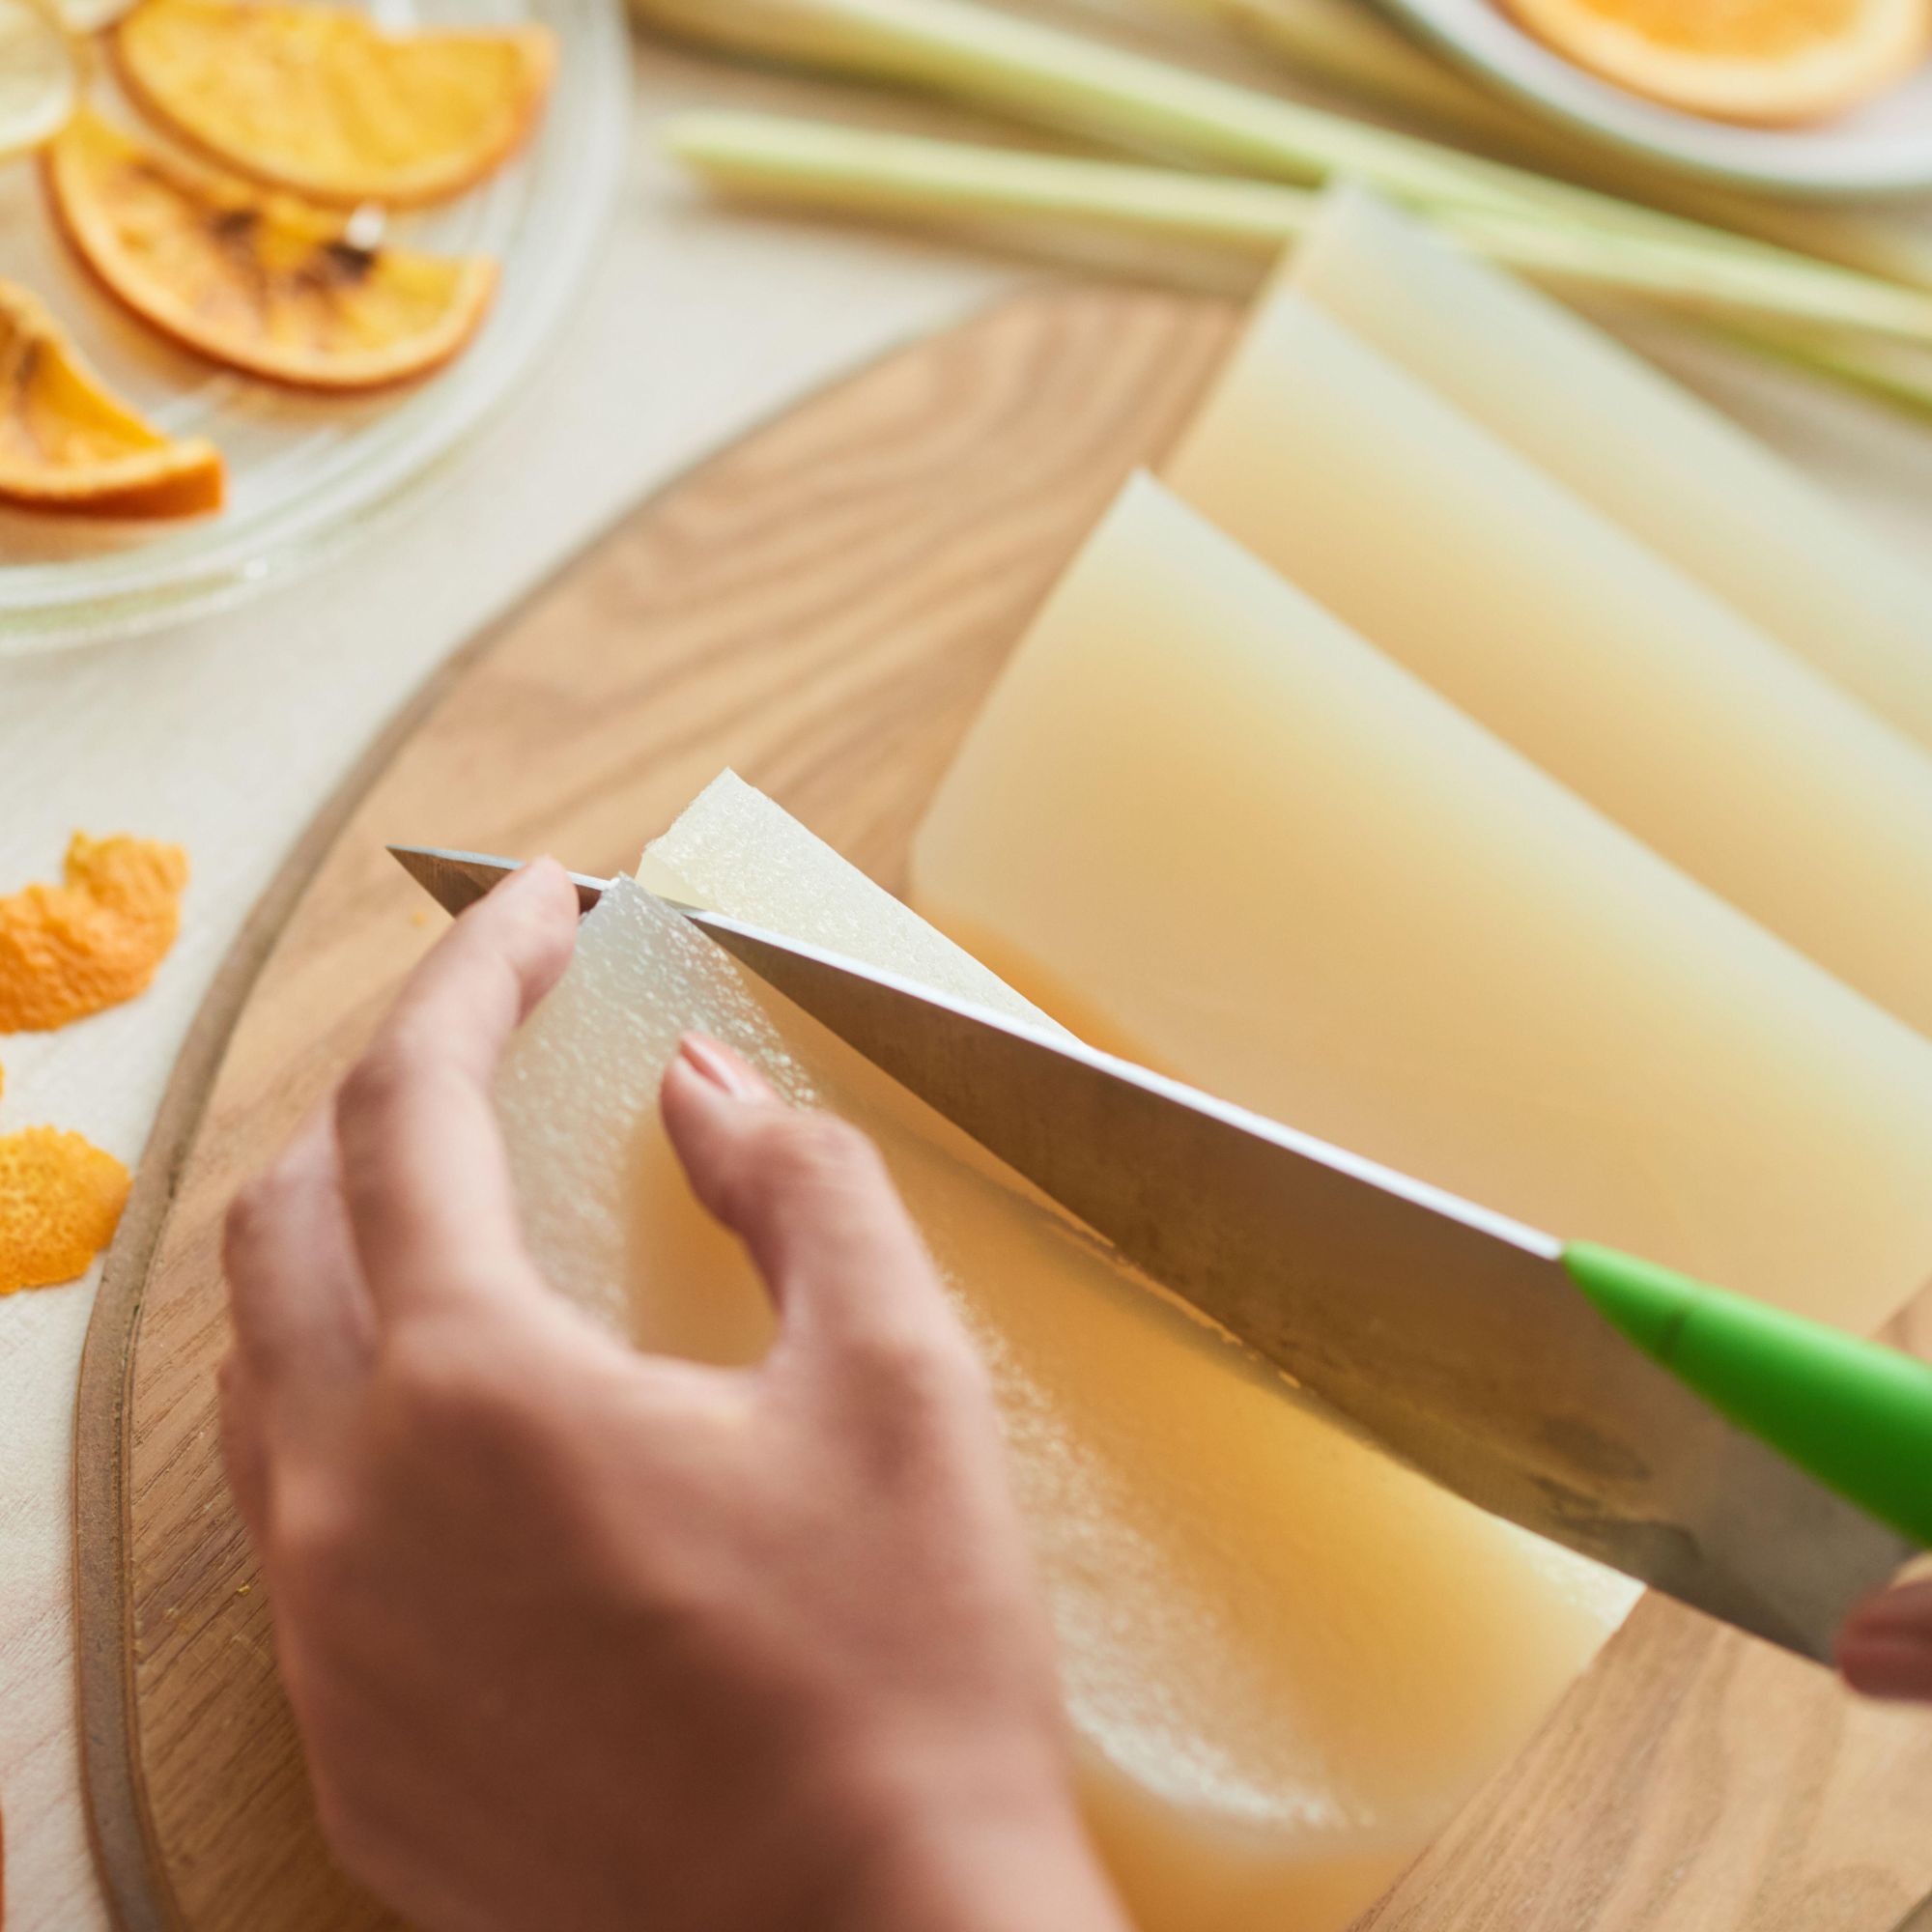
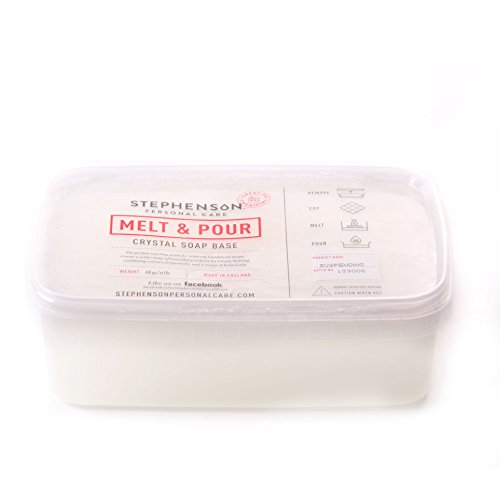
When learning how to make soap at home, purchase a reputable soap base – the Stephenson brand is one of the most popular.
Cut the soap base into smaller cubes – this will help it to melt evenly. Place the cubes in the glass bowl.
Sign up to our newsletter for style inspiration, real homes, project and garden advice and shopping know-how
2. Melt the soap base
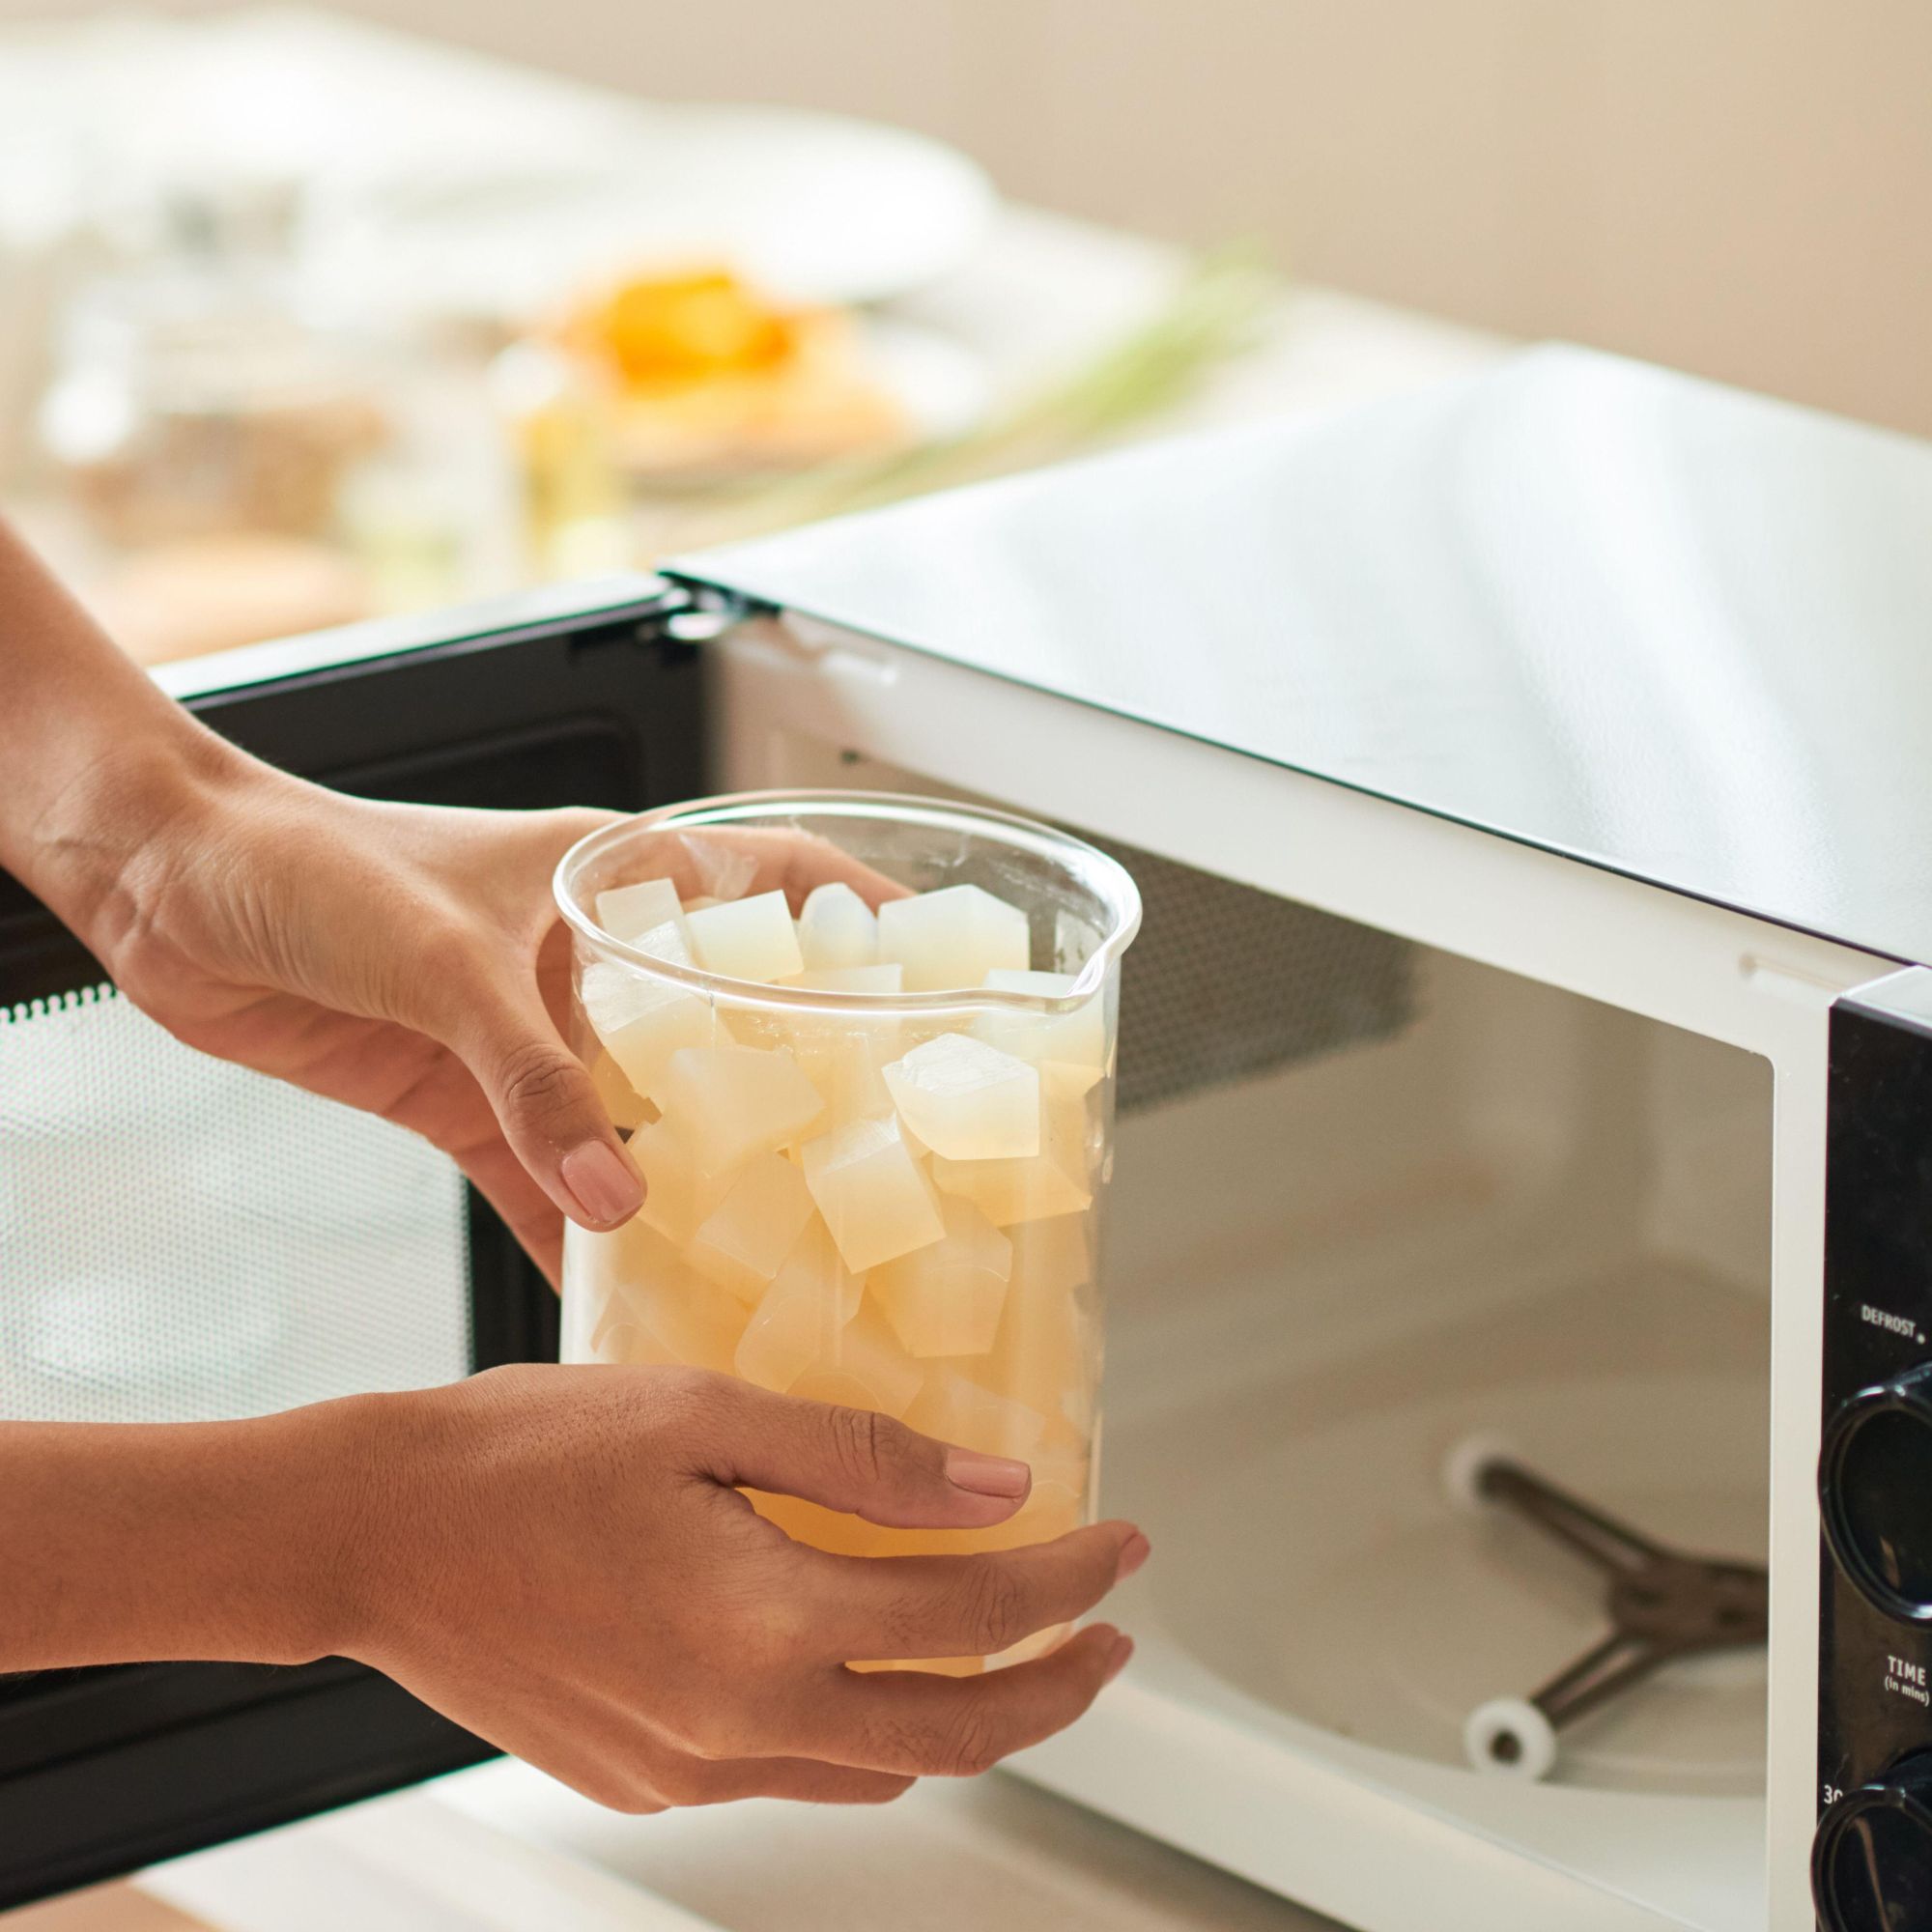
There are two ways to melt your soap base. The first uses the hob. Pour boiling water into the base of the saucepan and place the glass bowl on top. Make sure that the bottom of the bowl does not touch the water. Heat the pan on a low heat to melt the soap base, stirring occasionally to ensure it melts evenly – do not allow it to boil. When fully melted, remove from the heat.
If you have one of the best microwaves, then the microwave method is quicker but requires constant vigilance. As before, place your soap base in a glass bowl, then microwave for 30 seconds, then stop and stir with the wooden spoon. Return to the microwave for another 15 seconds, then stir again. Repeat this until the soap base is fully melted – don't allow it to boil.
3. Add fragrances and colour
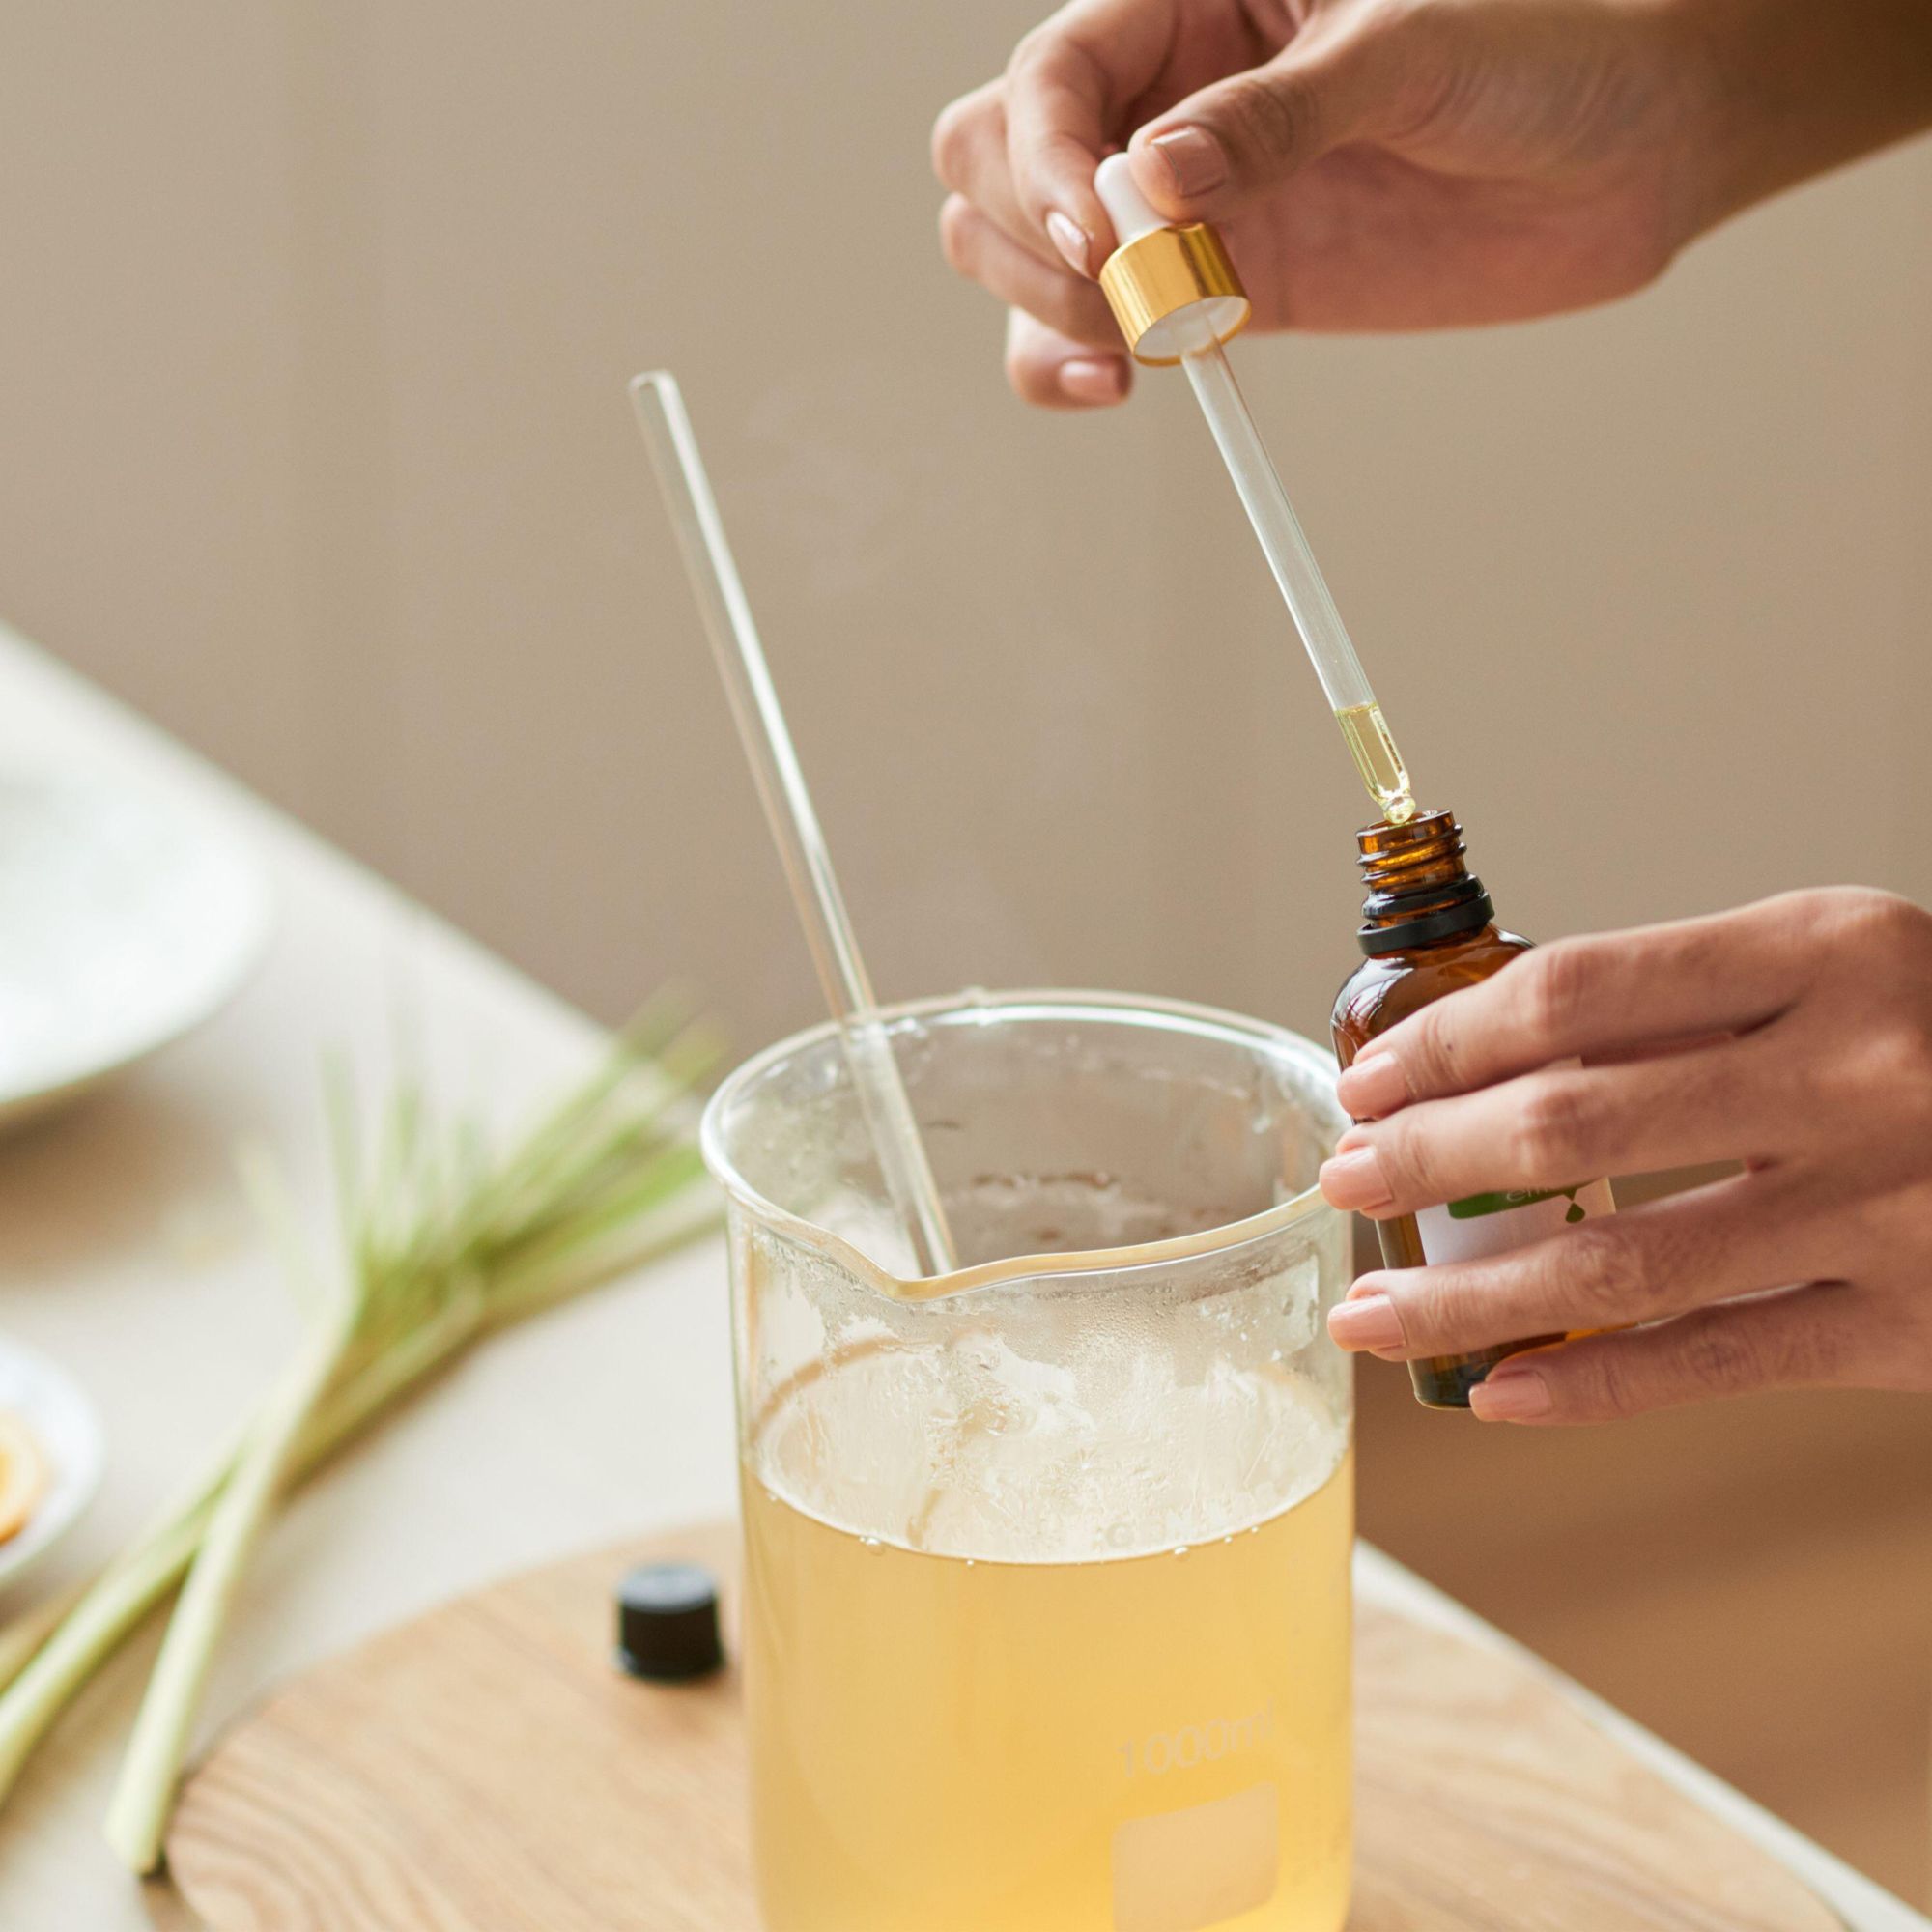
The fun part of learning how to make soap at home is being able to create different scent and colour combinations.
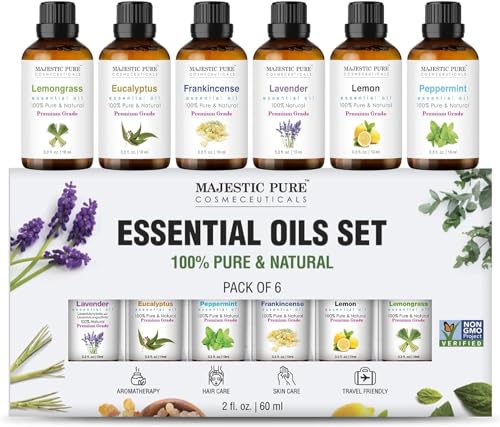
To add fragrance, use around 15ml of essential oil – you can use any scent you like, be inspired by scents of summer or the best scents to calm you down. You can use less than 15ml if you want a milder fragrance, but adding any more than 15ml may prevent the soap setting.
If desired add colour at this stage – the quantities will depend on the concentration and form of the colourant (whether powder or liquid), follow the specific guidance on the packet.
When you make soap at home, be sure to opt for cosmetic grade skin-safe dye – like this 20 Colour Bath Bomb Soap Dye from Amazon– to prevent the colour from staining your skin.
4. Pour into mould and add mix-ins
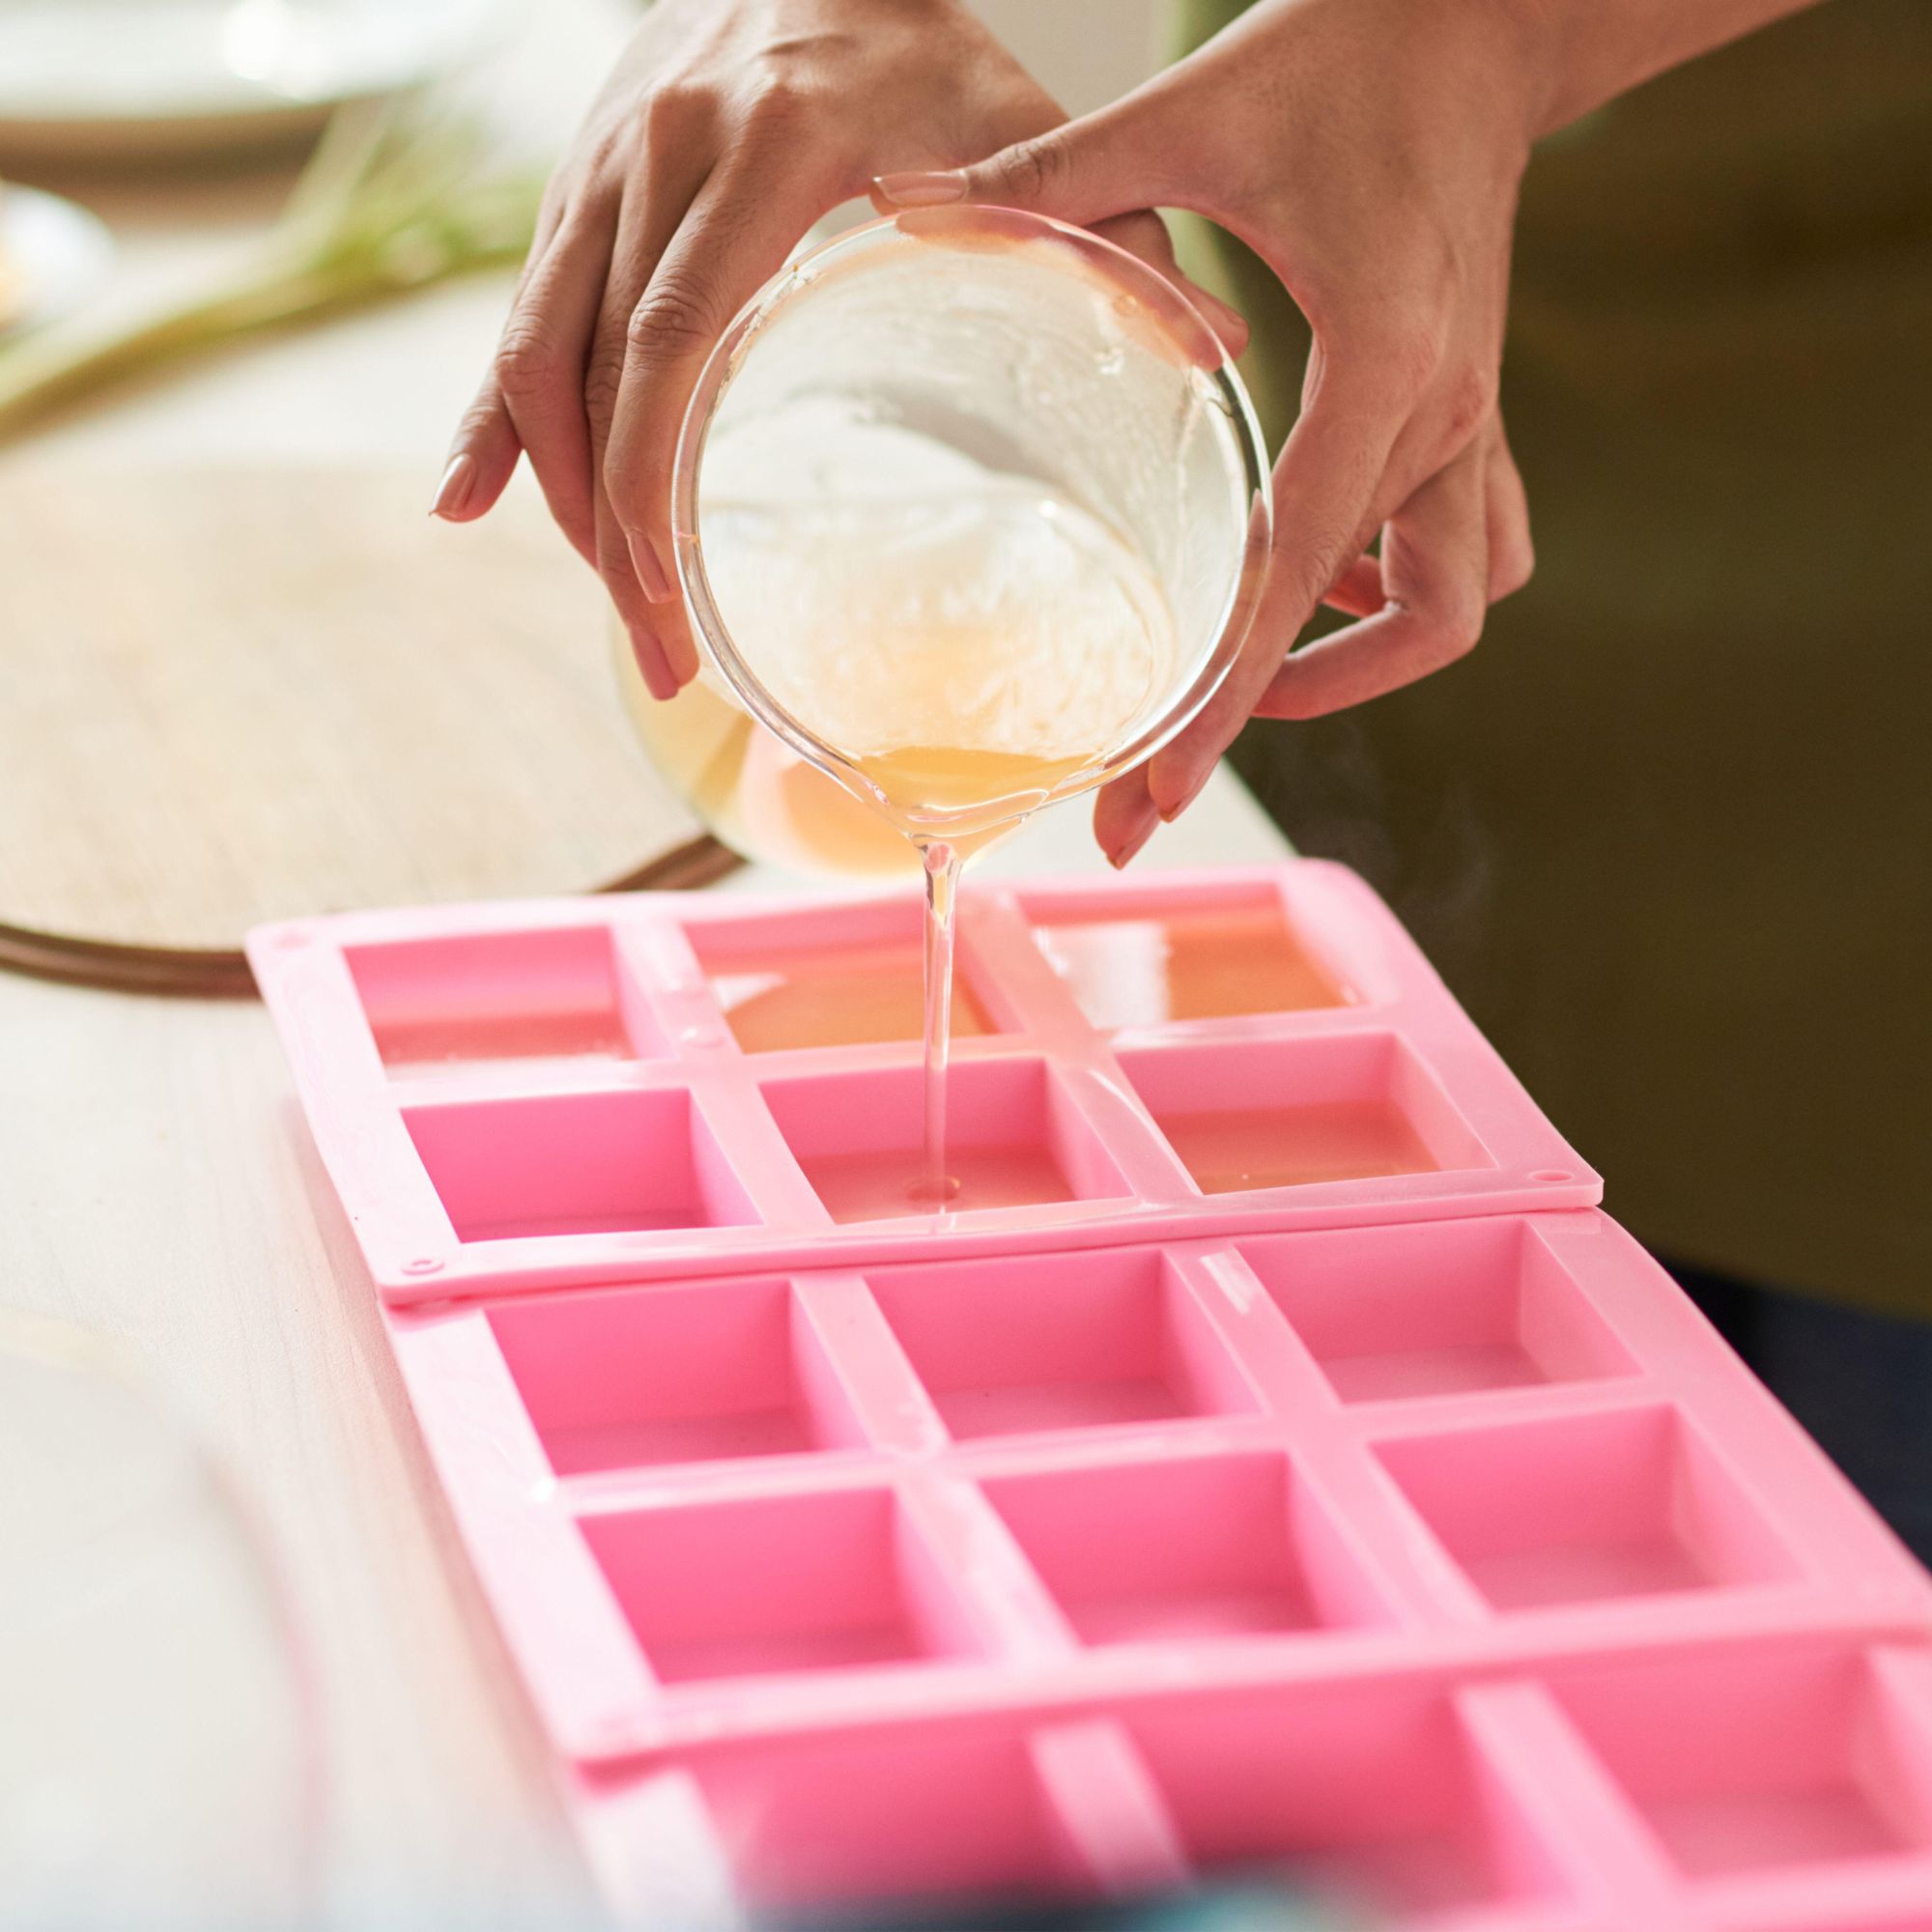
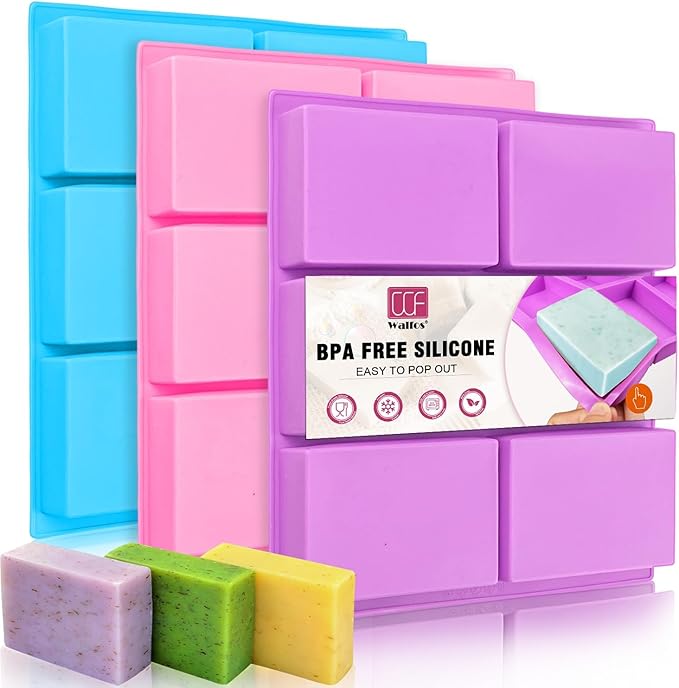
Pour half of the fragranced soap over the mould’s base, working quickly so that it doesn’t start to set in the bowl. Then sprinkle any mix-ins such as dried flowers, dried orange segments, oats, seeds or glitter over the surface. Follow with the rest of the melted soap mixture.
5. Remove bubbles and leave to set
If desired, spray the surface with the alcohol to remove any bubbles. The bubbles won’t affect the quality, but they will be visible in the finished soap.
Leave the mixture to set overnight.
6. Turn out and cut (if needed)
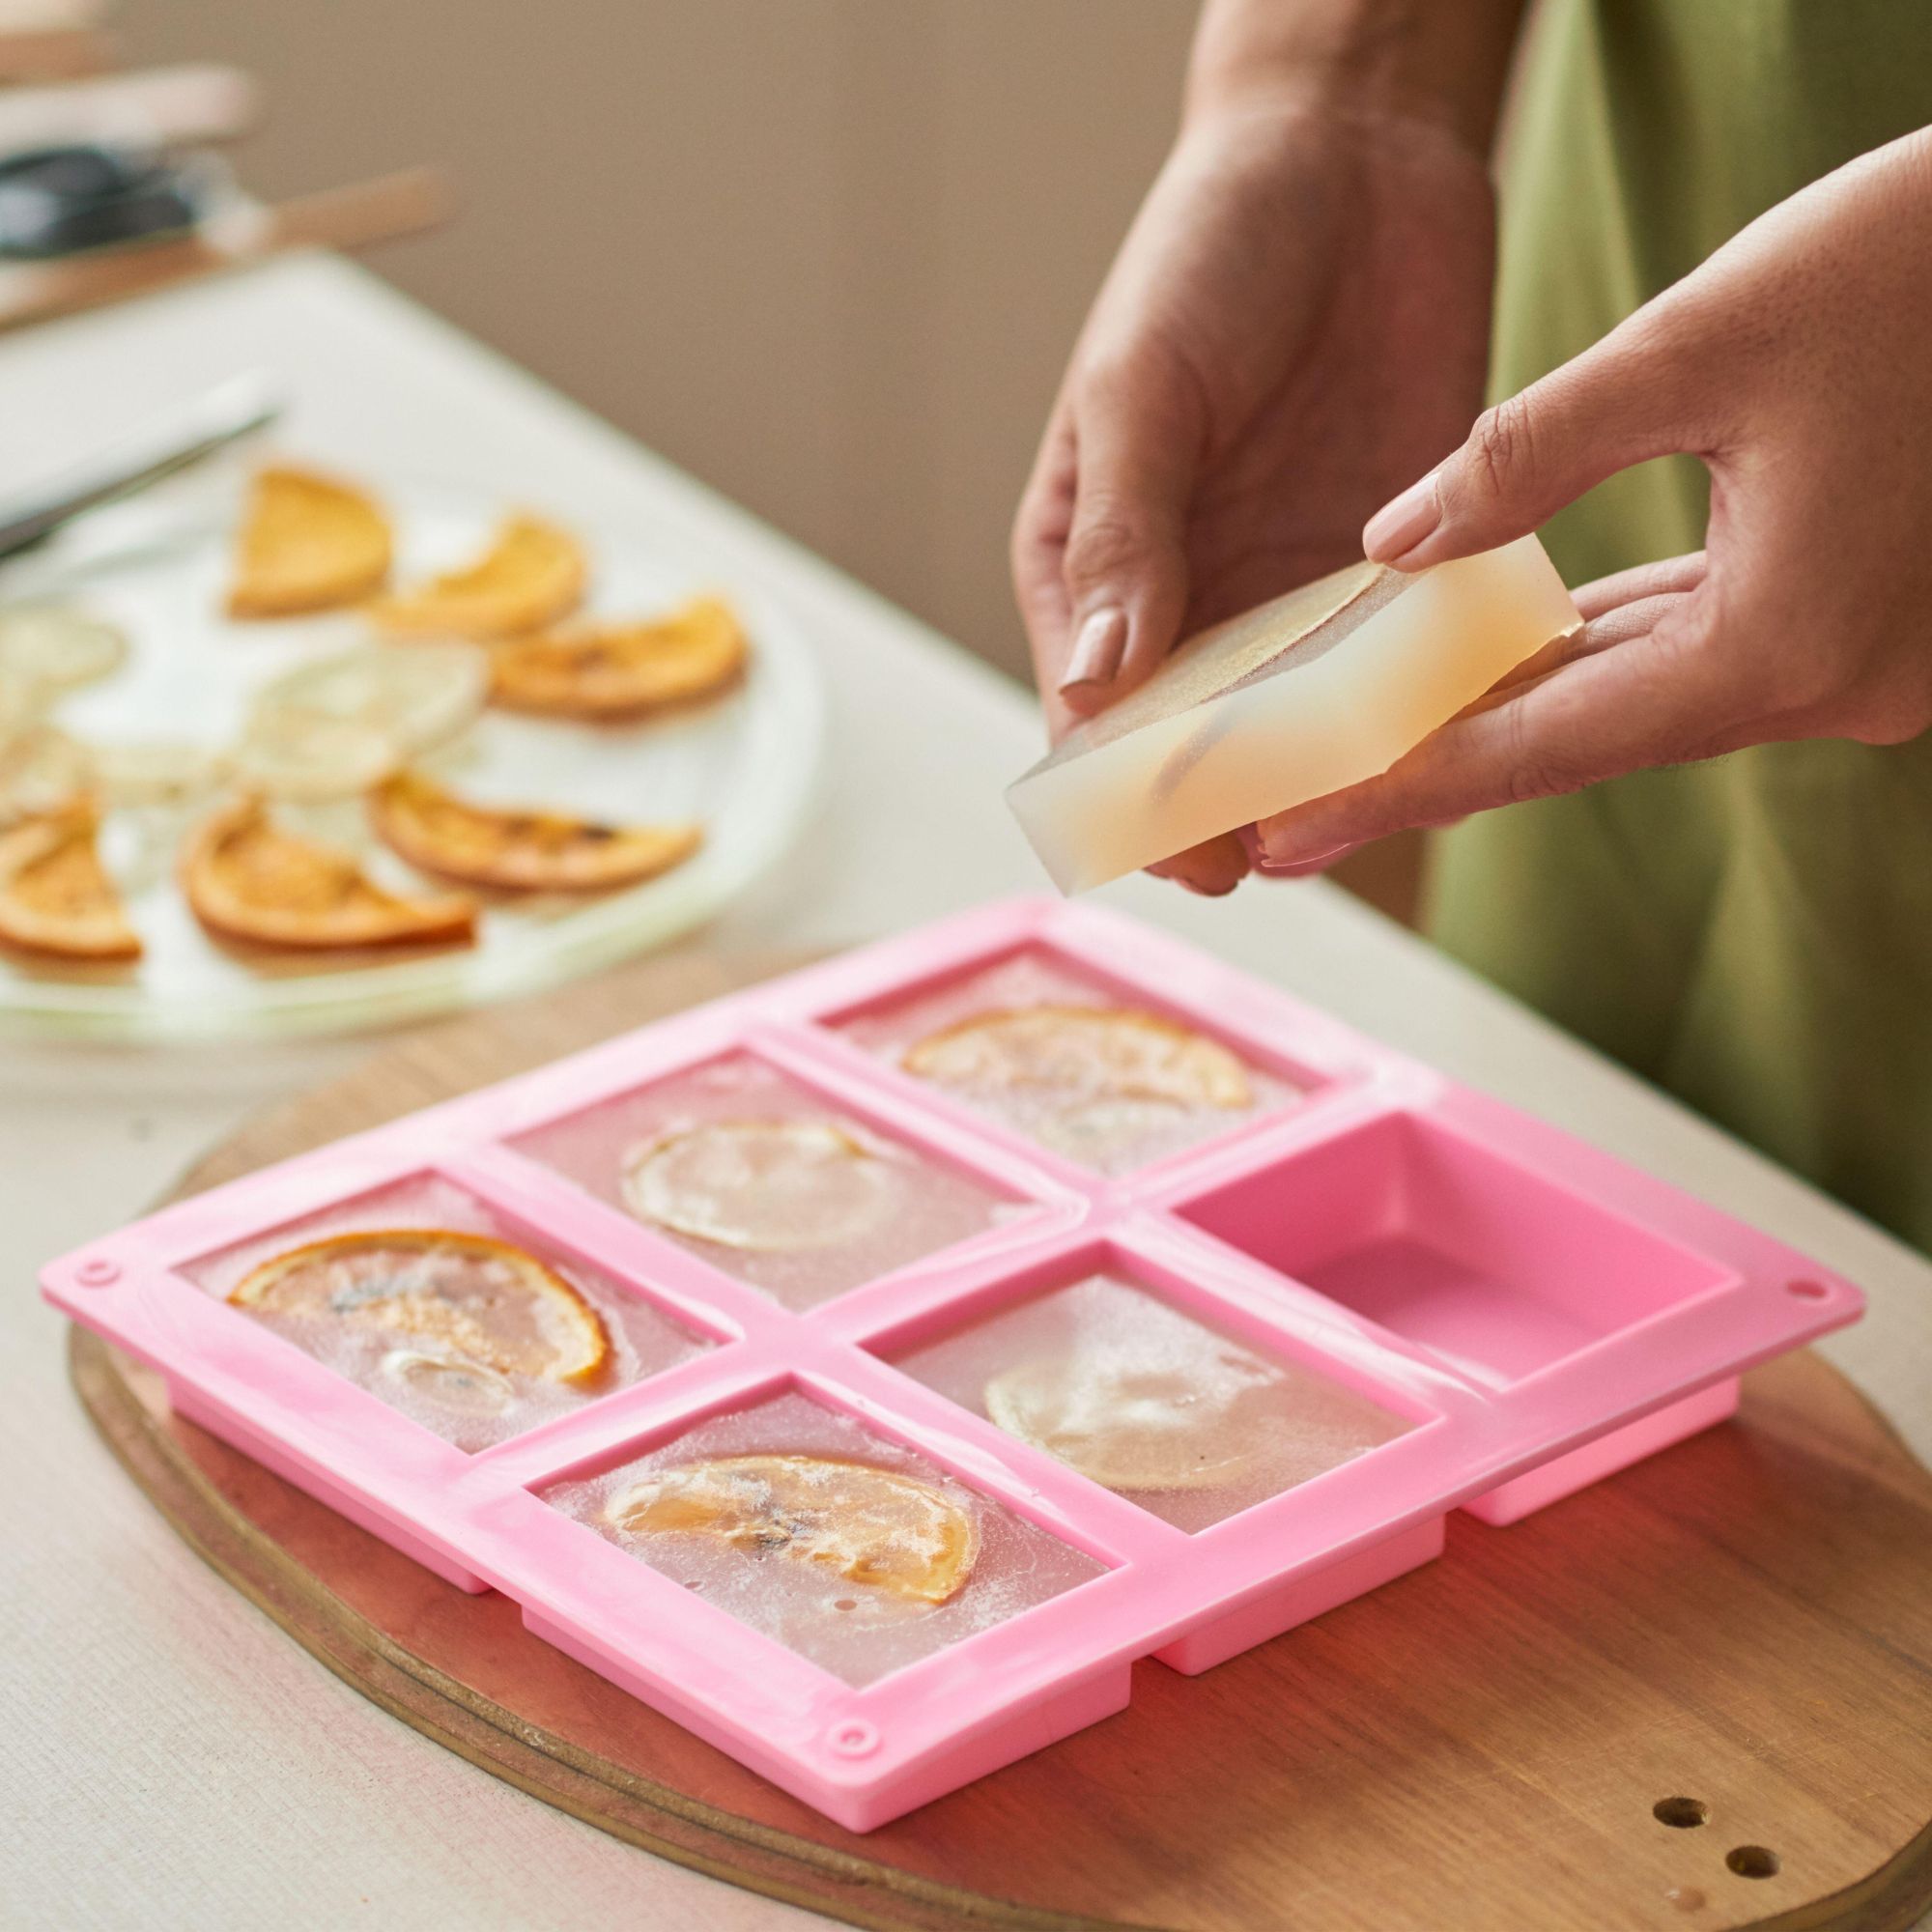
Turn out your soap. If using a large mould, cut your soap into usable slices; on average, 1kg of soap base should make between nine and 13 bars.
7. The finished product
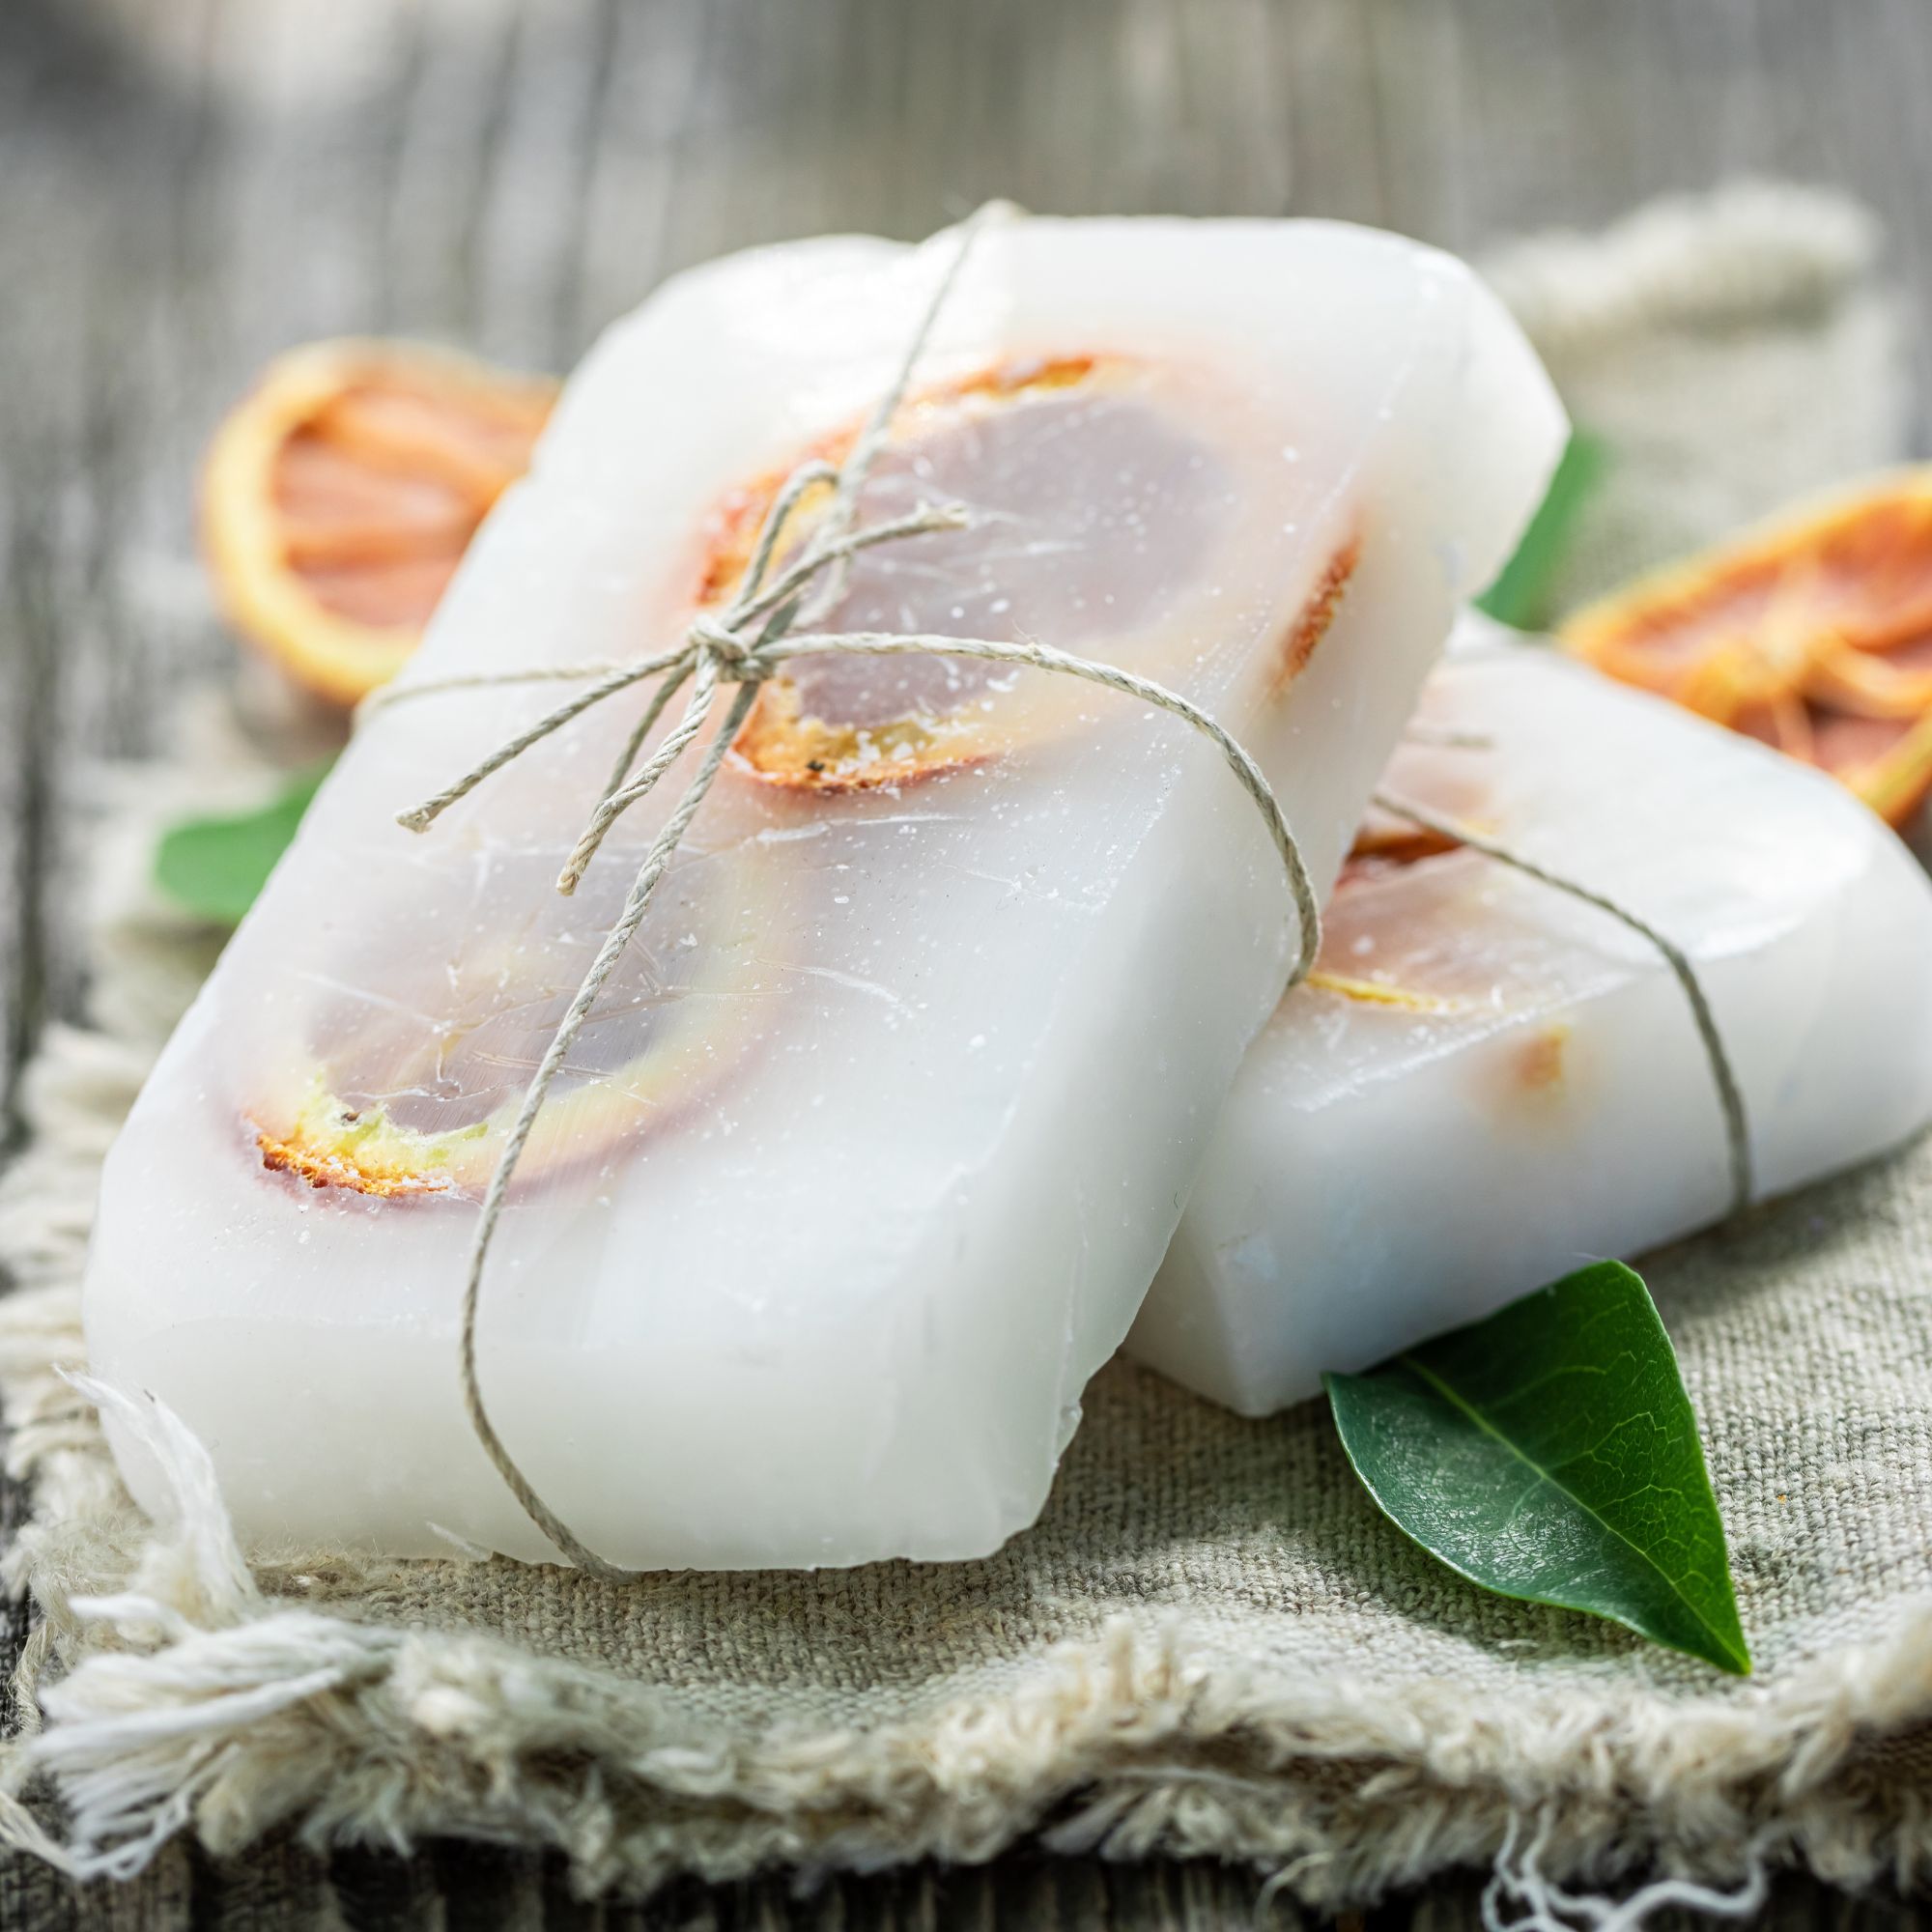
Once turned out, the soap is ready to use. As with all soap, when not in use, store it in a dry place so that it doesn't disintegrate.
Homemade soap also makes an excellent gift, especially when paired with our homemade mason jar bath salts or other accessories that make bathrooms better.
FAQS
What are the ingredients in homemade soap?
The key ingredients in homemade soap are melt-and-pour soap base and essential oils.
There are plenty of different varieties of bases available depending on your preferences including Argan Oil; Goats Milk and Shea Butter. Lots of the melt-and-pour bases are also free from SLS and SLES.
Can soap be made without lye?
Yes, using a melt-and-pour base means you can make soap at home without lye.
Lye is a traditional ingredient in soap-making – reacting with oils to make the soap. However, it is highly caustic and can cause burns. Once the soap has been cured, there are no traces of the lye.
With a melt-and-pour base, this process has already been carried out, so you can safely make soap at home.
How to make homemade soap moisturising?
You can make homemade soap moisturizing by opting for a melt-and-pour base that features moisturising oils such as Argan oil or shea butter. Goat milk melt-and-pour bases are also highly moisturising.

Holly is one of Ideal Home’s content editors. Starting her career in 2018 as a feature writer and sub-editor for Period Living magazine, she has continued this role also adding regular features for Country Homes & Interiors and the Ideal Home website to her roster. Holly has a passion for traditional and country-inspired interiors – especially kitchen design – and is happiest when exploring the countryside and hills of the Lake District. A keen gardener, she is a strong believer that you can never have too many houseplants.
