How to paint a scalloped wall - creating a fun feature wall
With over 1,100 posts tagged #scallopwall on Instagram, this new trend is a quick way to liven up a plain wall with paint

How to paint a scalloped wall is getting a lot of love on Instagram and we can see why! We can't resist a new interiors trend, especially when it's as gorgeously curvaceous as this one.
Not only is a scalloped wall a great way to inject some lively energy back into a room, it's actually pretty quick and easy to do.
Still feeling nervous about trying this on-trend DIY and decorating effect? Don't be! Marianne Shillingford, creative director at Dulux, has some reassuring advice:
'Practice makes perfect. If you have never done this before or are a little nervous painting, have a practice on a piece of painted lining paper or a bit of wall you haven’t painted yet. No one gets perfect scallops without a bit of touching up at the end so don’t worry and just have fun.'
How to paint a scalloped wall

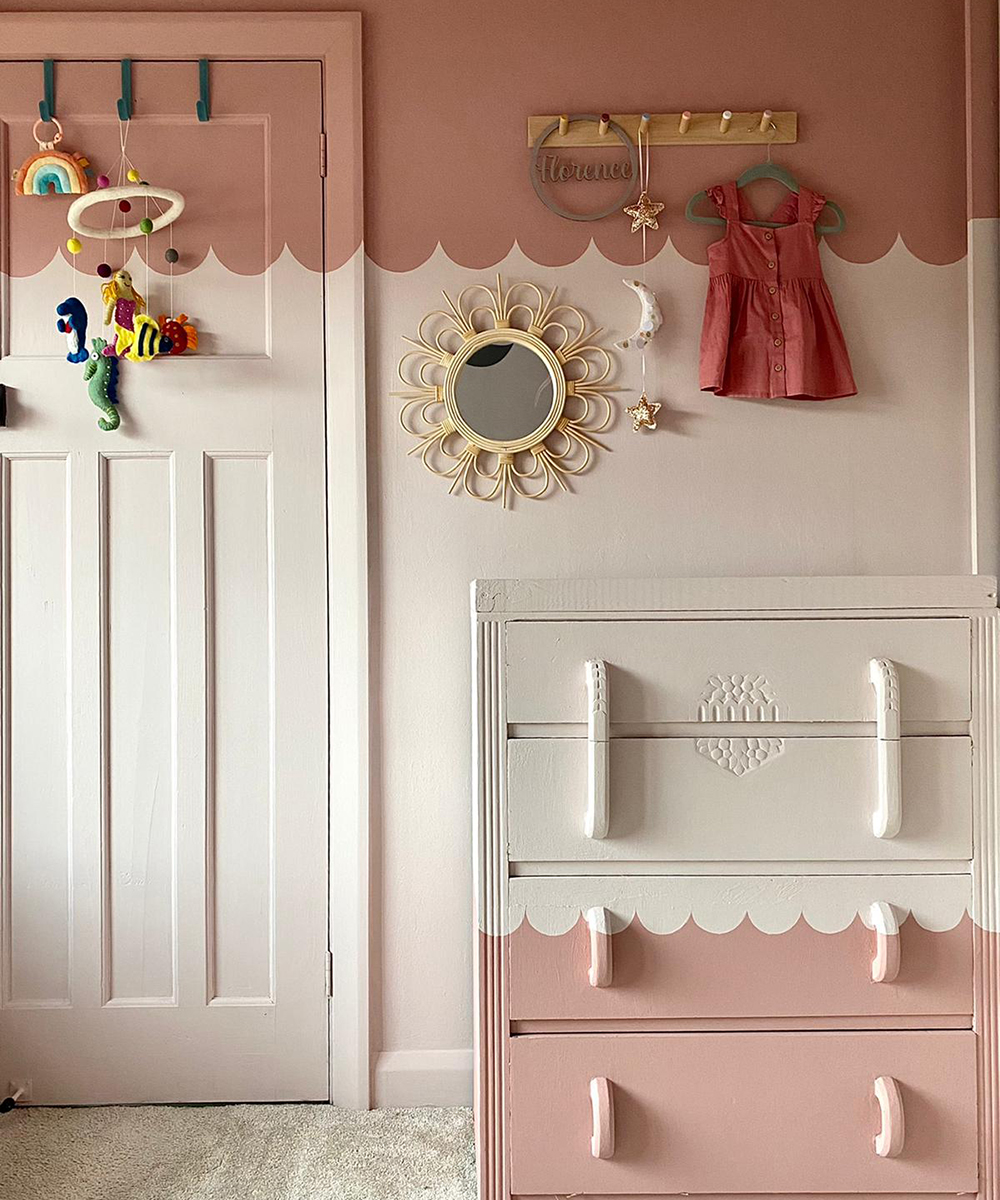
Serving up a little inspiration, @banish_the_beige has used two gorgeous neutrals - Blossom and Potters Pink, both from the Dulux Heritage paint range. This decorative painting technique is perfect if you're on the look out for fun children's room ideas.
Let's get started with this imaginative paint ideas – to create feature walls to give any room a makeover!
What you'll need
- Emulsion paint in two colours
- Round plate
- Large piece of thin card
- Scissors
- Chalk, string and drawing pin
- Spirit level and ruler
- Masking tape
- Small foal radiator roller
- Paint brush
- Artists' brush
1. Apply the background colour
Paint the walls in your chosen background colour. A once-coat formula will get the job done in super-quick time.
Sign up to our newsletter for style inspiration, real homes, project and garden advice and shopping know-how
2. Make your scallop template
Draw around a plate onto thin cardboard. Old cereal packets or craft card taped together are perfect. Position the plate so half of it sits on the top edge of the cardboard. Draw at least three scallops in a row.
Neatly cut the template out so you have a continuous line of scallops. If you plan to use them as stencils, make two or three more of these.
3. Decide what height you'd like your scallops to be
Draw a straight horizontal line across the width of the wall using a ruler, spirit level and coloured chalk. Apply masking tape to the chalk line. Paint with the colour you'll be using for your scallops.
Marianne advises, 'If you have a large space with high ceilings, placing the scallop line three quarters up the wall helps create a cosy feeling, bringing the ceiling down to envelope you.
'If you’re working with a small space, opt for placing the line in the middle to avoid making the room feel smaller. Painting the skirting boards in the same shade as the bottom half also helps maximise the space you have.'

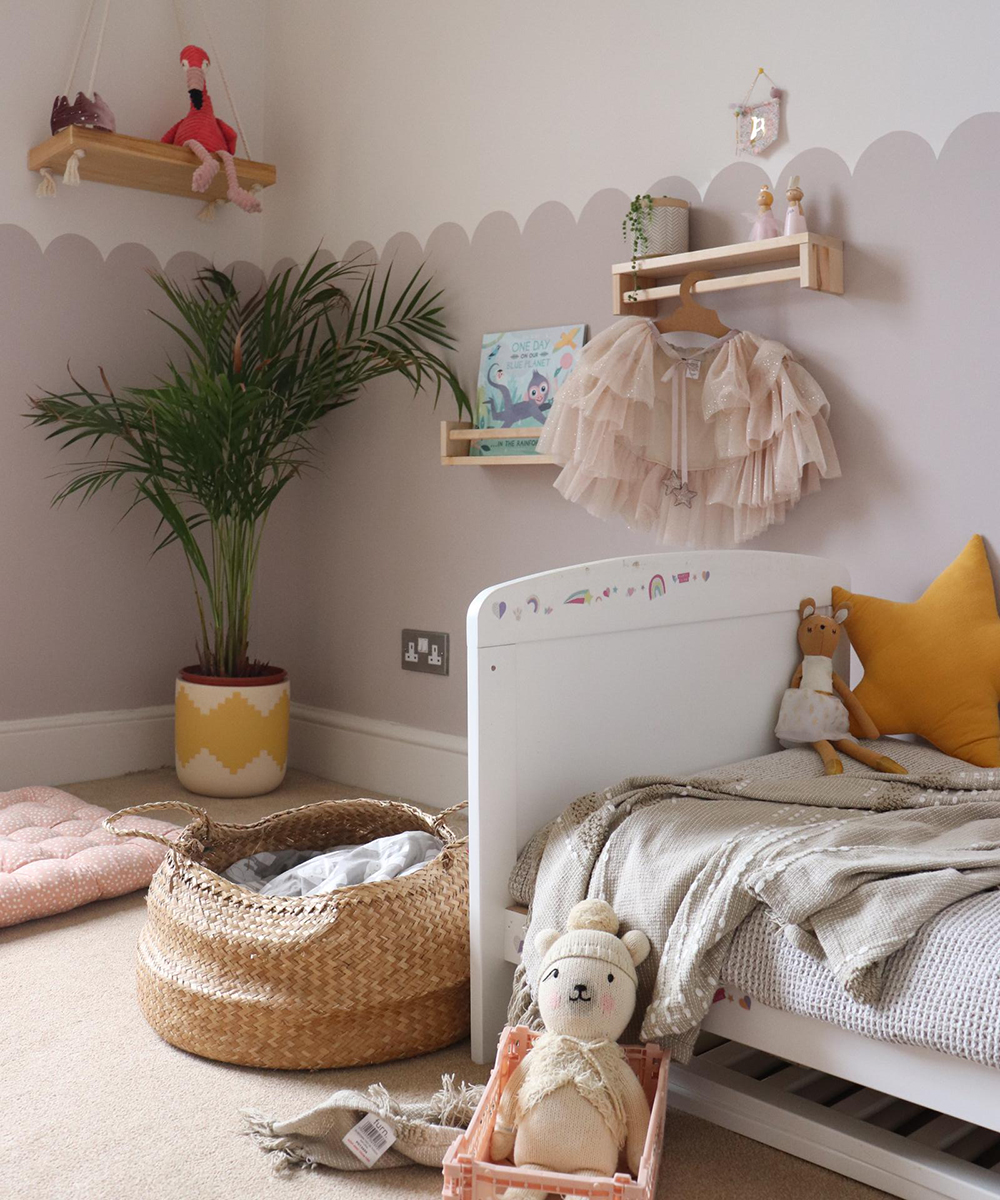
Here @mcchills_nest has created their scalloped wall using Pale Nutmeg and Pomice Brown from the Dulux Heritage paint range.
4. Paint in the scallops
Position your template so the points of the scallops are just above the painted line. Use masking tape to hold in place. Use this as a template to draw the scallops directly onto the wall. Paint in with a small brush.
Alternatively, use the template as a stencil and apply paint directly over the stencil using a small foam radiator roller.
Move the template along until you've completed the entire wall.
If a whole wall seems daunting, Dulux paint expert Marianne has a final tip: 'A more subtle way of using the scallop design is around a door or along the top of the skirting board where it’s a fun little element that will make you smile every time it catches your eye.'
Good luck and have fun!

Steph Durrant is the Deputy Editor of Ideal Home’s sister magazine, Style at Home. Steph is an experienced journalist with more than 12 years under her belt working across the UK’s leading craft and interiors magazines. She first joined the team back in 2016 writing for both homes brands, specialising in all things craft, upcycling and DIY.