I wish I’d known this one thing before painting my walls – it would have stopped dark borders ruining my room renovation
Learn from my mistake by following this expert advice on how to avoid it


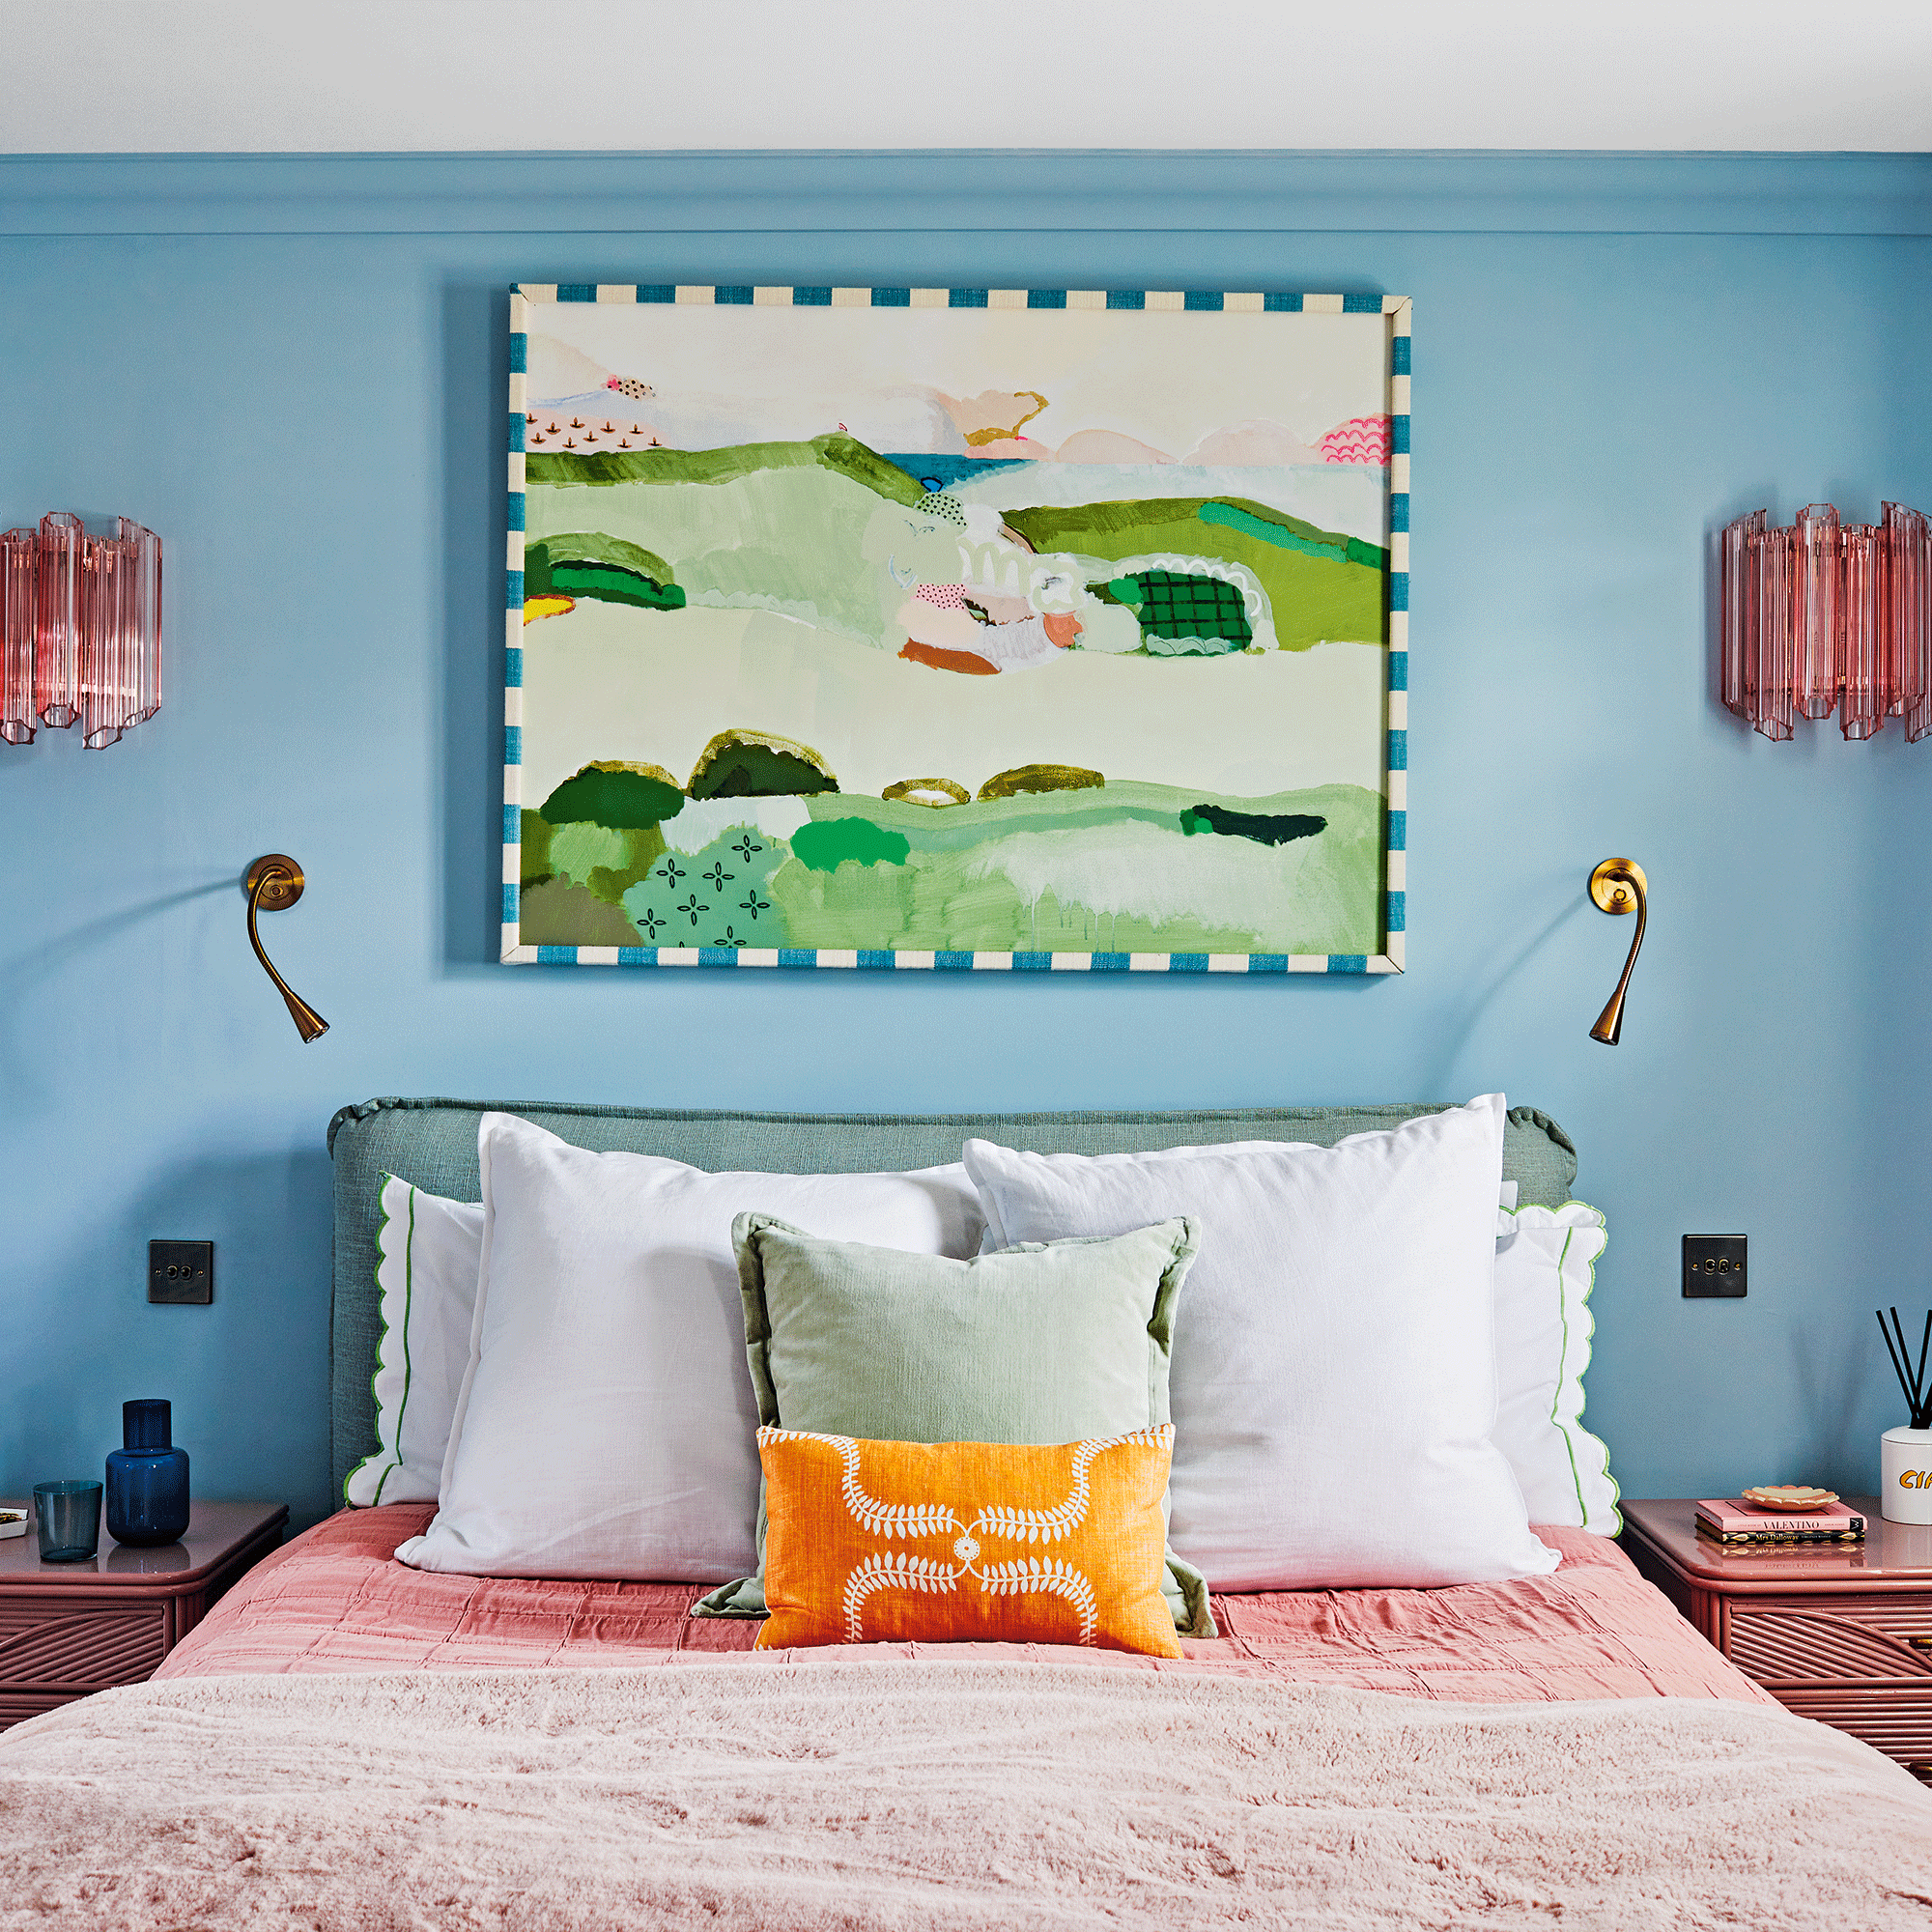
As a beginner when it comes to home renovations, last week marked my first attempt at painting my walls, and it was a real learning experience.
Despite spending ages researching how to paint a wall, I still didn't achieve the professional finish I was hoping for, as I didn't know about picture framing or, more specifically, how to avoid it.
'Picture framing is an effect where the outer edges of the wall appear different to the rolled inner section, creating the look of a frame on the wall,' explains Anna Hill, brand director and colour consultant, Fenwick & Tilbrook.

This means that when the sun hits the wall, the edges of my room – where I meticulously cut in – are darker than the rest of the wall. It's also the case around my light switches and plug sockets, too. However, with one simple change, it is easily avoidable.
How to avoid picture framing
The secret to avoiding picture framing is to work with speed and precision.
'We recommend starting by cutting in around the edges with a brush, then using a roller to fill in the main wall area. It is essential to work in small sections and maintain a wet edge to ensure a smooth, seamless finish,' says Dominic Myland, CEO of Mylands.
Maintaining a wet edge means not allowing the paint to dry between cutting in and painting that section of the wall. Letting the cut in sections dry before painting the rest of the wall means you have an extra coat of paint over the join, making it appear as though there is a darker border around the edge of the room.
The wet edge allows you to blend the cut-in section with the rest of the wall to achieve a seamless finish.
Never cut in the whole room in one go – unless you have someone else coming behind you are paint the rest of the wall. Ian West, technical manager at Lakeland Paints advises ‘moving from top to bottom in a metre-wide strip going left to right (for a right-handed person), always keeping a wet edge for a perfect finish.' Keeping a wet edge also applies if painting kitchen cabinetry, as these two can be victims of picture-framing.
If you haven’t been able to maintain the wet edge, feathering can help correct this paint problem. Roll a nearly empty roller – like these Harris ones from Amazon – in various directions across the dry edge of a section, then start painting the larger part of the wall.

Choosing rollers and brushes to reduce the effect of picture-framing on walls
The right equipment makes all the difference when painting a room.
‘A brush allows for greater control, and is useful for smaller spaces, detailed work or areas with edges, corners or trim,' says Edward Bulmer, founder of Edward Bulmer Paints. ‘A roller, on the other hand, is better suited for large, expansive walls, providing a faster and more even application.’ Harris Essentials Walls & Ceilings Paint Brush Set, available on Amazon, has a size for every job.
However, not all rollers are equal. Ruth Mottershead, creative director at Little Greene explains: ‘Unless you’re a professional, rollers wider than nine inches are unwieldy. Also, select the right roller nap for the surface – rough (¾in), medium (½in), smooth (⅜in) or very smooth (¼in) – and avoid overloading. As a test, the roller should spin easily and smoothly in the air, without dripping paint.’ This 10-piece roller set, from Amazon, features 9" roller for larger areas and 4" roller for more intricate sections – both with a 12mm nap. Also, make sure you know how to use a paint roller for a streak-free finish.
Your paint choice will also influence whether you use a roller or a brush. ‘Most modern matt emulsions are designed to be applied with a medium-pile roller,’ says Ian West, technical manager at Lakeland Paints. ‘While glosses are best applied with a narrow flag-tipped brush.’ Lick's 1.5 inch flag-tipped paint brush from B&Q would be perfect for the job.

How to cut in properly
Anna Hill, brand director and colour consultant at Fenwick & Tilbrook, describes cutting-in as ‘getting as close as possible to the adjoining surface without overlapping’. It needs a steady hand, but masking tape helps. Frog tape, available from Amazon, promises sharp lines and no paint bleed – as can sometimes be the case with traditional masking tape.

‘To cut-in, dip bristles of a one or two-inch straight-edge brush halfway into the paint, clearing excess paint from the sides by dragging lightly over the lip of the container,’ says Ruth Mottershead, creative director at Little Greene. ‘Work from the ceiling down, painting a three-inch frame around all the edges of the wall. Paint corners, edges of the skirting board and around windows, doors, light fixtures, sockets and switch plate.’
'A one-and-a-half to two-inch paintbrush is fairly standard for cutting in, but a feature of a good brush is its ability to 'hold an edge' and you can get more accuracy from a decent four-inch brush than a lesser quality smaller one,' adds Andy Greenall, Paint and Paper Library.
Harris Trade's 2 inch short handle cutting-in brush available on Amazon would set you up for success.
