How to make an advent calendar - create a stunning DIY calendar step by step
Make December extra special this year with a beautiful handmade advent calendar


Nothing marks the start of the Christmas countdown like a good advent calendar. The excitement of opening a door every day in December is something we all fondly remember looking forward to as children, but it's a festive tradition we can enjoy just as much in adulthood.
And what better way to get in the Christmas spirit than to make your own advent calendar this year? Alternative advent calendar ideas can bring an extra bit of magic to the festive season, from the fun of making them to the joy of discovering what's waiting inside them every day.
'Creating your own advent calendars is a great idea to bring the family together', says thrifty shopper Jo Threlfall at L'espoir De Ma Vie. 'Children and adults can receive a mini gift each day, which is a nice way to surprise your loved ones in the lead-up to the festivities.'
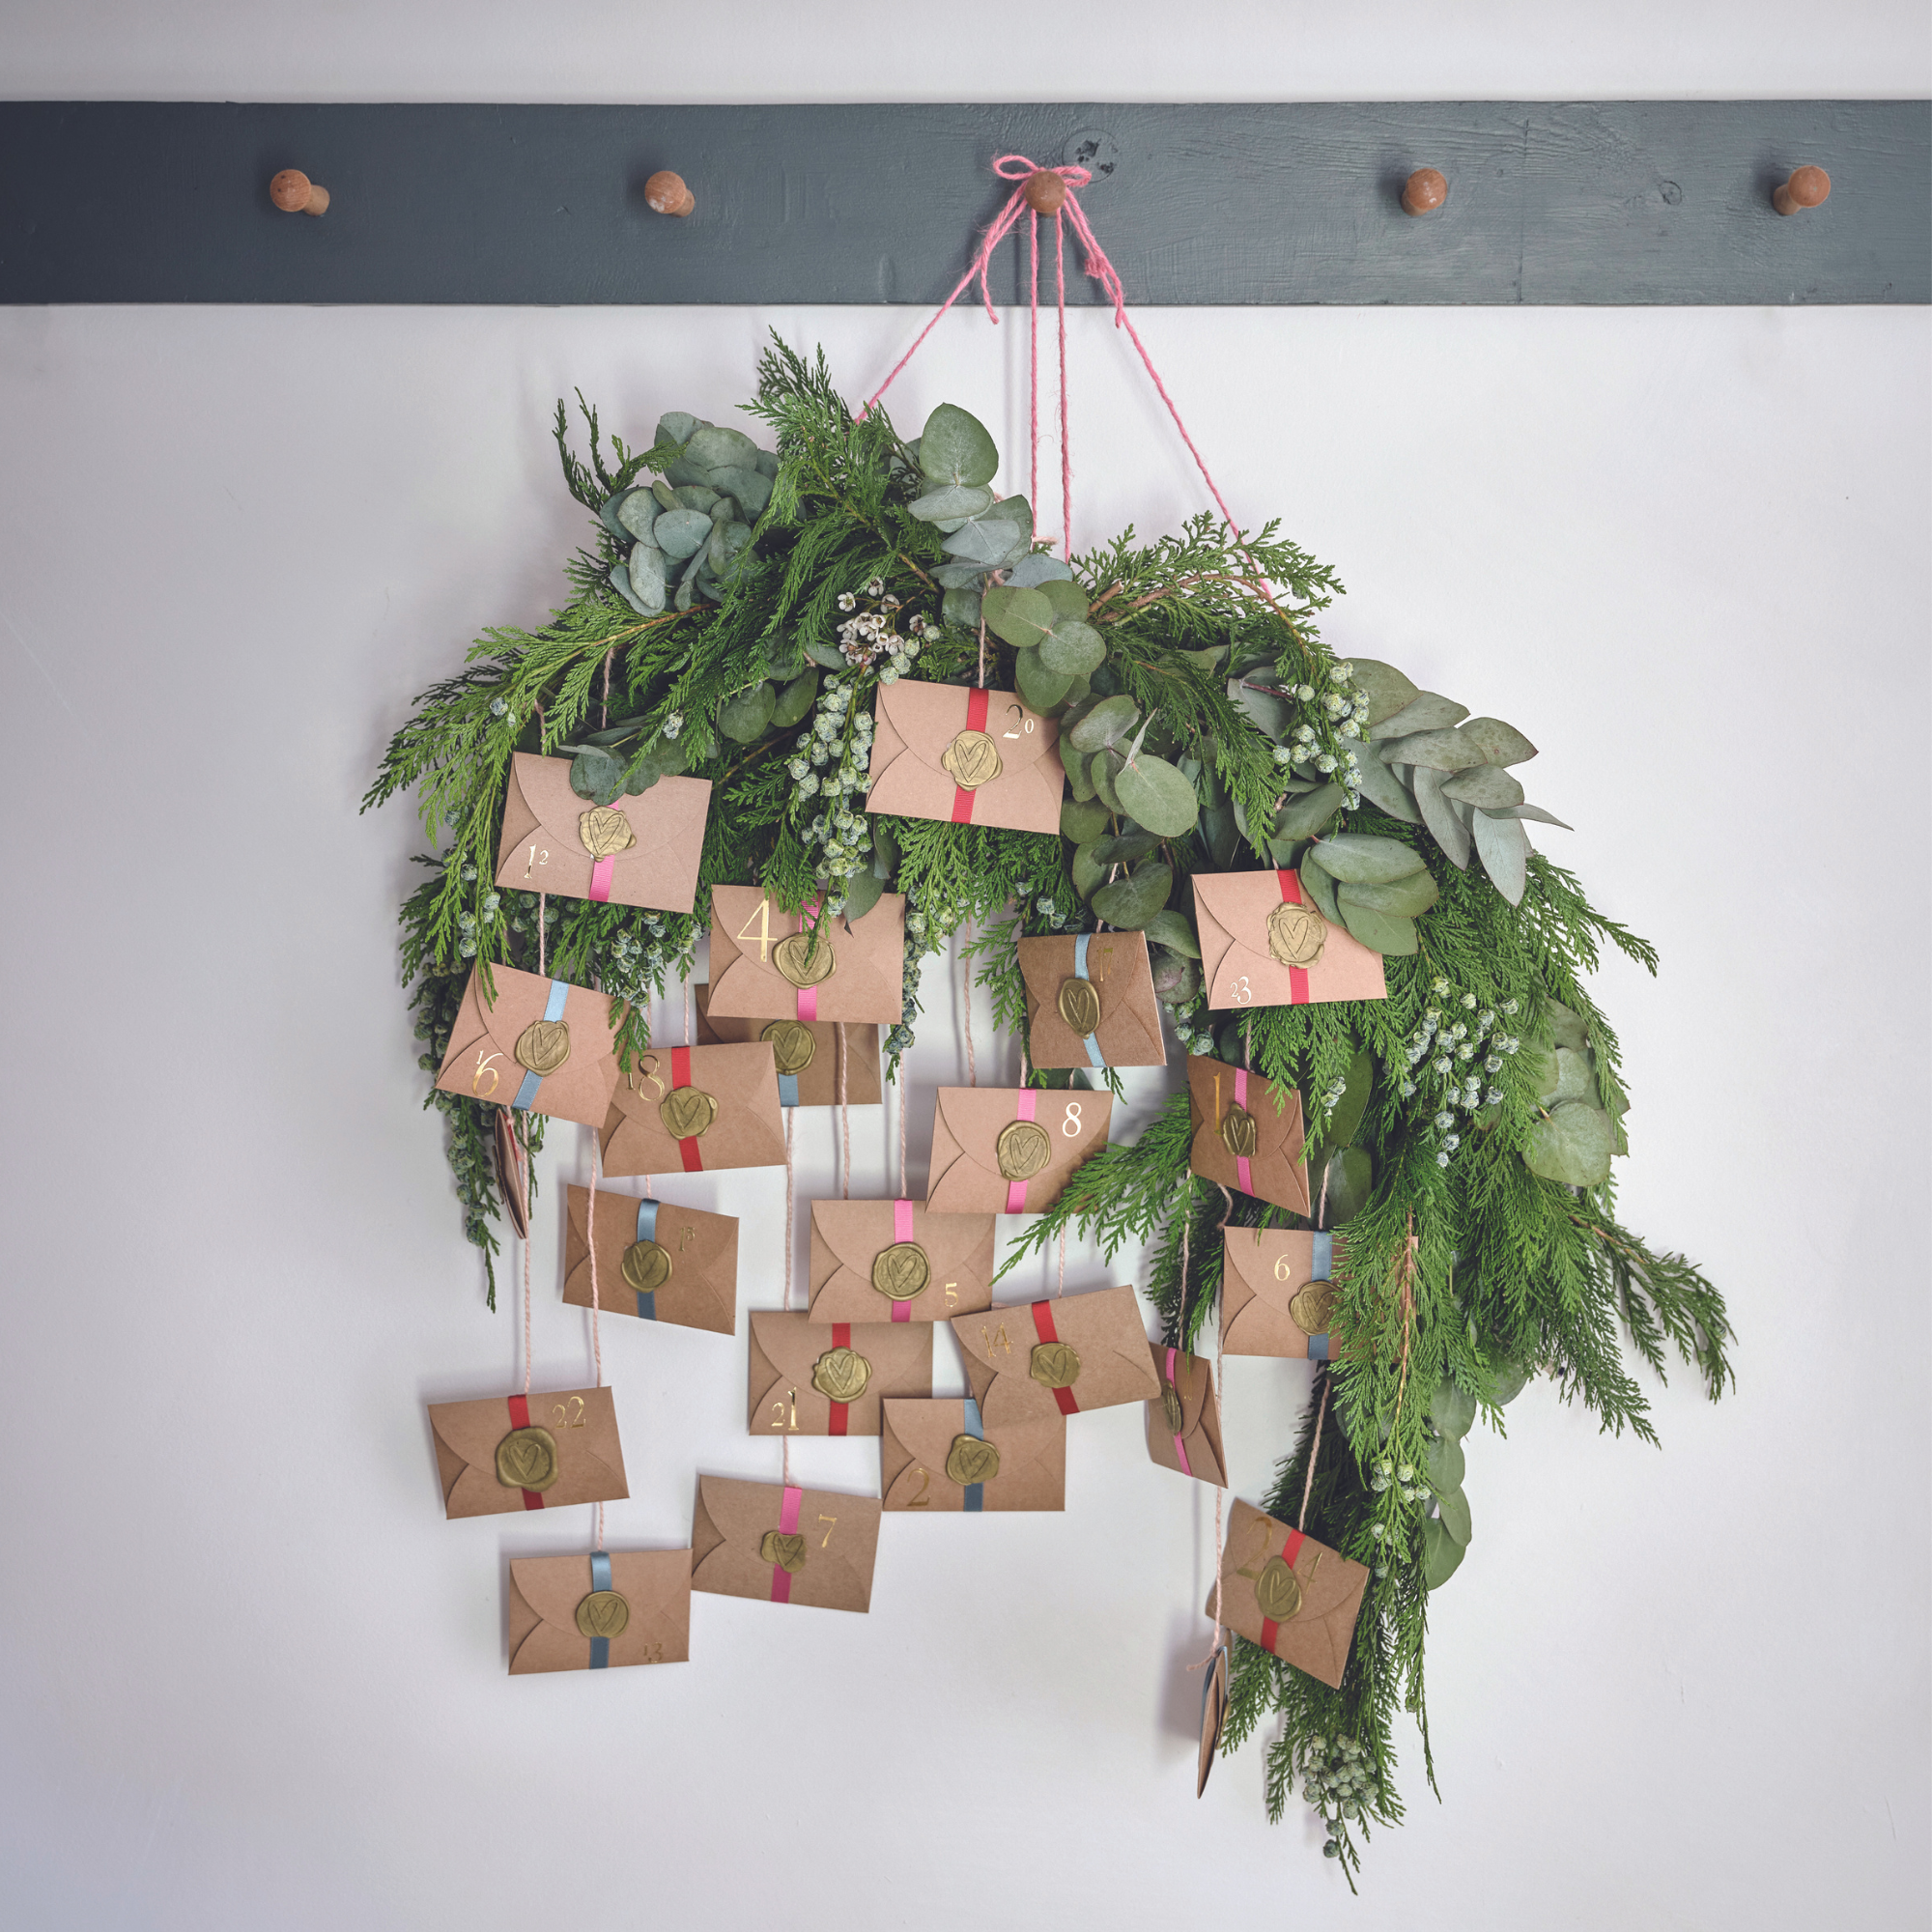
Our guide will show you how to make an advent calendar that doubles up as a beautiful piece of DIY Christmas decor. This may be your first time learning how to make an advent calendar, or you may have done this before but are in need of a quick refresh. Whichever it is, making the advent calendar from our guide could well become one of your favourite annual traditions.
How to make an advent calendar: step-by-step
The best handmade advent calendars contain festive treats or activity suggestions that will make your December as wonderful as it could possibly be. The DIY calendar in our guide involves really going to town and creating something that is extra special. Hang it on your wall and admire it everyday, and get excited to open up a new envelope each morning.
Shopping list
- Envelopes - 50 pack for £7.99 at Amazon
- Ribbon - £2.25 at John Lewis
- Sticky numbers - £1.65 at Etsy
- String
- Double-sided tape
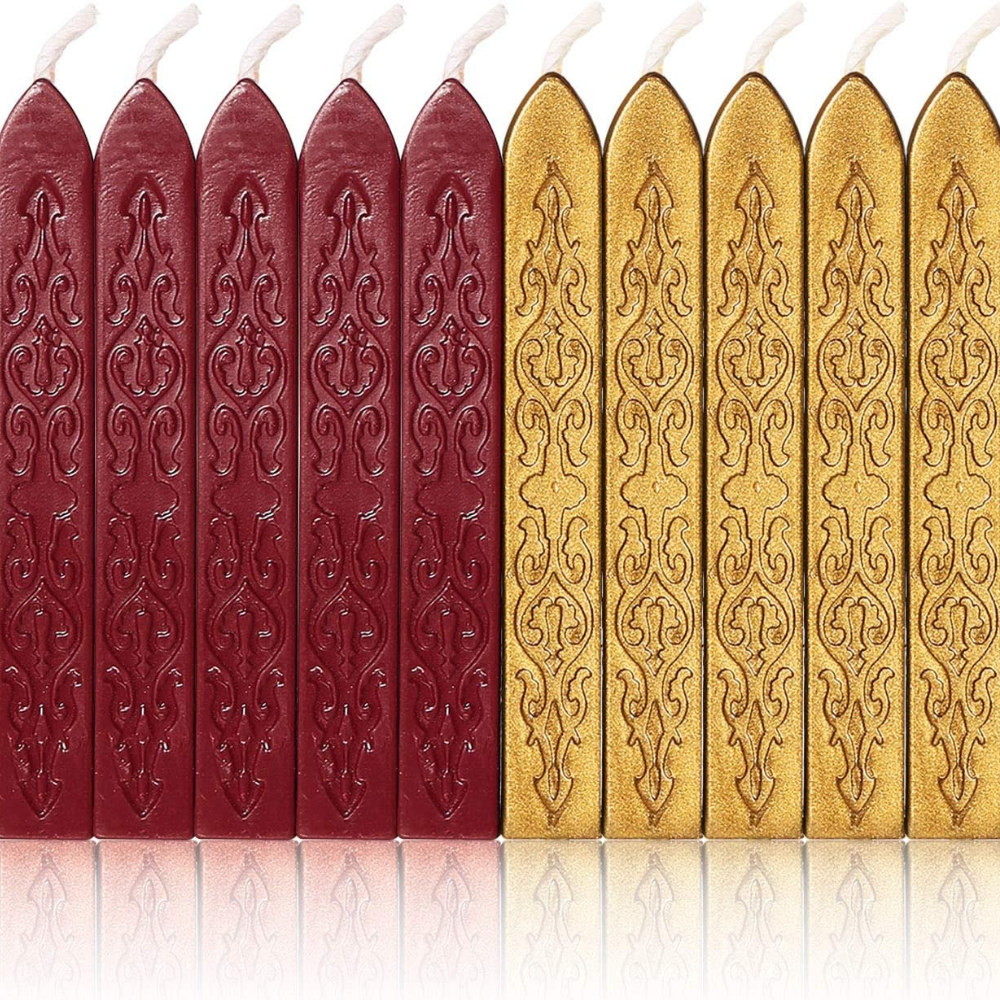
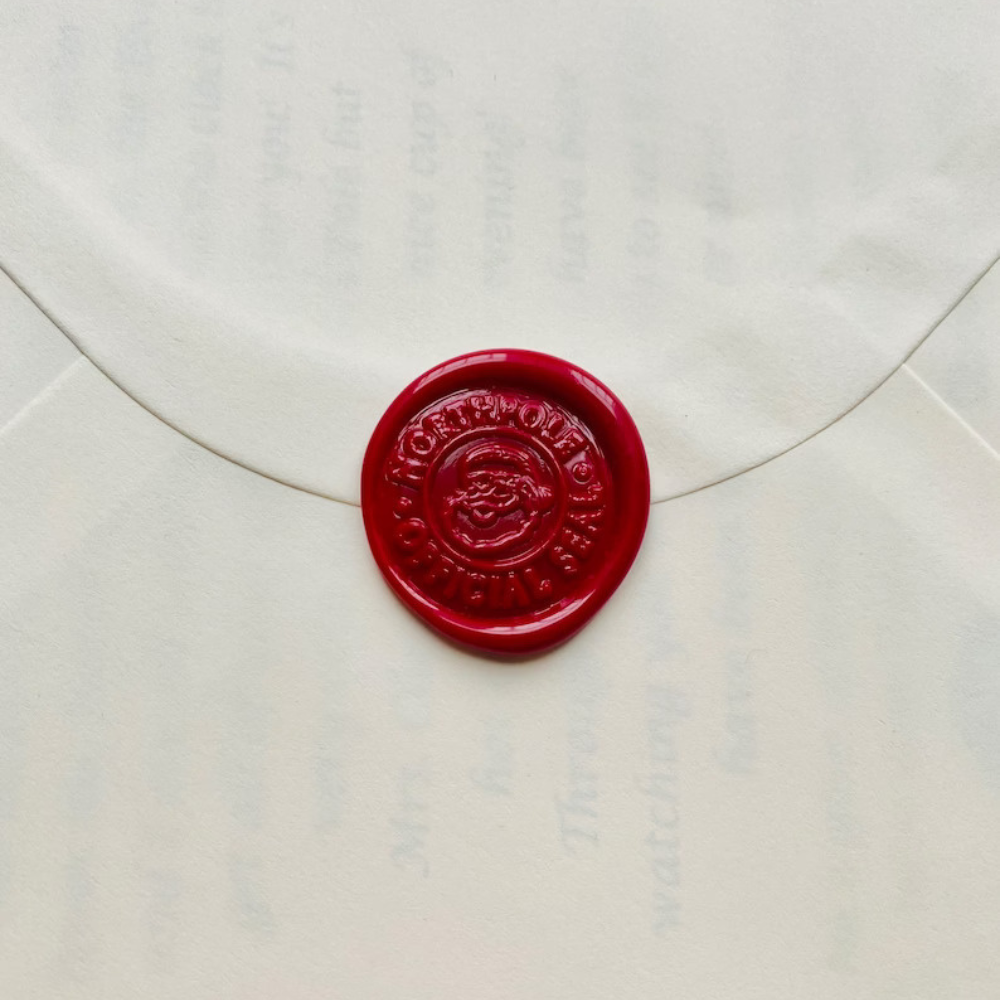
- Wax and wax seal stamp - £3.99 at The Range
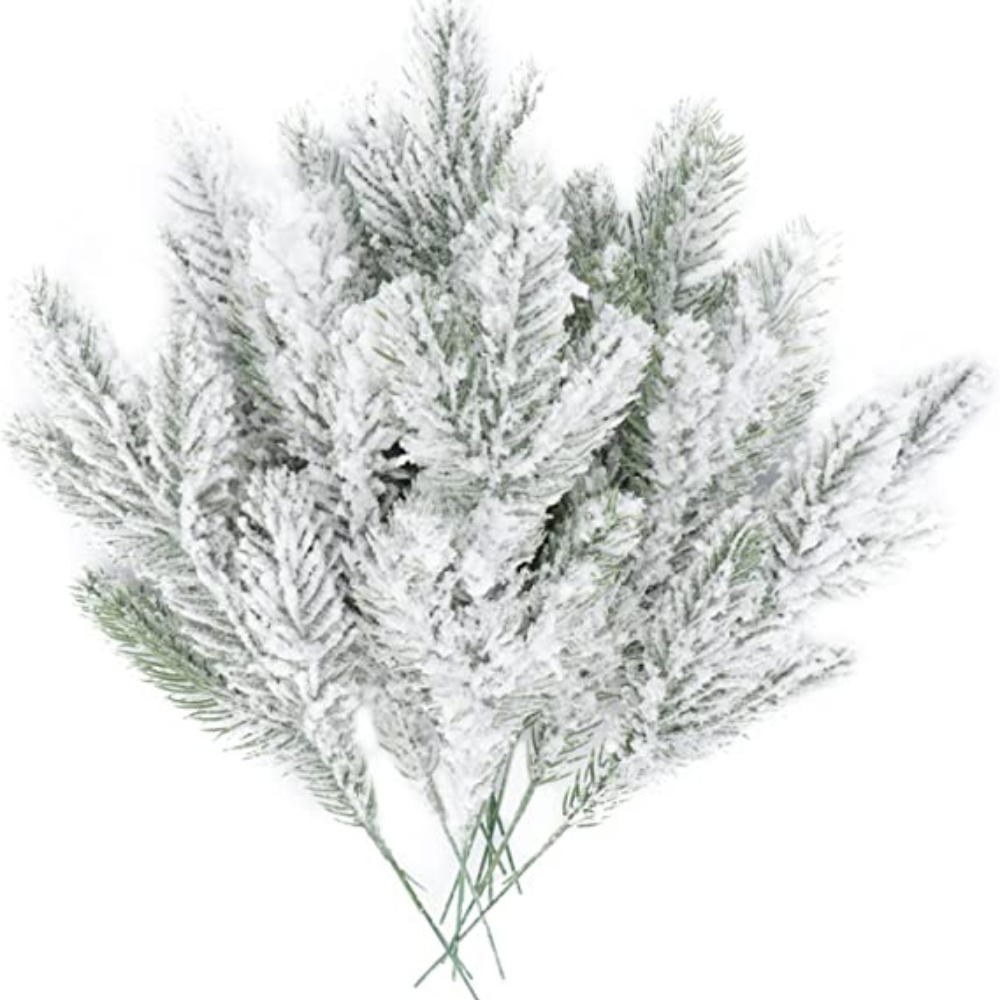
- Selection of foliage - 30 pcs artificial pine branches for £11.99 at Amazon
- 85cm rope or sash cord
- Length of metal wire
1. Choose your filling
Decide what you'd like to put in your DIY advent calendar. Will it be a sweet treat, a small toy for the children, or a festive activity suggestion? You can stick to one theme, or go for a mixture. Pick something that will make you excited to open the envelope each day.
If you're doing an activity calendar, take your pen and write a different activity on 24 pieces of card. These can be craft-related, baking ideas, or involve leaving the house to do something fun. Think creatively - you've 24 little cards to fill!
Sign up to our newsletter for style inspiration, real homes, project and garden advice and shopping know-how
2. Cut and attach the ribbon
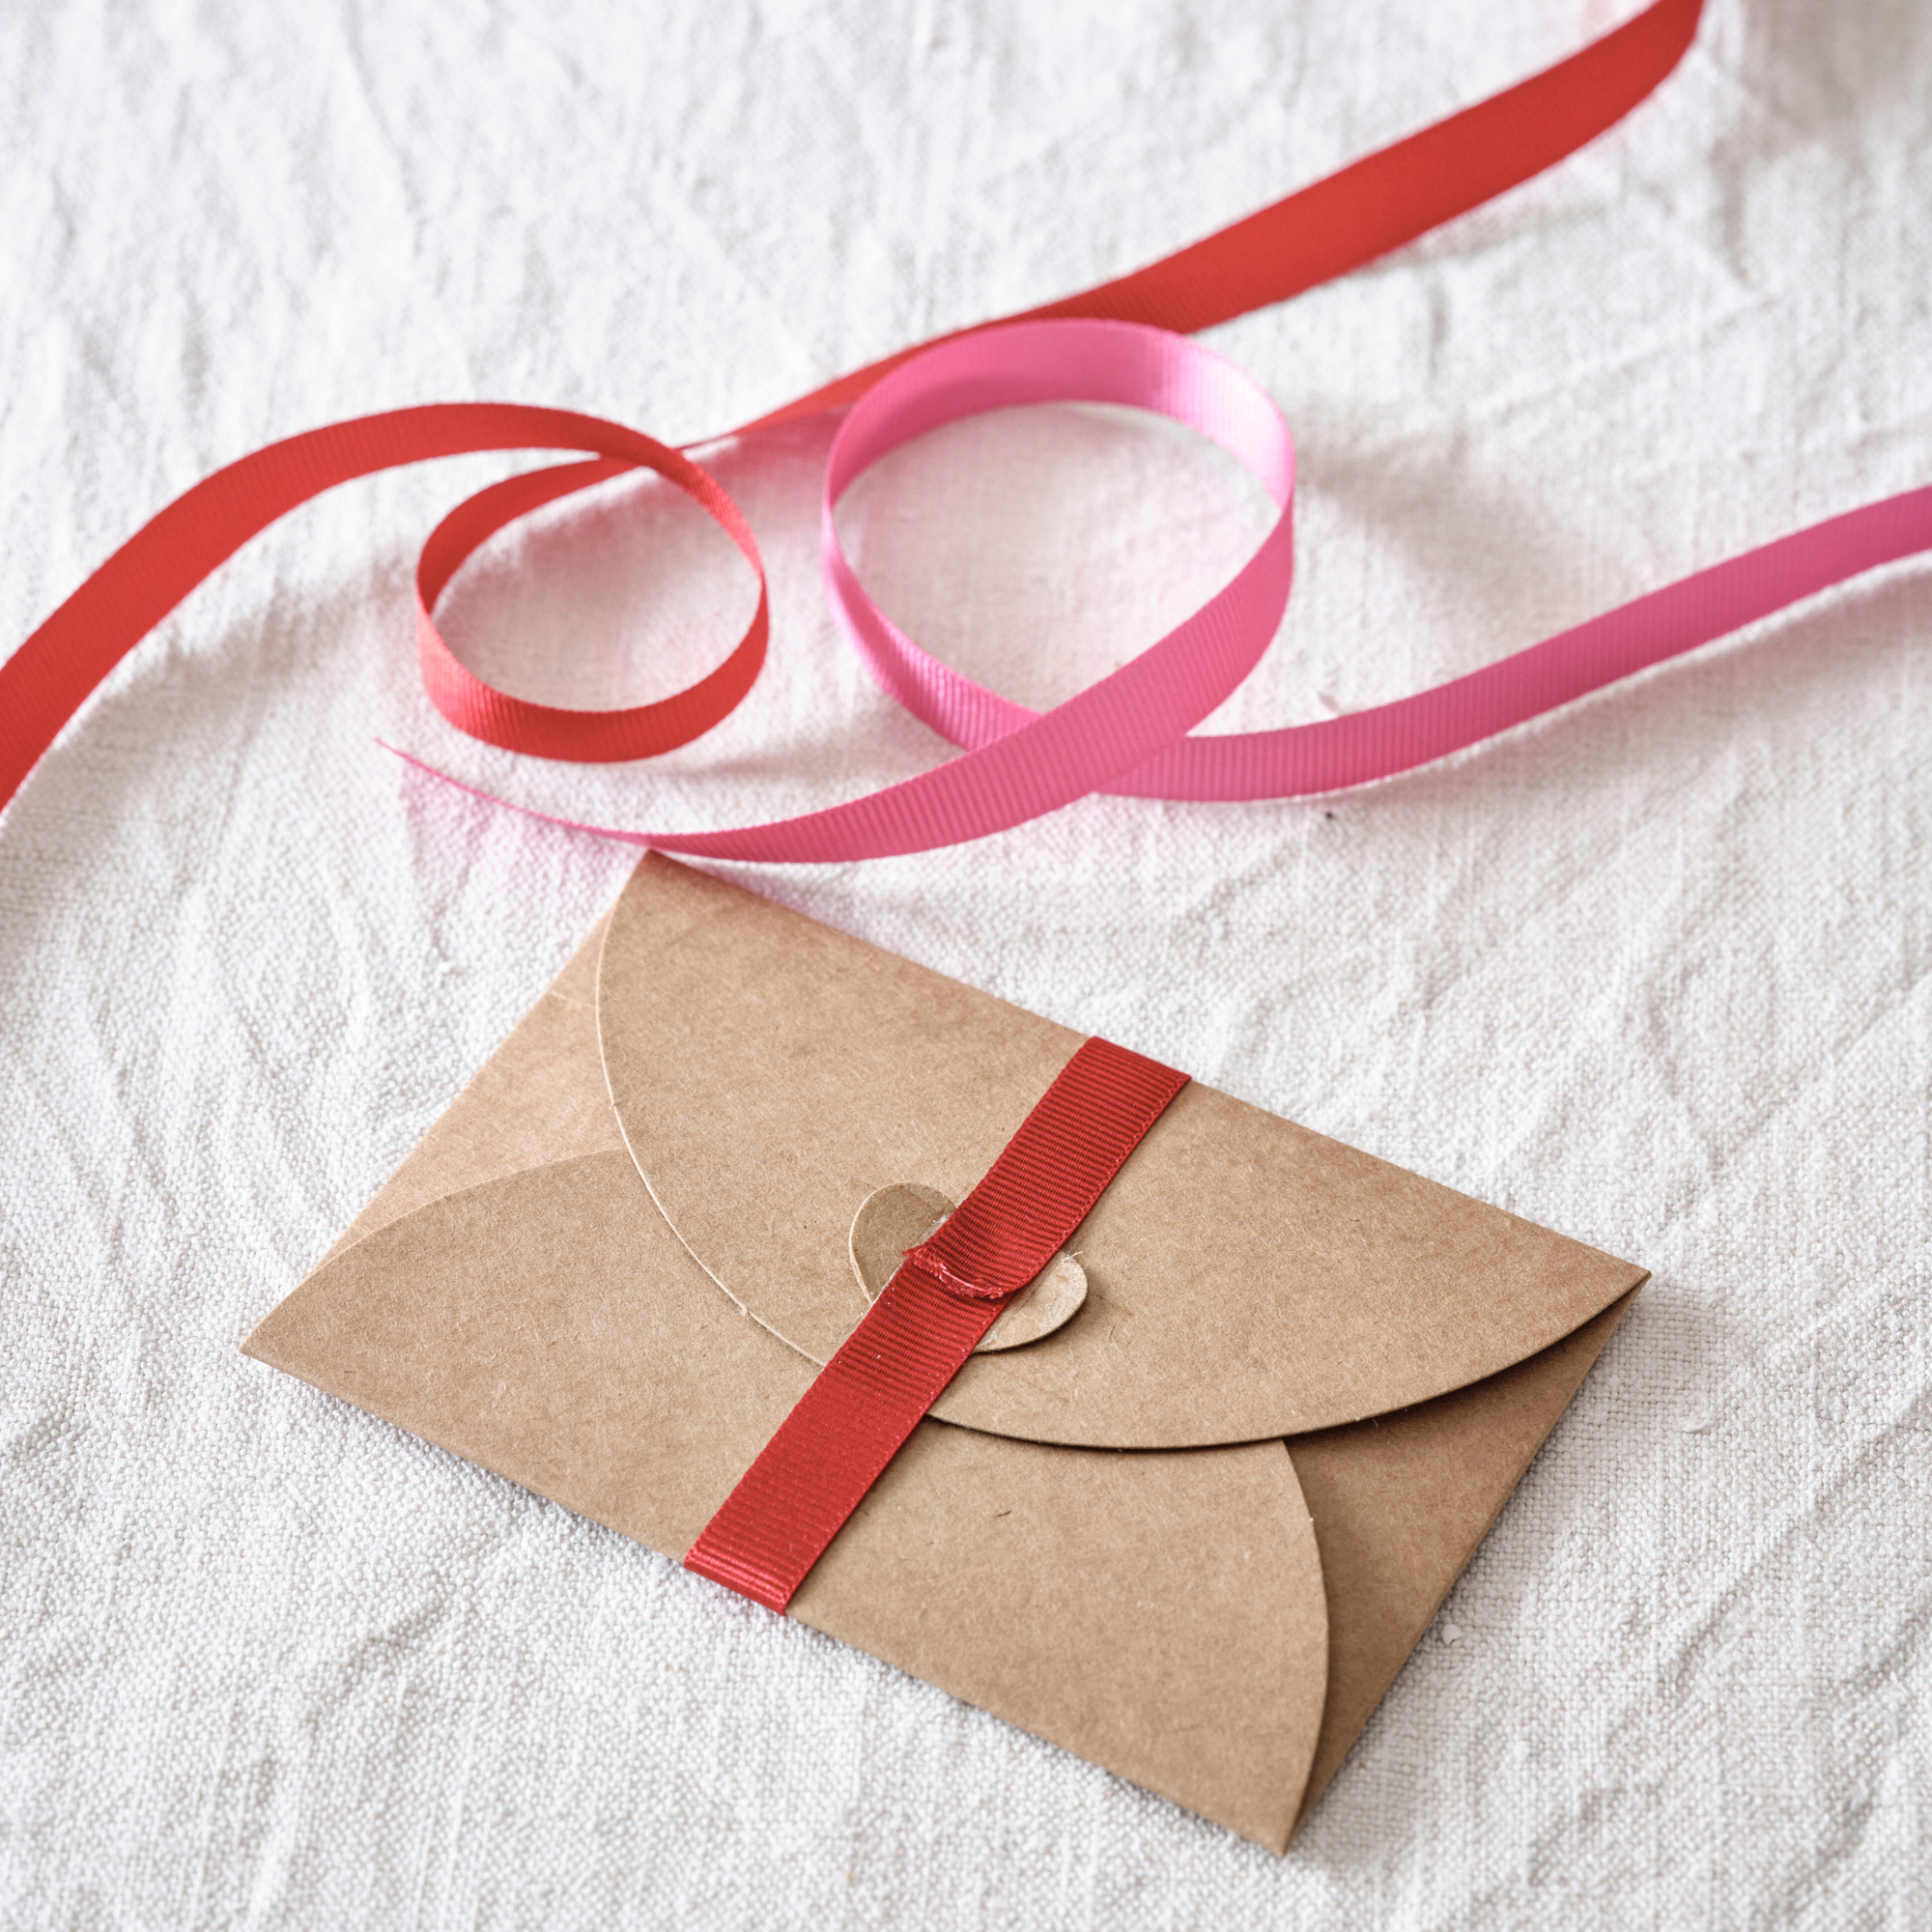
Once you've popped your filling into the envelopes, it's time to make them look pretty. Cut a length of ribbon long enough to wrap around the centre of the envelope, then secure in place with double-sided tape. We love the red ribbon and brown envelope combo, but you can choose whichever colours will suit your chosen Christmas colour scheme.
3. Create the wax seal
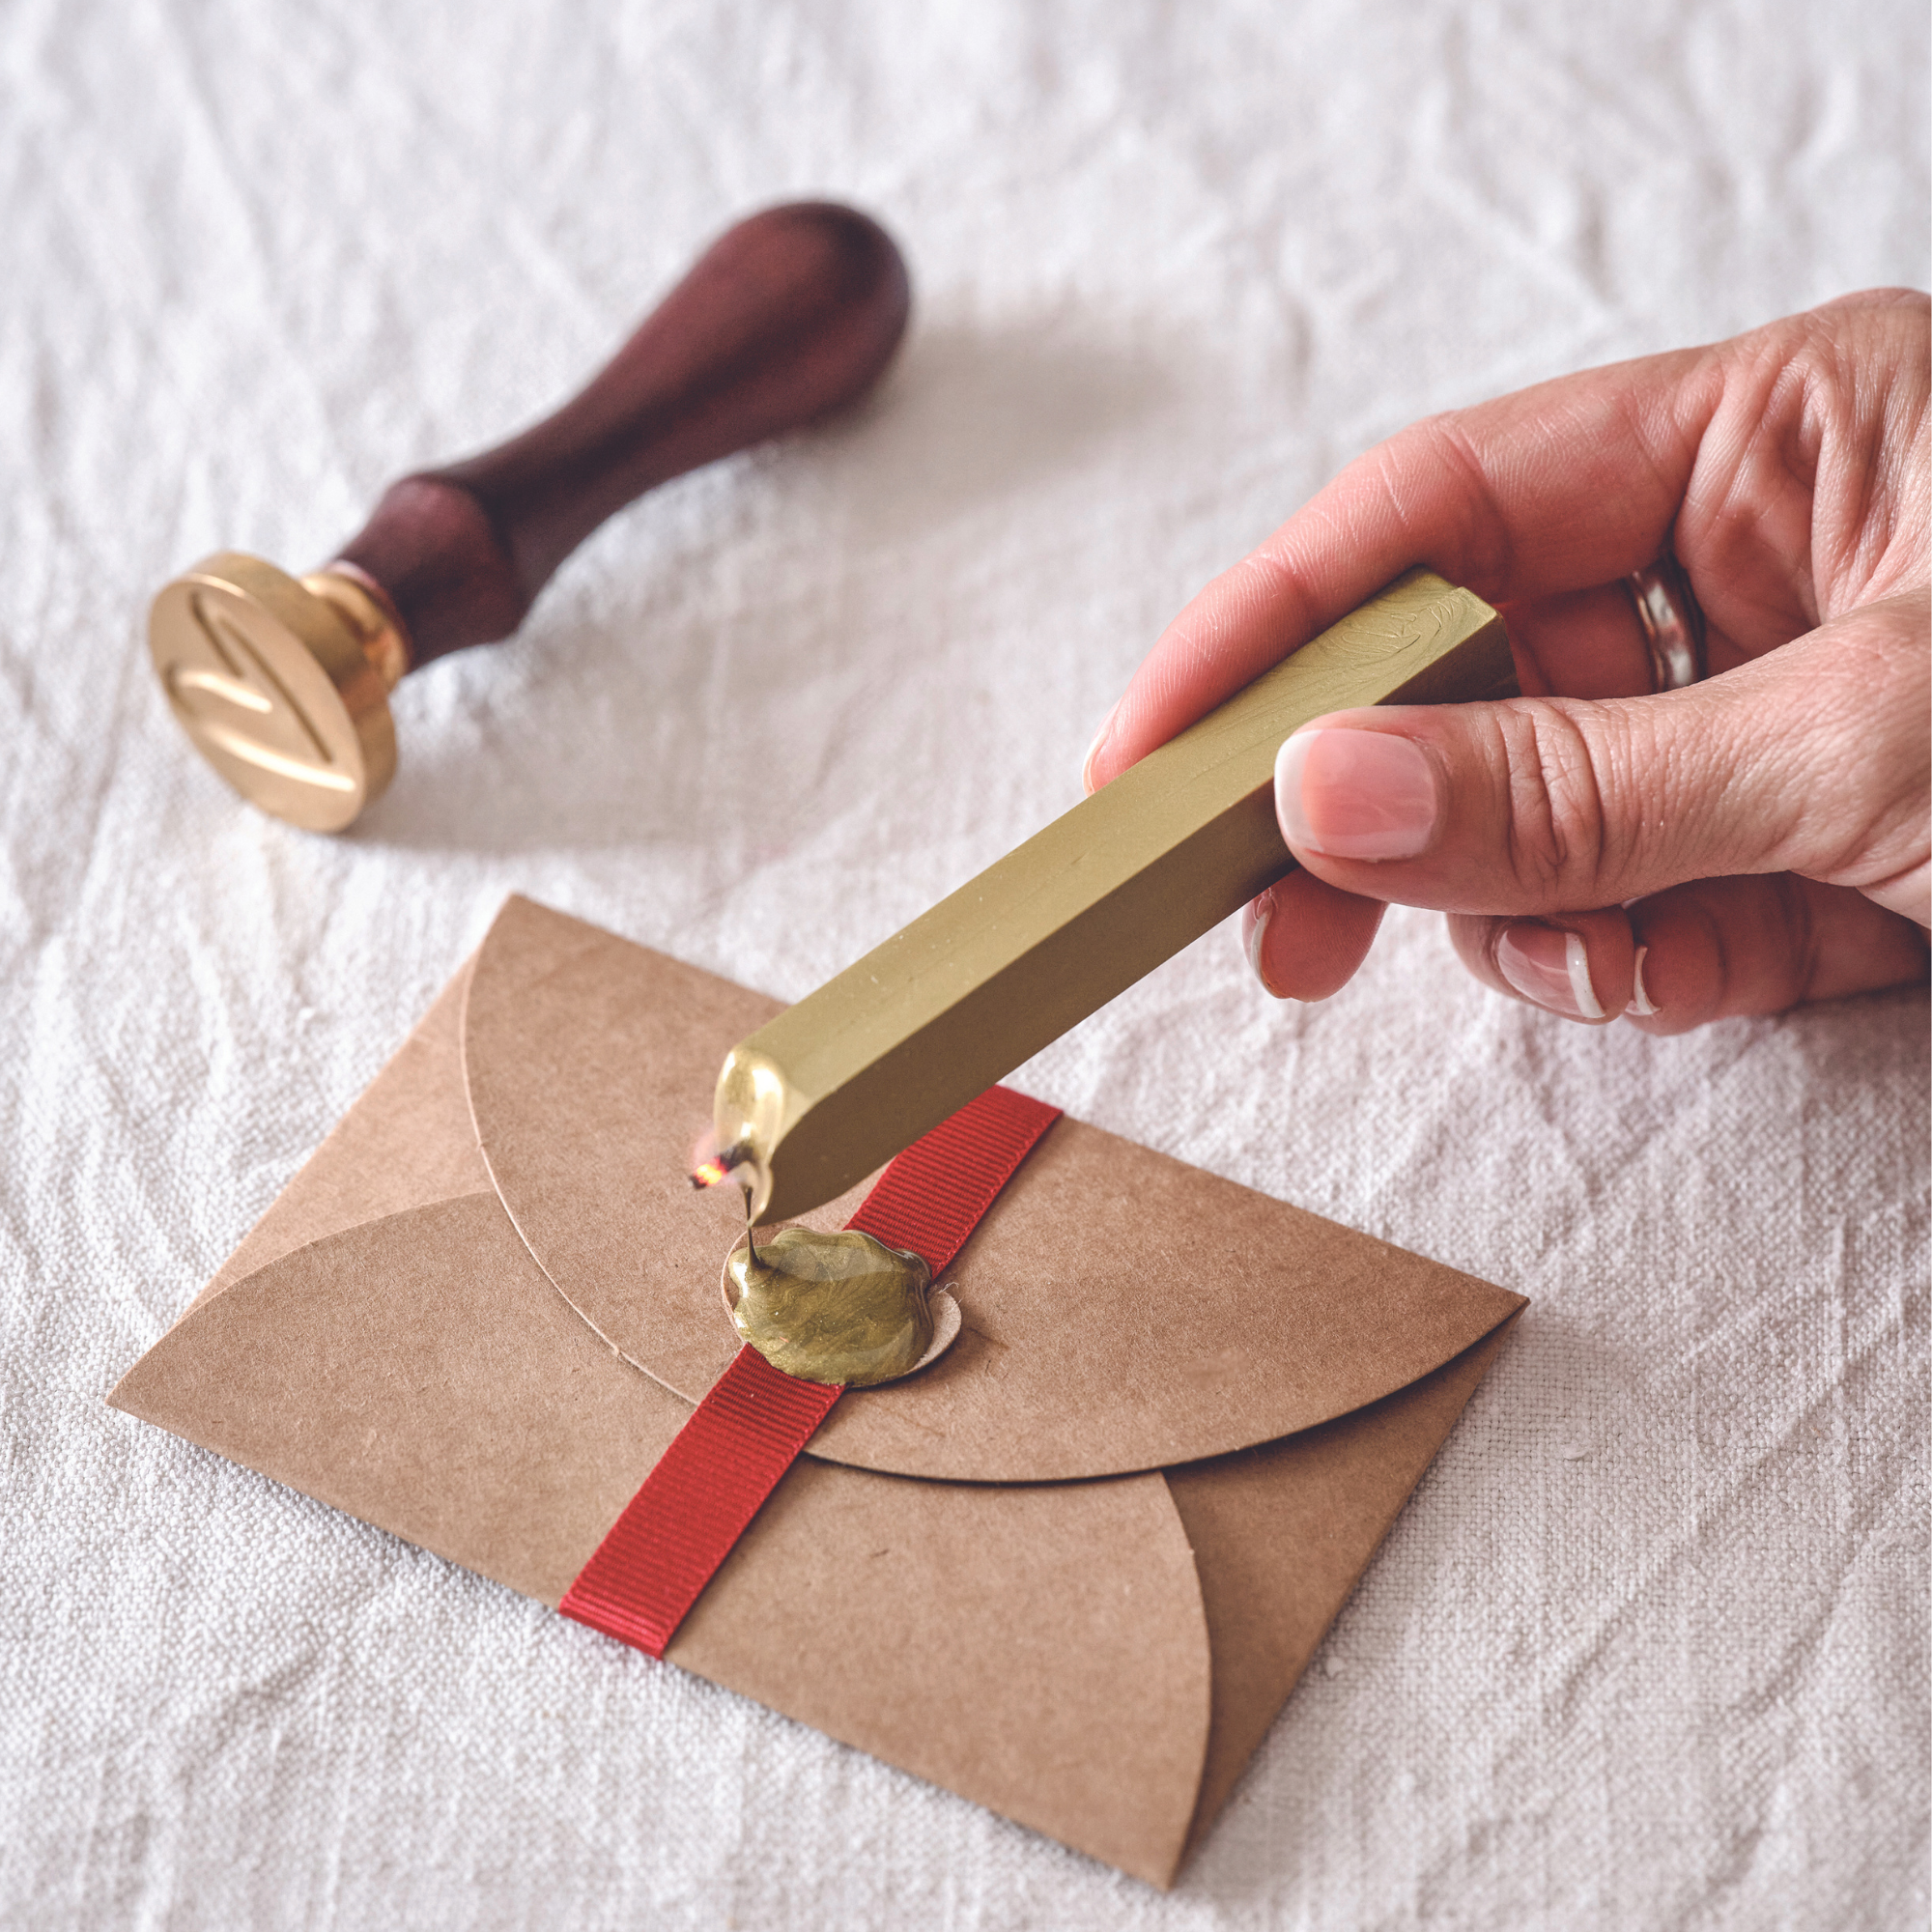
Wax seals will add the perfect touch of glamour to your handmade advent calendar, and they're not overly complicated either. Opt for a kit that contains wax sticks with wicks, as these are easiest.
Light the wick the same you would with a candle, then as the wax melts let it drip over the envelope at the point where the two ends of the ribbon meet. When the puddle is big enough, blow the wick out and if needed, use the other end of the wax stick to spread the melted wax more evenly. If you're working on a wooden surface, protect this with an old cloth.
About 10 seconds after pouring the wax, press your stamp firmly into the pool of wax. Hold for 20 seconds, then gently pull it away.
Repeat this process on all 24 envelopes. Or if you don't fancy making your own wax seals, you can buy them ready-made.
4. Number the envelopes
Stick adhesive numbers on to the envelopes from 1 to 24. Gold letters would look nice, or you could opt for silver or red if you prefer.
5. Arrange and tie the foliage

The envelopes are done, which means it's time to create the stunning foliage backdrop. Use the wire to tie bunches of foliage along the length of the rope. Play around with the arrangement of the greenery, making sure there are no gaps. You can also add some faux berries for an extra festive touch. Tie these in place with string or garden wire if using.
6. Hang the foliage display

Tie a length of string around 15cm in from one end of the rope and 30cm in from the other end. This will hang the display slightly off-centre, and allow it to cascade down one side beautifully.
7. Attach the envelopes

Lastly, tie the envelopes onto the foliage with the string. Spread them out evenly and attach them at varying heights, and make sure the numbers are placed at random so it's more fun to find them everyday.
And so you have a beautiful DIY advent calendar to admire each and every day in December. Who knew that learning how to make an advent calendar was so fun!
What do you fill a homemade advent calendar with?
The beauty of a handmade advent calendar is that you can fill it with whatever you want! Whether that's your favourite range of snacks - sweet or savoury - or a little beauty gift, you can fill your envelopes with anything that will make your December extra special.
'You can fill jars and boxes with candied, chocolate-coated or dried fruits, chestnuts, walnuts, hazelnuts and pieces of organic chocolate for special little treats that will leave you wanting more - just make sure you have a nutcracker to hand!', says Dr Susanne Lux, Stars for Europe. 'The final box can be filled with a selection for family sharing.'
She adds, 'as lovers of flowers, plants and all things natural, we love to decorate homemade Advent Calendars with mini poinsettias in different colours. We make ours from painted glass jars, which you could place tealights inside once the lid has been removed and the treat squirrelled away. By the time Christmas comes around you’ll have a spectacular array of lights.'
How do you make an advent calendar for kids?
If you're making your advent calendar specifically for children to enjoy, you can stick to the same method in this guide but swap out the classy elements for more traditional Christmas bits, for example with fun festive envelopes.
If you're doing an activity advent calendar, swap the envelopes for cards and punch a hole in the corner so you can fasten them on with string. Kids would love these ones from Amazon for £4.99.
Or, get some paper treat bags and fill them with goodies the kids are sure to love. 'For children you can fill the calendar with small chocolates or small toys from Santa', says Jo. 'This could be a keyring or other little nuggets you find in budget-friendly toy stores that are fun for kids to play with.'
Tie the treat bags up with ribbon and stick some numbers on them. Hang them up at a level where kids can reach them and watch their little faces light up each morning.

Katie has been writing freelance since early 2022, specialising in all things homes and gardens, following achieving a Masters in Media and Journalism. She started out writing e-commerce content for several of Future’s interior titles, including Real Homes, Gardeningetc, Livingetc, and Homes and Gardens. Since then she’s been a regular contributor on Ideal Home’s digital team, covering news topics, how-to guides, and product reviews.
