This wall panelling method is going viral on TikTok – how to get the look, according to DIY experts
Recreate this well-sought-after, elegant architectural feature for less

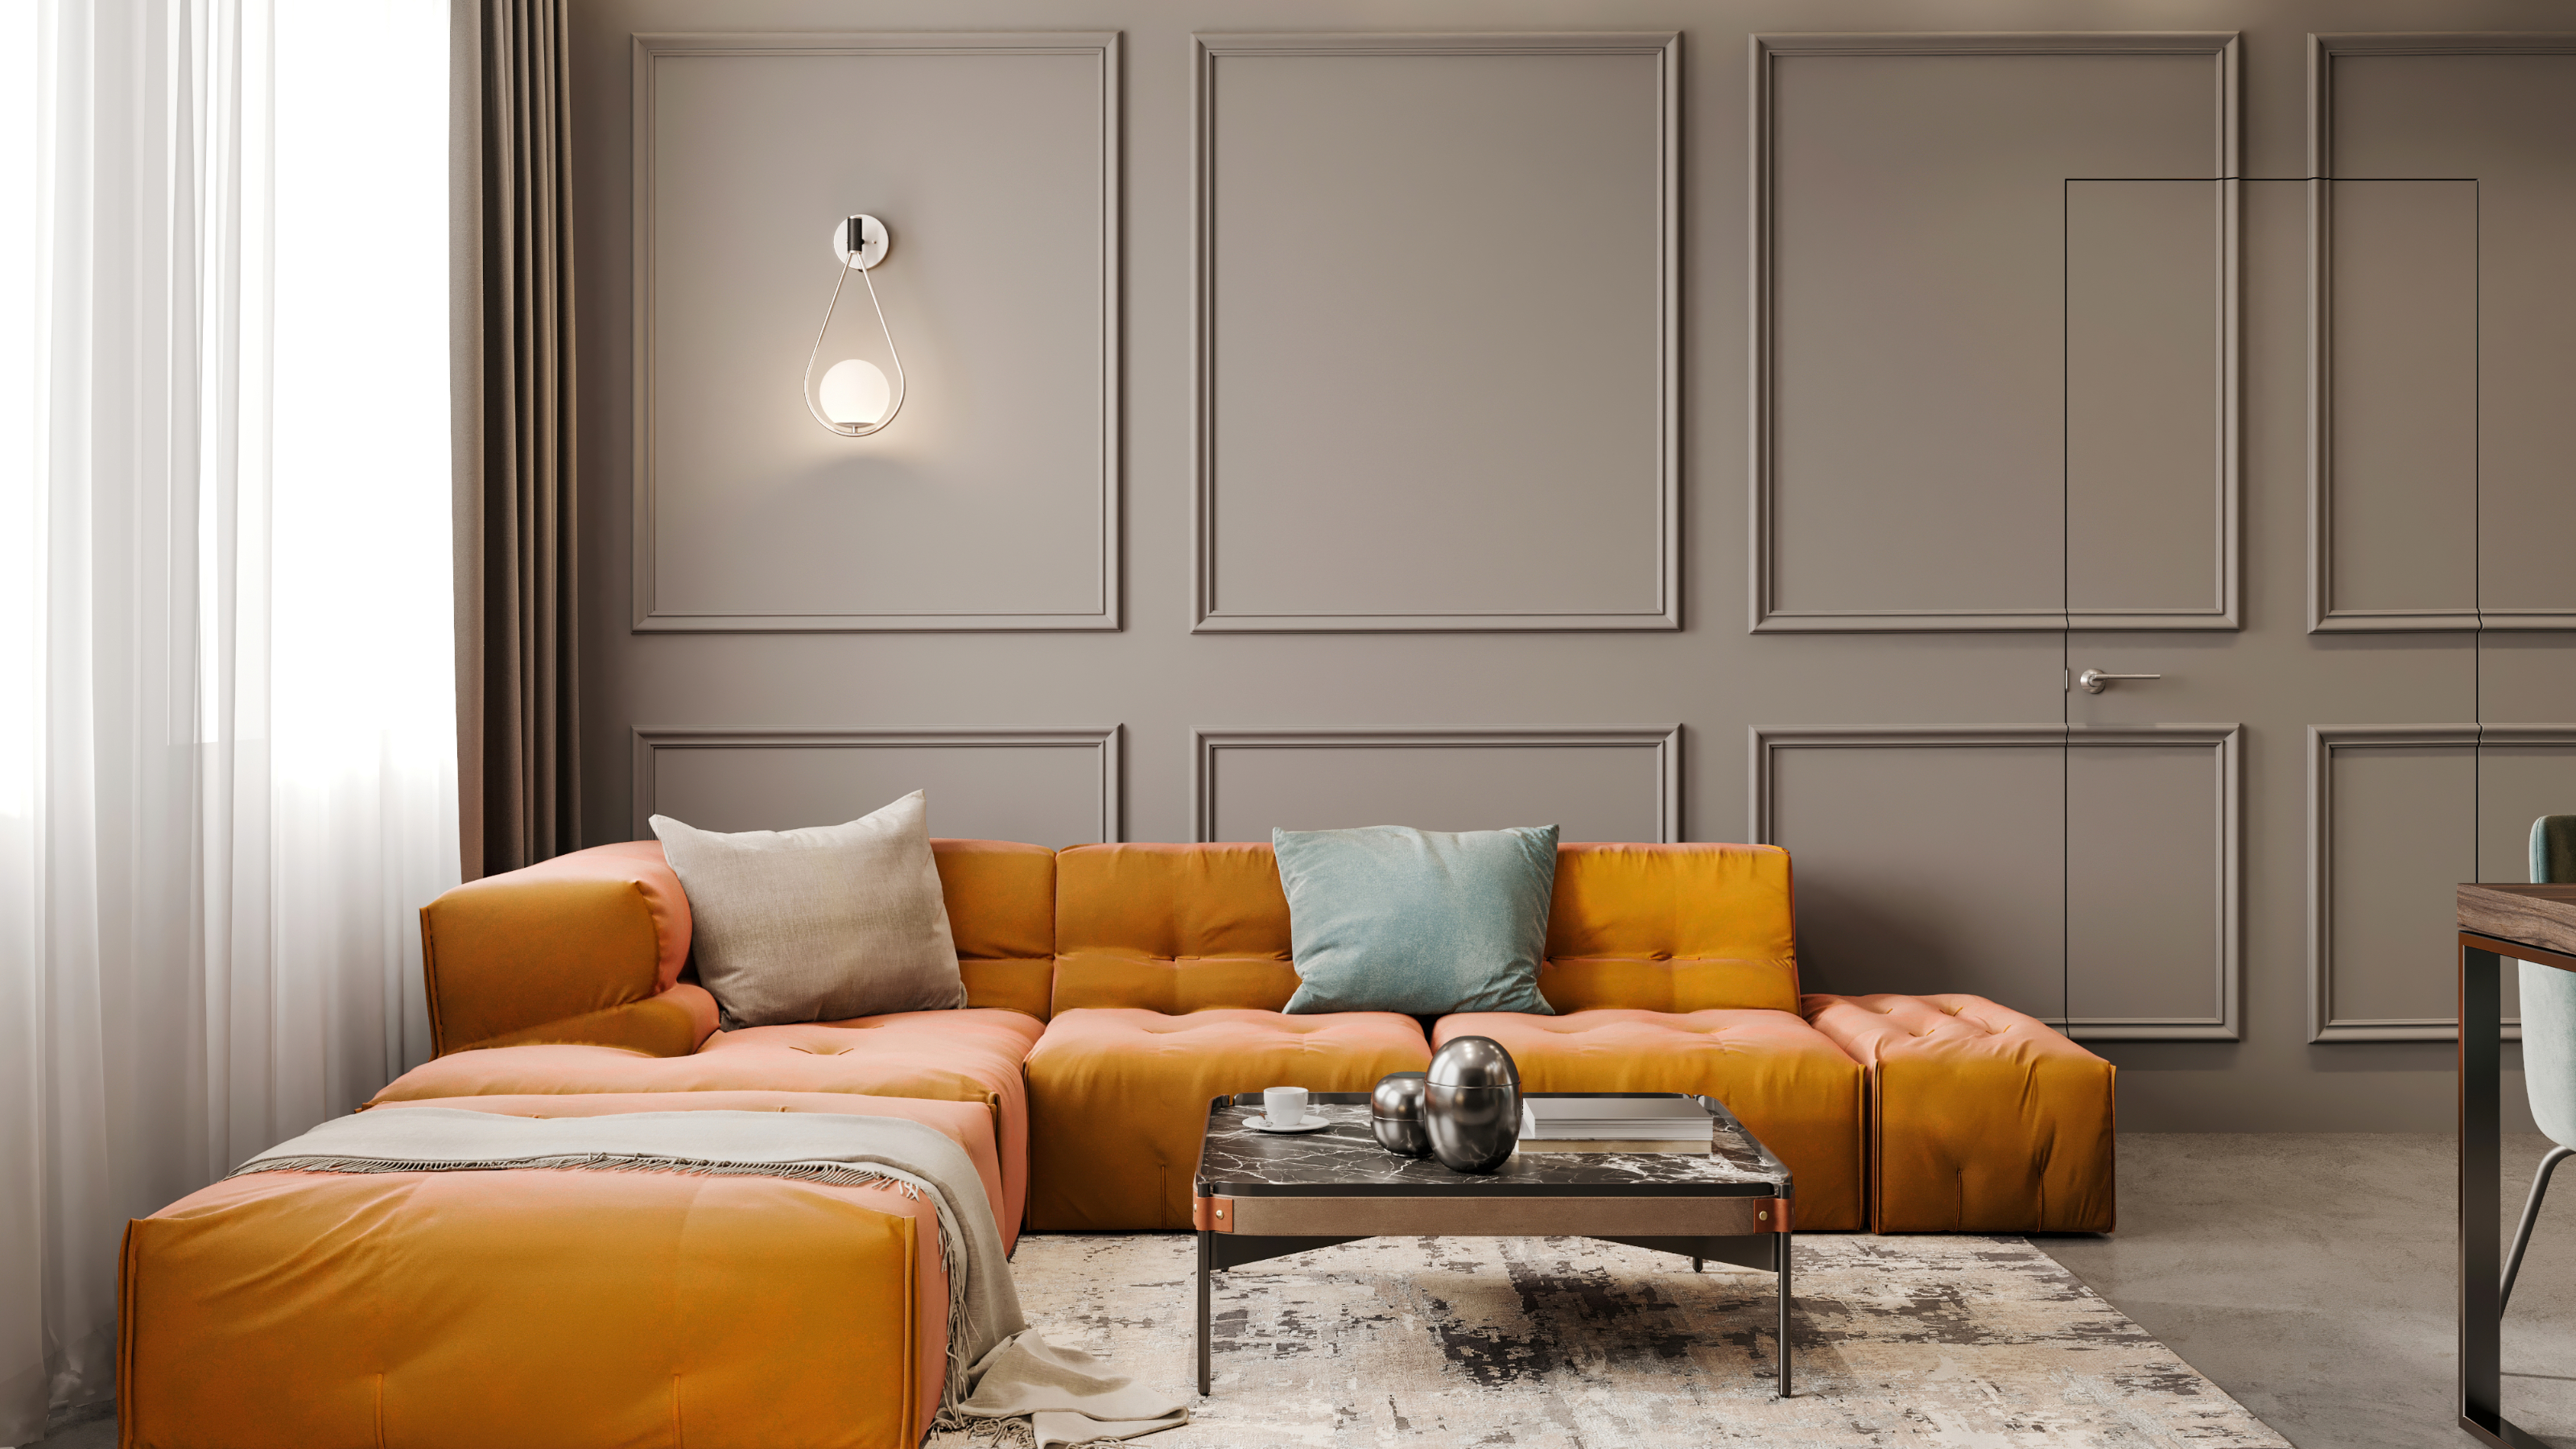
If there's one thing that's sure to transform any boring old room, it's by adding a touch of interest through wall panelling – and there's a trending wall panelling DIY method going viral on TikTok, endearingly dubbed as 'box trim' by the Americans. But for us Brits, we may recognise it more so as panel moulding.
It's no surprise that we won't always be in love with the design of our homes, especially when there's a new home decor trend making the rounds every month. However, if you've got some easy DIY projects under your belt, it makes the task of sprucing up your space not so unattainable.
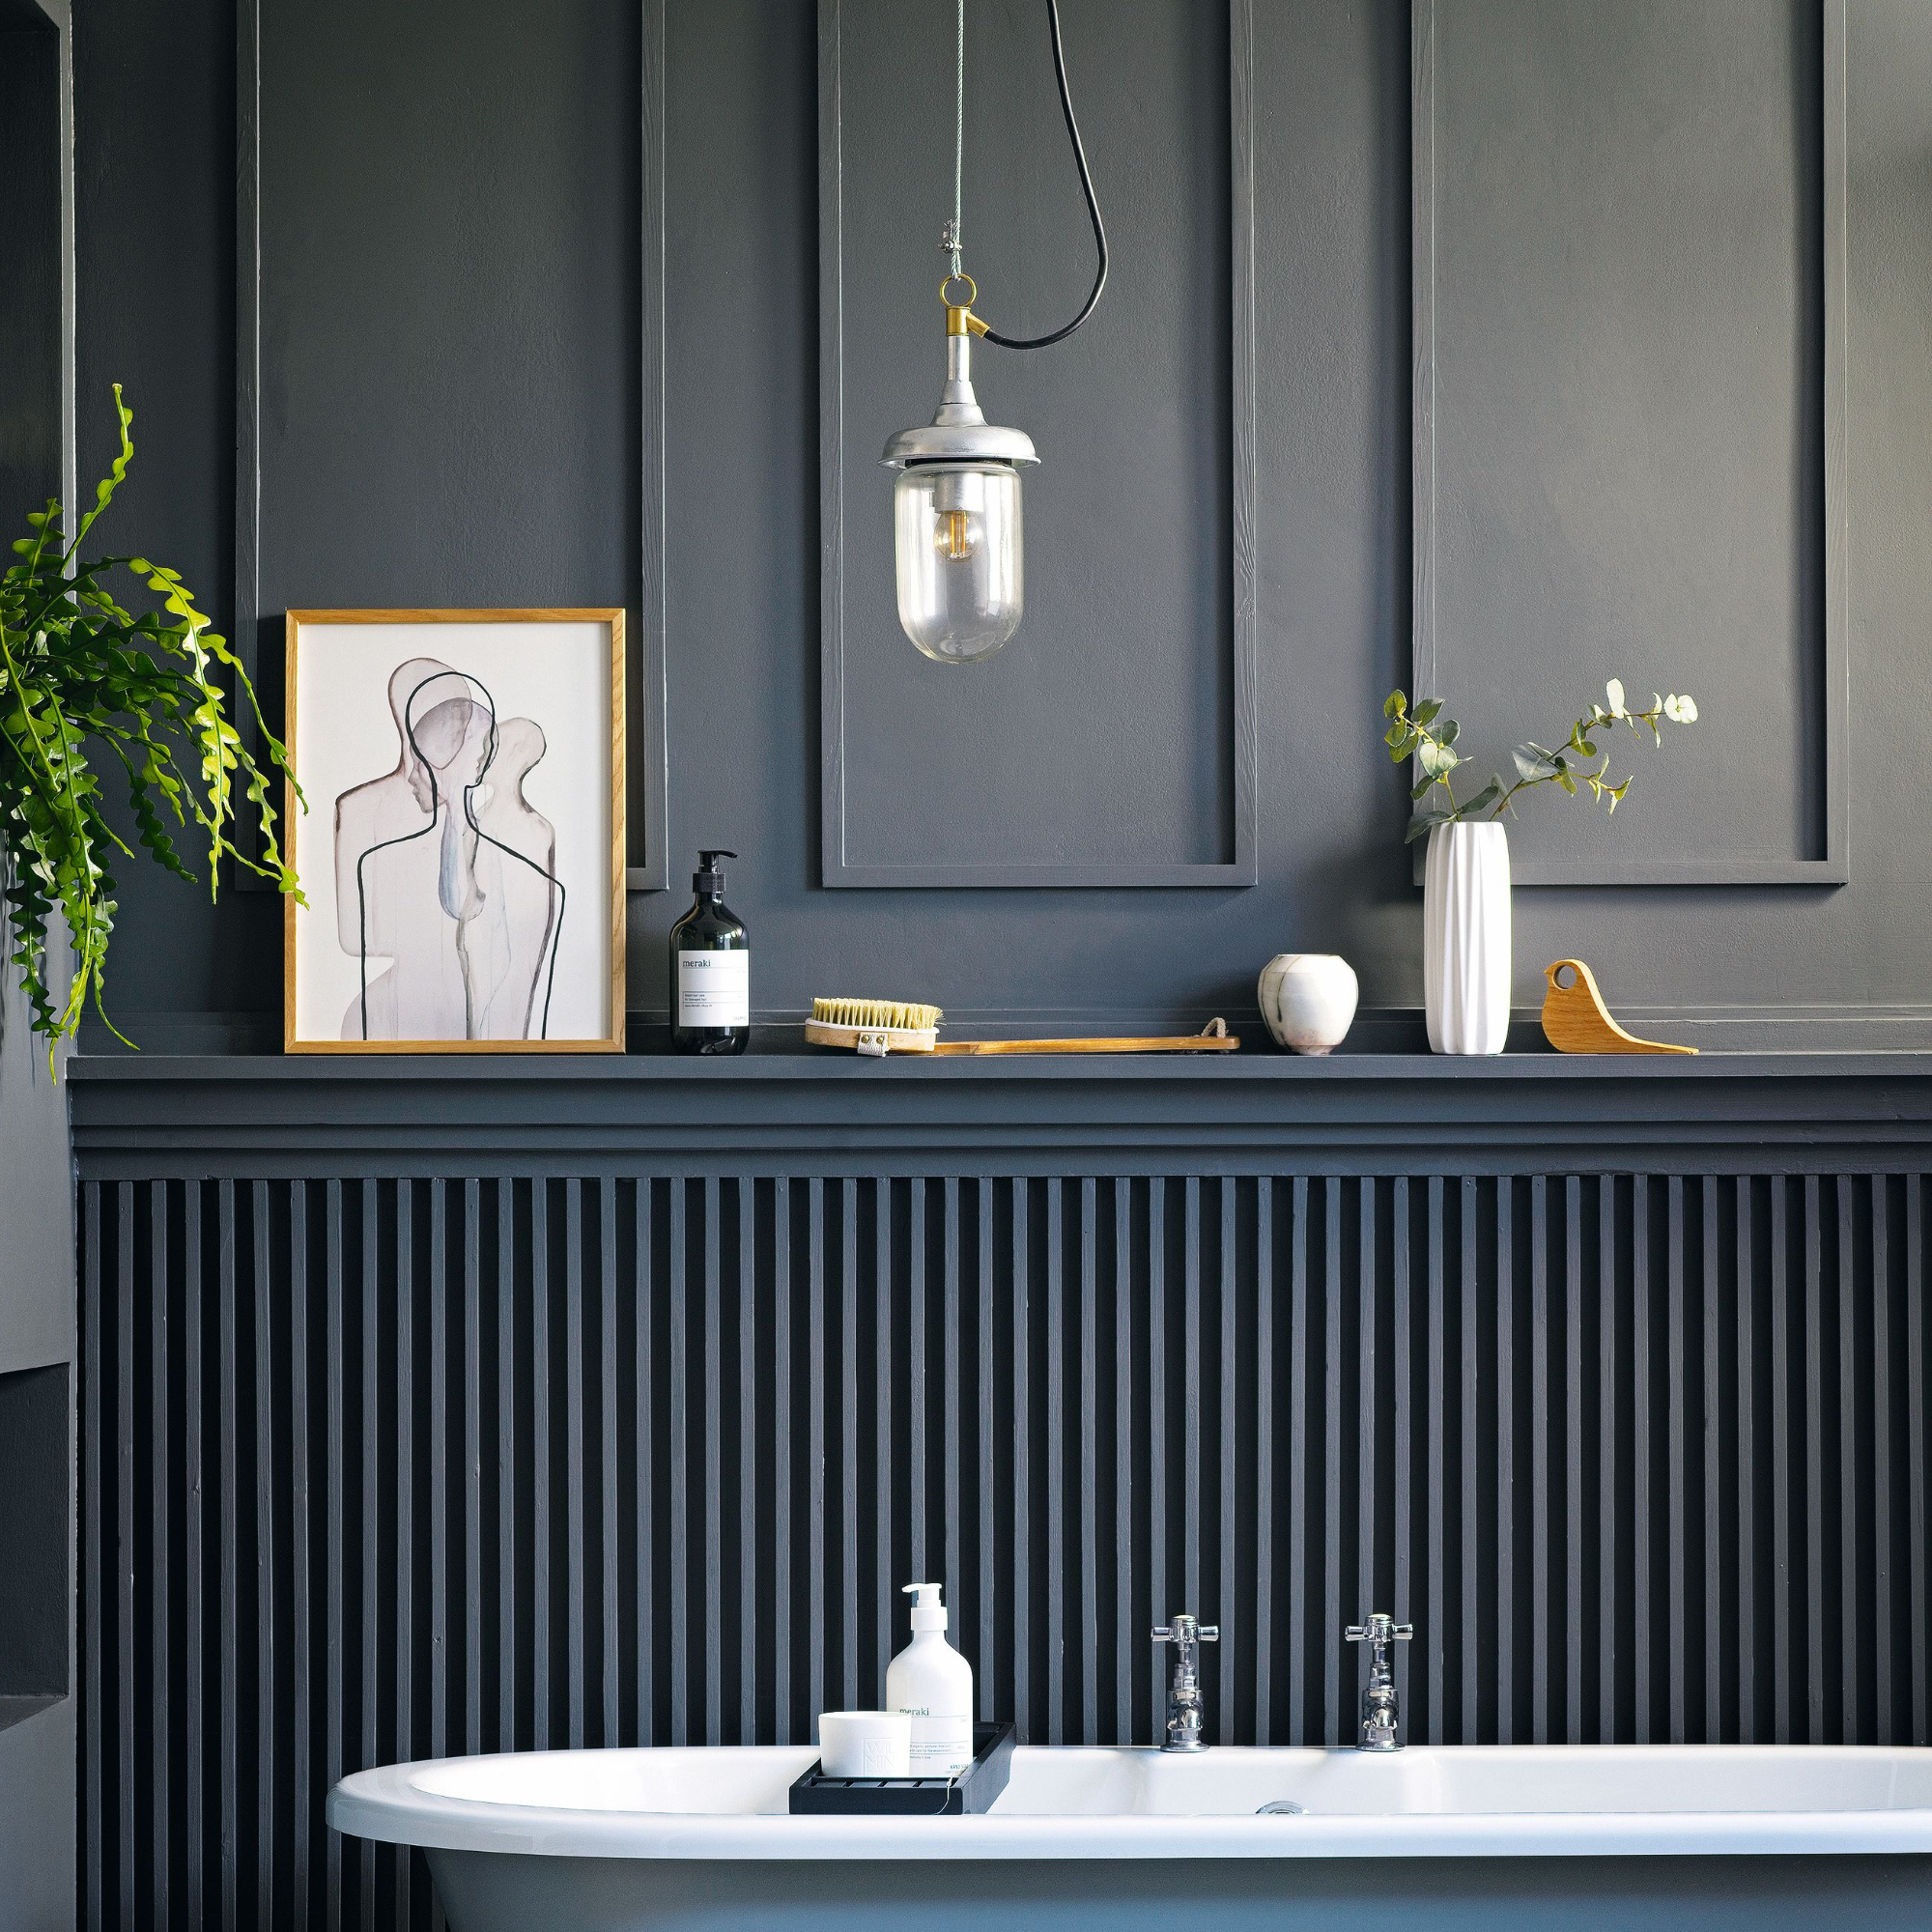
TikTok viral DIY panel moulding method
'The trending moulding trim is typically found in more traditional homes and has been used throughout architectural history to add a certain elegance to walls and ceilings,' explains Nick Ee, product and training manager at home improvement specialist, Black + Decker. Typically, it may be a feature wall idea found in a period living room or bedroom, for example.
Claire Edwards, known as @theclairenecessities on TikTok, posted a video showcasing her method for installing 'box trim' or panel moulding on her bedroom walls. The video gained over three million views, inspiring other DIYers to embark on the same journey of transforming their walls with panelling.
If you're looking to refresh your sleep sanctuary in a more unique way than your bog-standard bedroom paint idea refresh, this might just be the DIY to get stuck into.
Following the success of Claire's home DIY, we asked the experts to weigh in and give us their top tips on how to successfully recreate the panel moulding feature wall in our homes, and here's what they had to say.
'First of all, it's fantastic to see such a growing interest in people enhancing their living spaces through creative DIY projects,' starts Glen Peskett, owner and DIY expert at Saxton Blades.
Sign up to our newsletter for style inspiration, real homes, project and garden advice and shopping know-how
'What was once seen as a monotonous and male-centric hobby has evolved into a creative outlet that has captured everyone's attention on social media.'
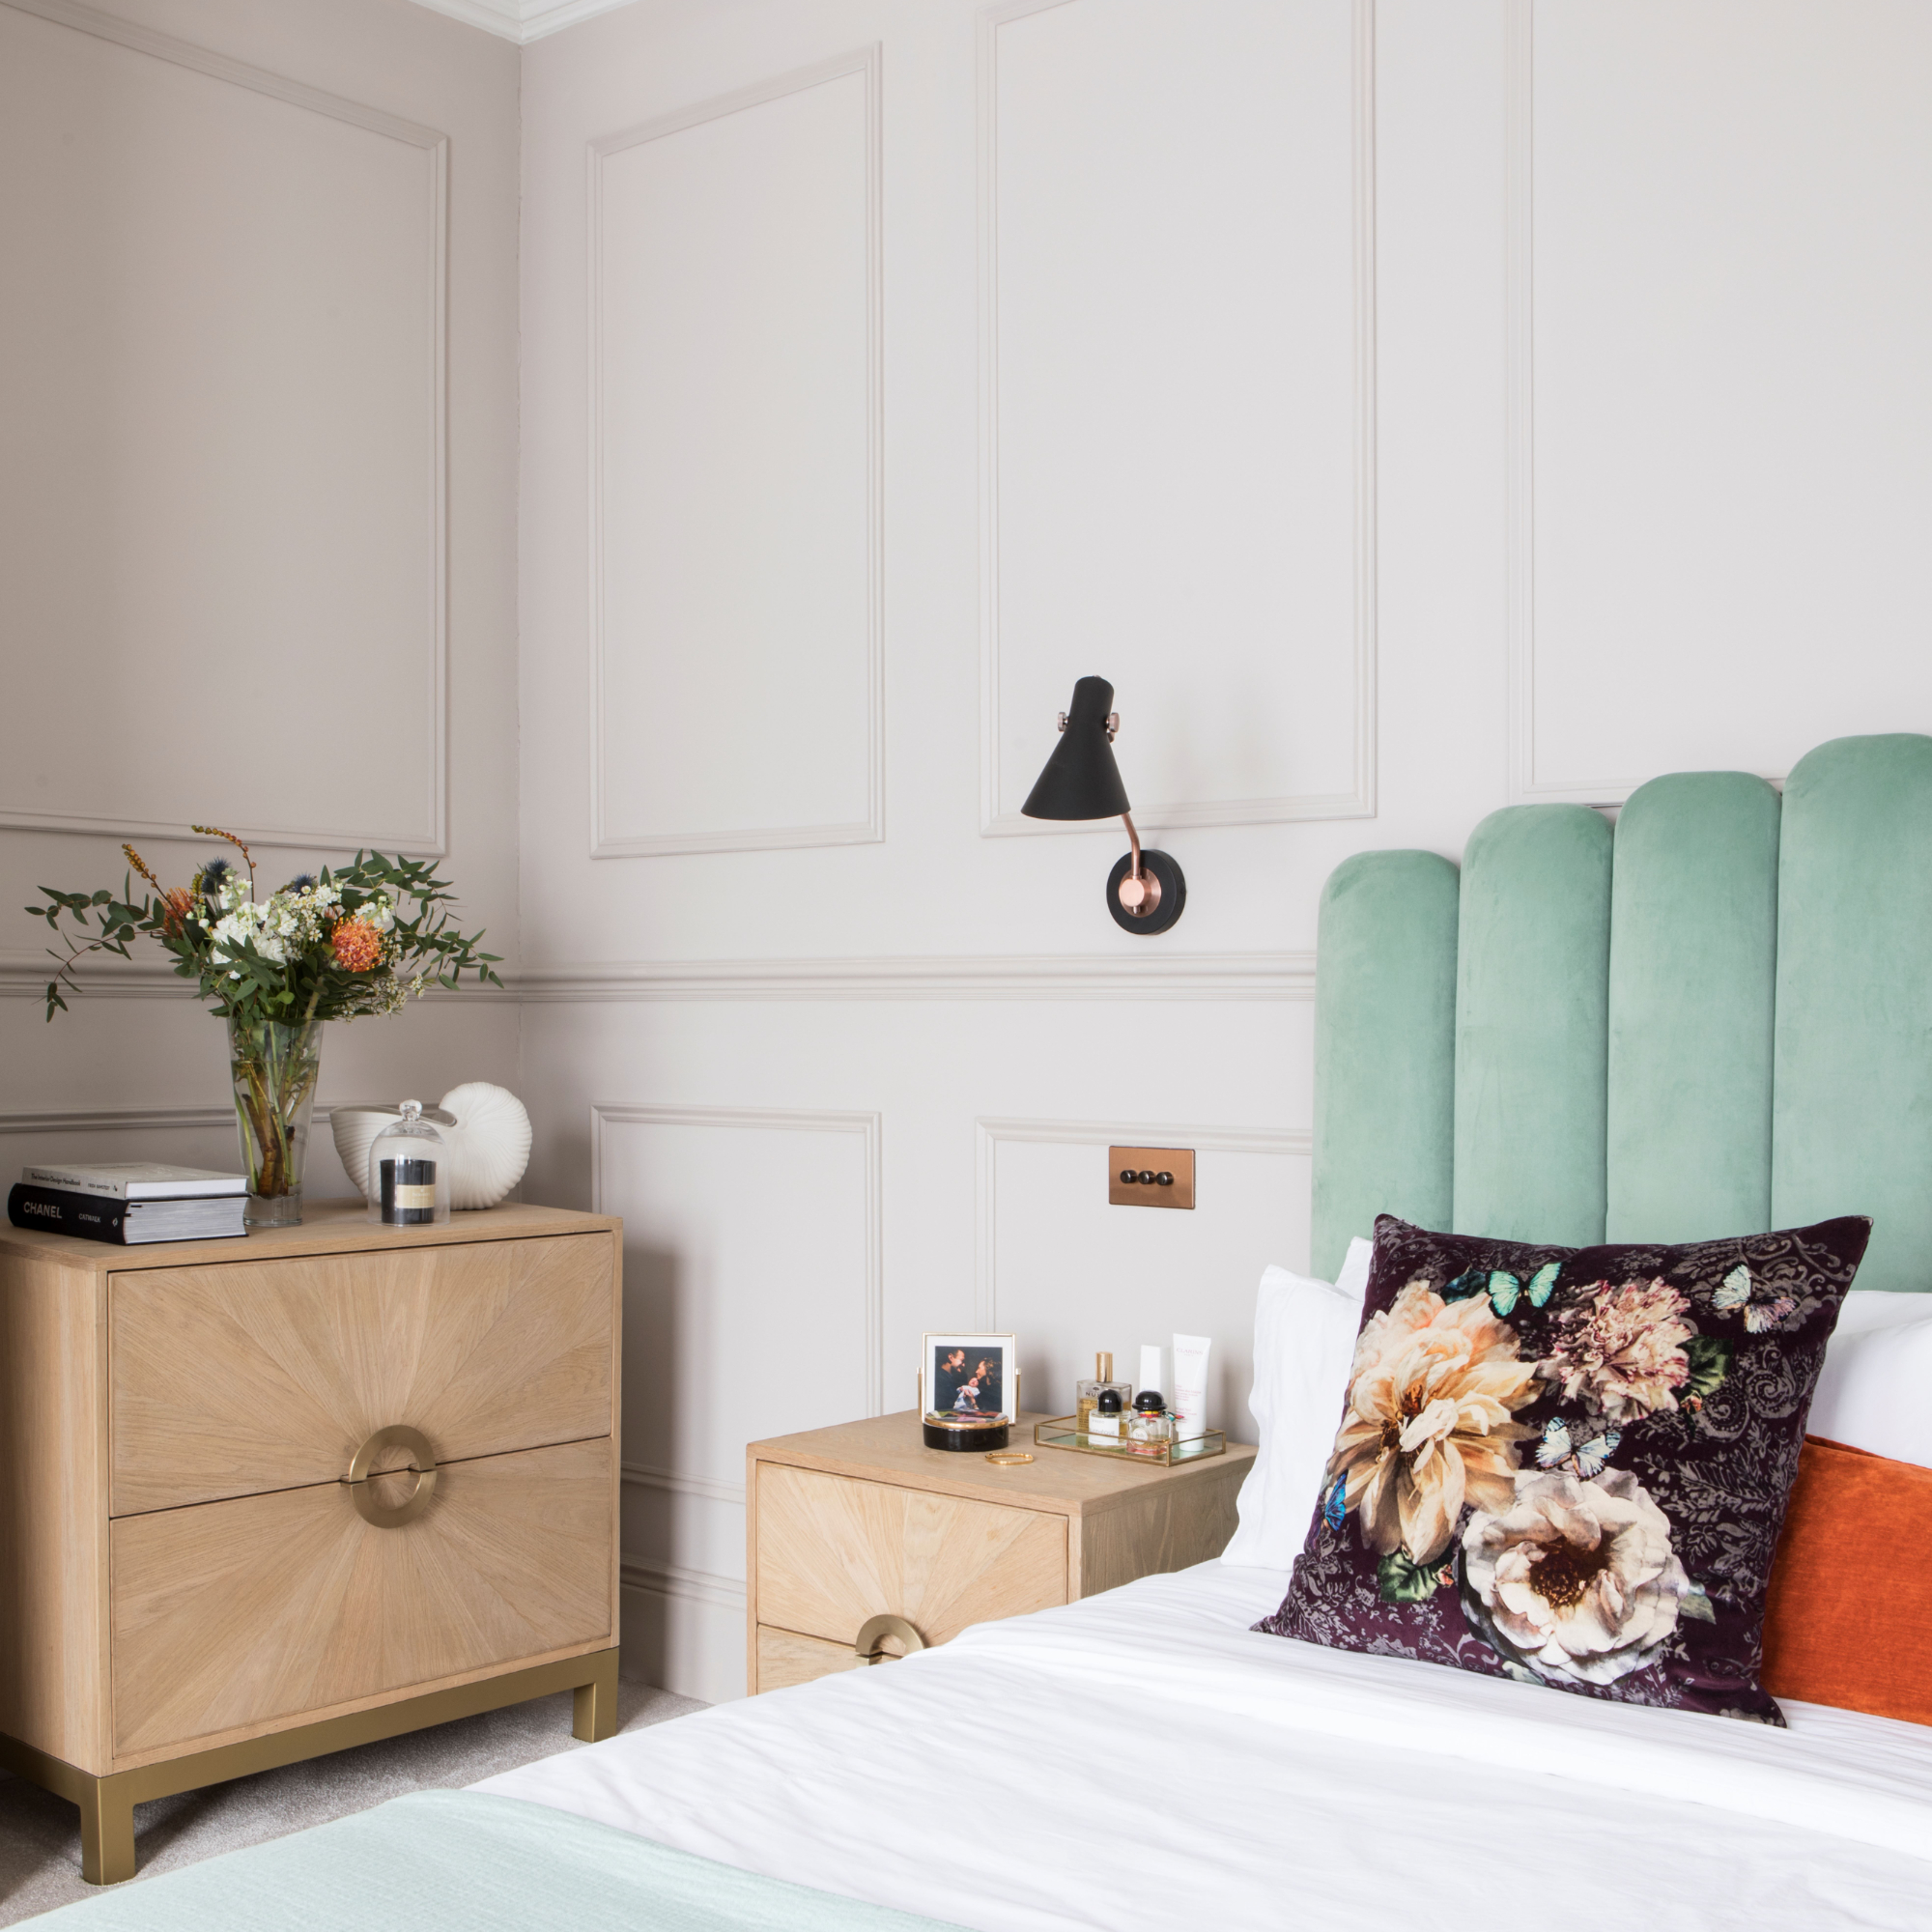
Zoe Goff, product manager at staircase parts and decorative mouldings manufacturer, Richard Burbridge adds, 'When it comes to DIY projects, using decorative mouldings to create wall panelling is one of the easiest tasks to complete.'
'It can be relatively straightforward to install when following accurate instructions and planning, and it's also cost-effective.'

What you'll need
- Mitre shears – to avoid doing any sawing, mitre shears can cut the panels at a perfect angle to create the moulding effect
- Quality panel moulding or trim – solid wood, MDF, or polyurethane are popular options. Try B&Q or Homebase for a range of options
- Tape measure
- Tape – either painters or masking tape, like this at Amazon
- Spirit level or spacing block
- Nail gun
- Filler
- Sanding block
Step-by-step guide
1. Start by taping your wall
Use tape to figure out exactly where you want your panelling to go. 'This way, you can start to chop and change the layout as you go, which is much easier to do with tape rather than the framing,' says Nat White, head of brand at find-a-tradesperson platform, Rated People.
2. Trust in your spirit level
'Begin by attaching the horizontal pieces of trim in a panel, using a spirit level or a spacing block as seen in the video,' advises Tim Warren, DIY expert at high performance industry glue manufacturer, Adkwik.
'If one is applied slightly off angle then this will prevent the other boards from properly aligning and will fail to give you the professional finish that you are looking for,' warns Nat.
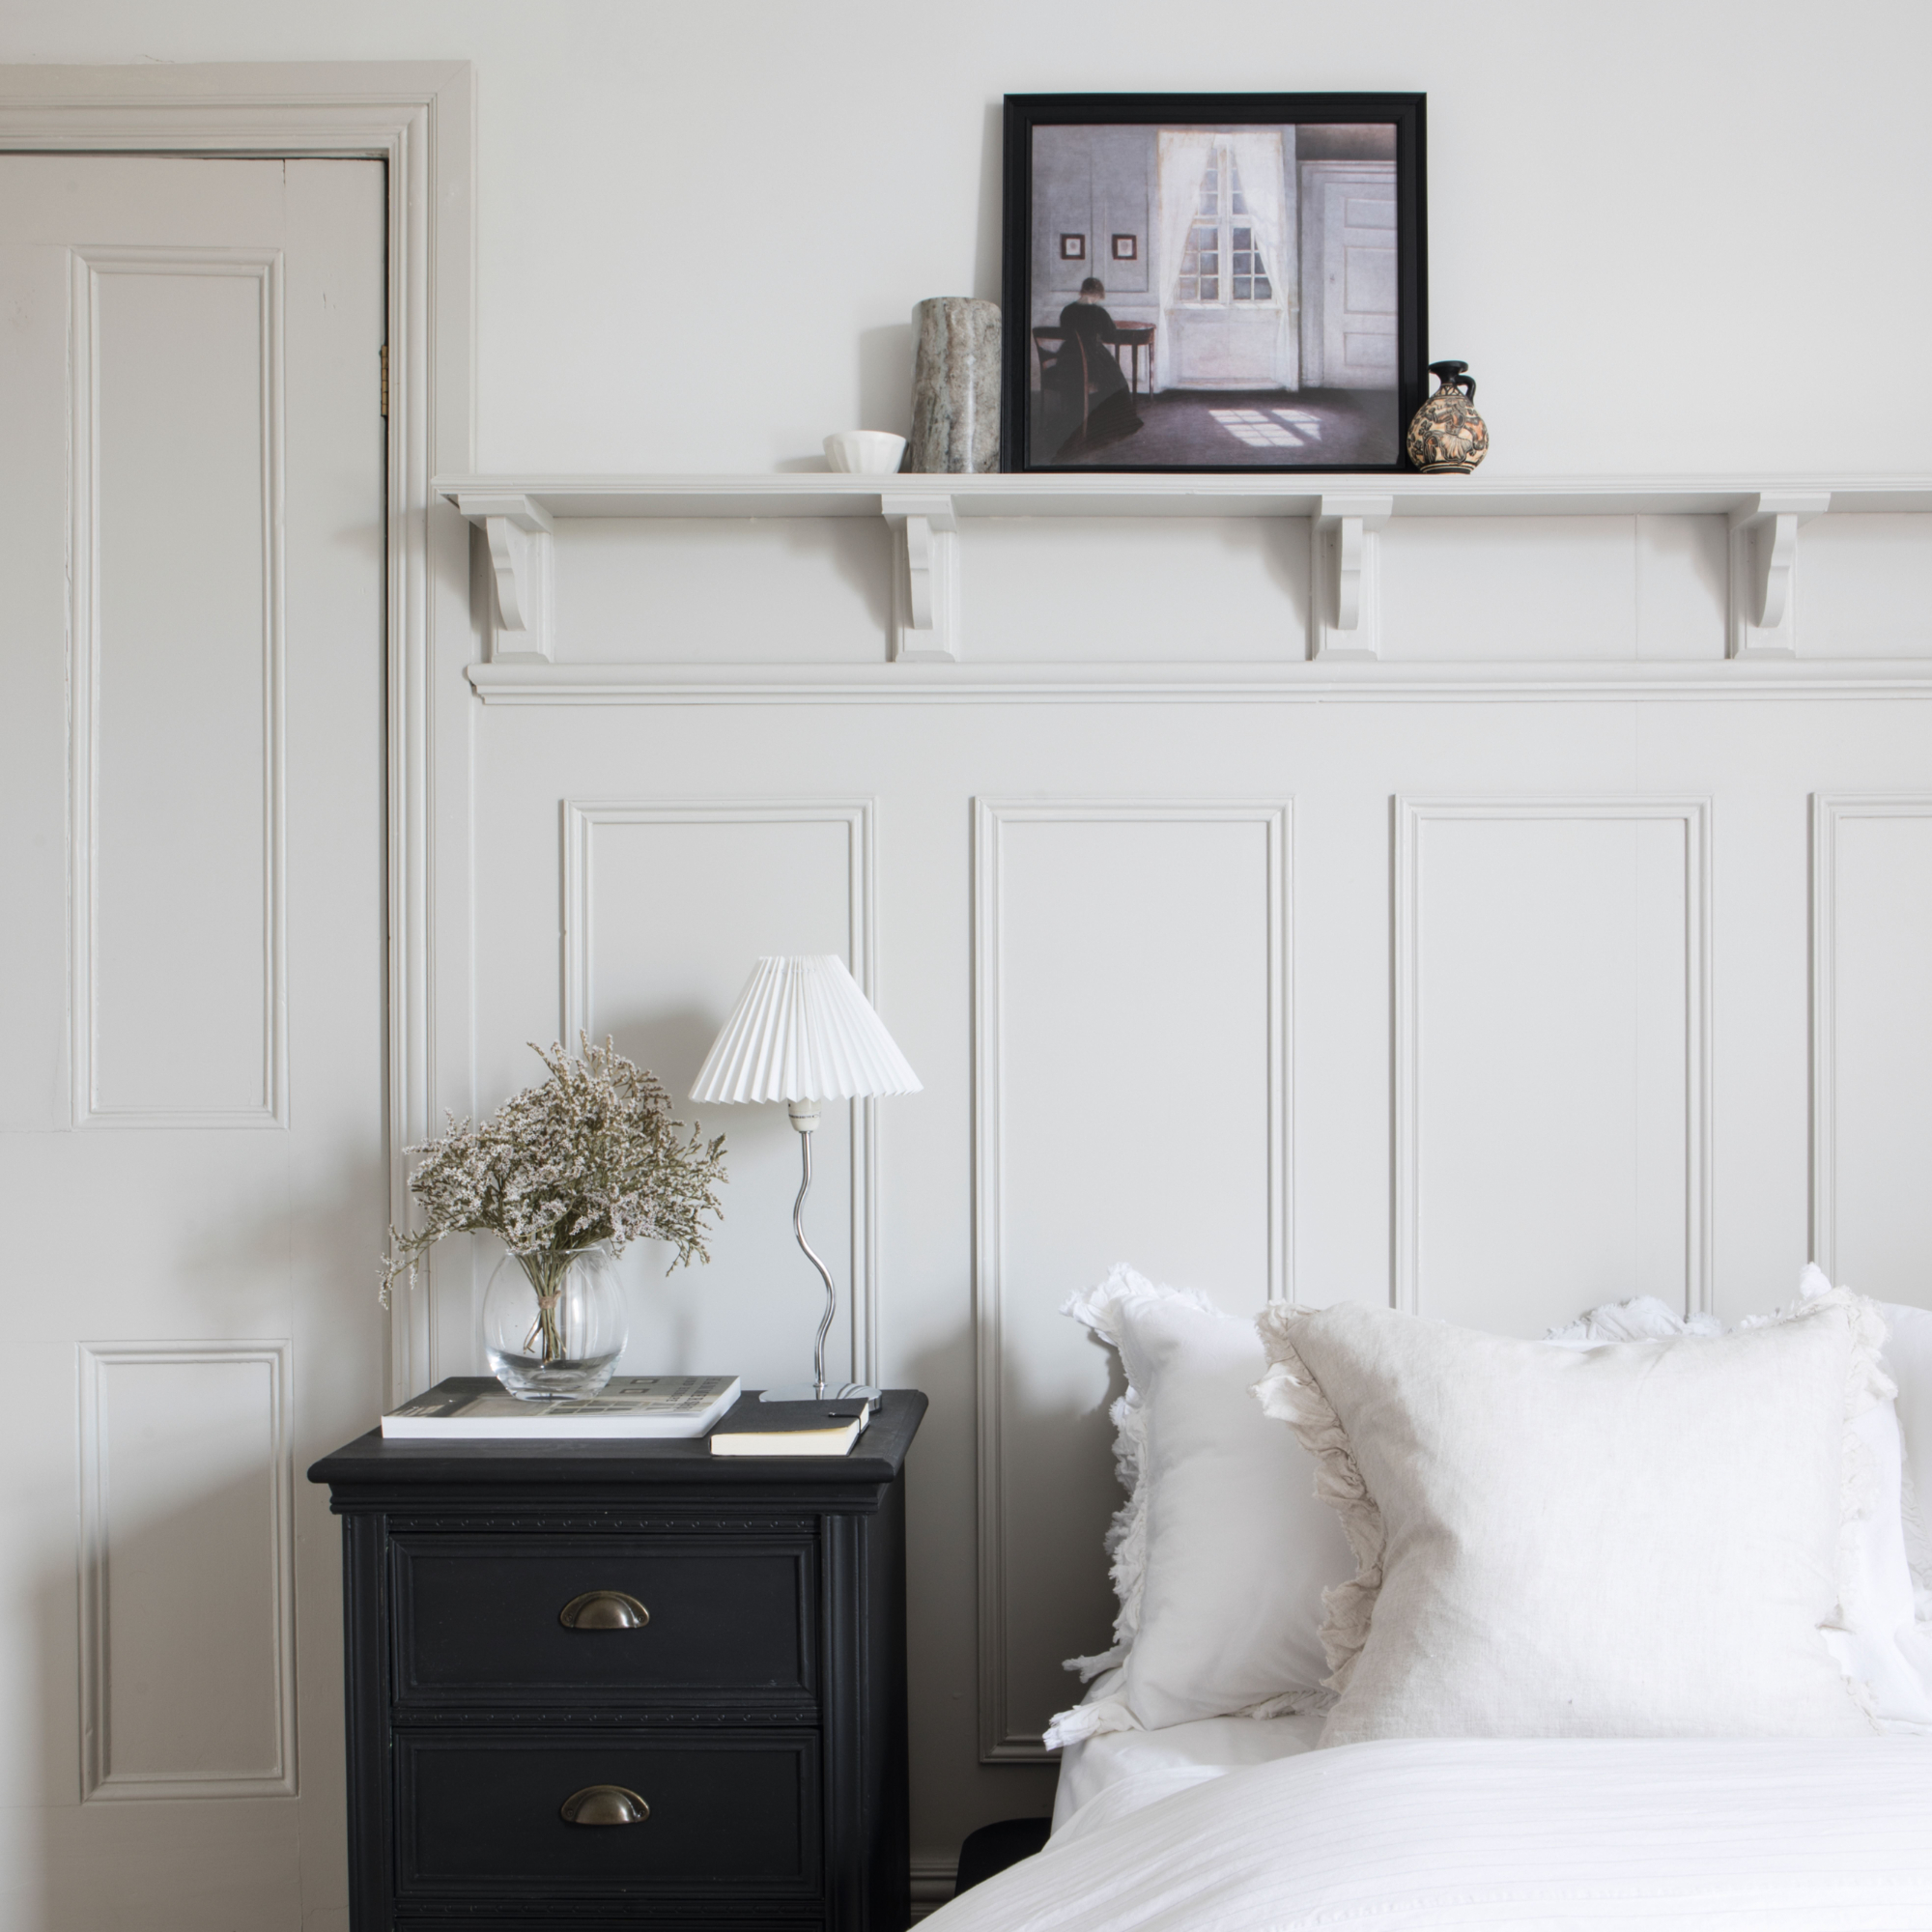
3. Secure the trim to the wall with a nail gun
'Use a nail gun to secure the trim onto the wall, inserting nails every few inches as you see fit for the length of the trim,' starts Tim.
'After this, you should secure the attaching vertical piece with wood glue on the corners before nailing it down, and clamp the pieces together to ensure a tight, neat fit (remember to wipe away any excess glue before it dries, as it will be easier to remove).'
'You could try the method seen in the video, where you attach all of the trim to the wall and then fill in any gaps with wood filler, but this will probably result in a messier finish, and the wood filler would need to be sanded down if it is not flush with the trim so it is less noticeable.'
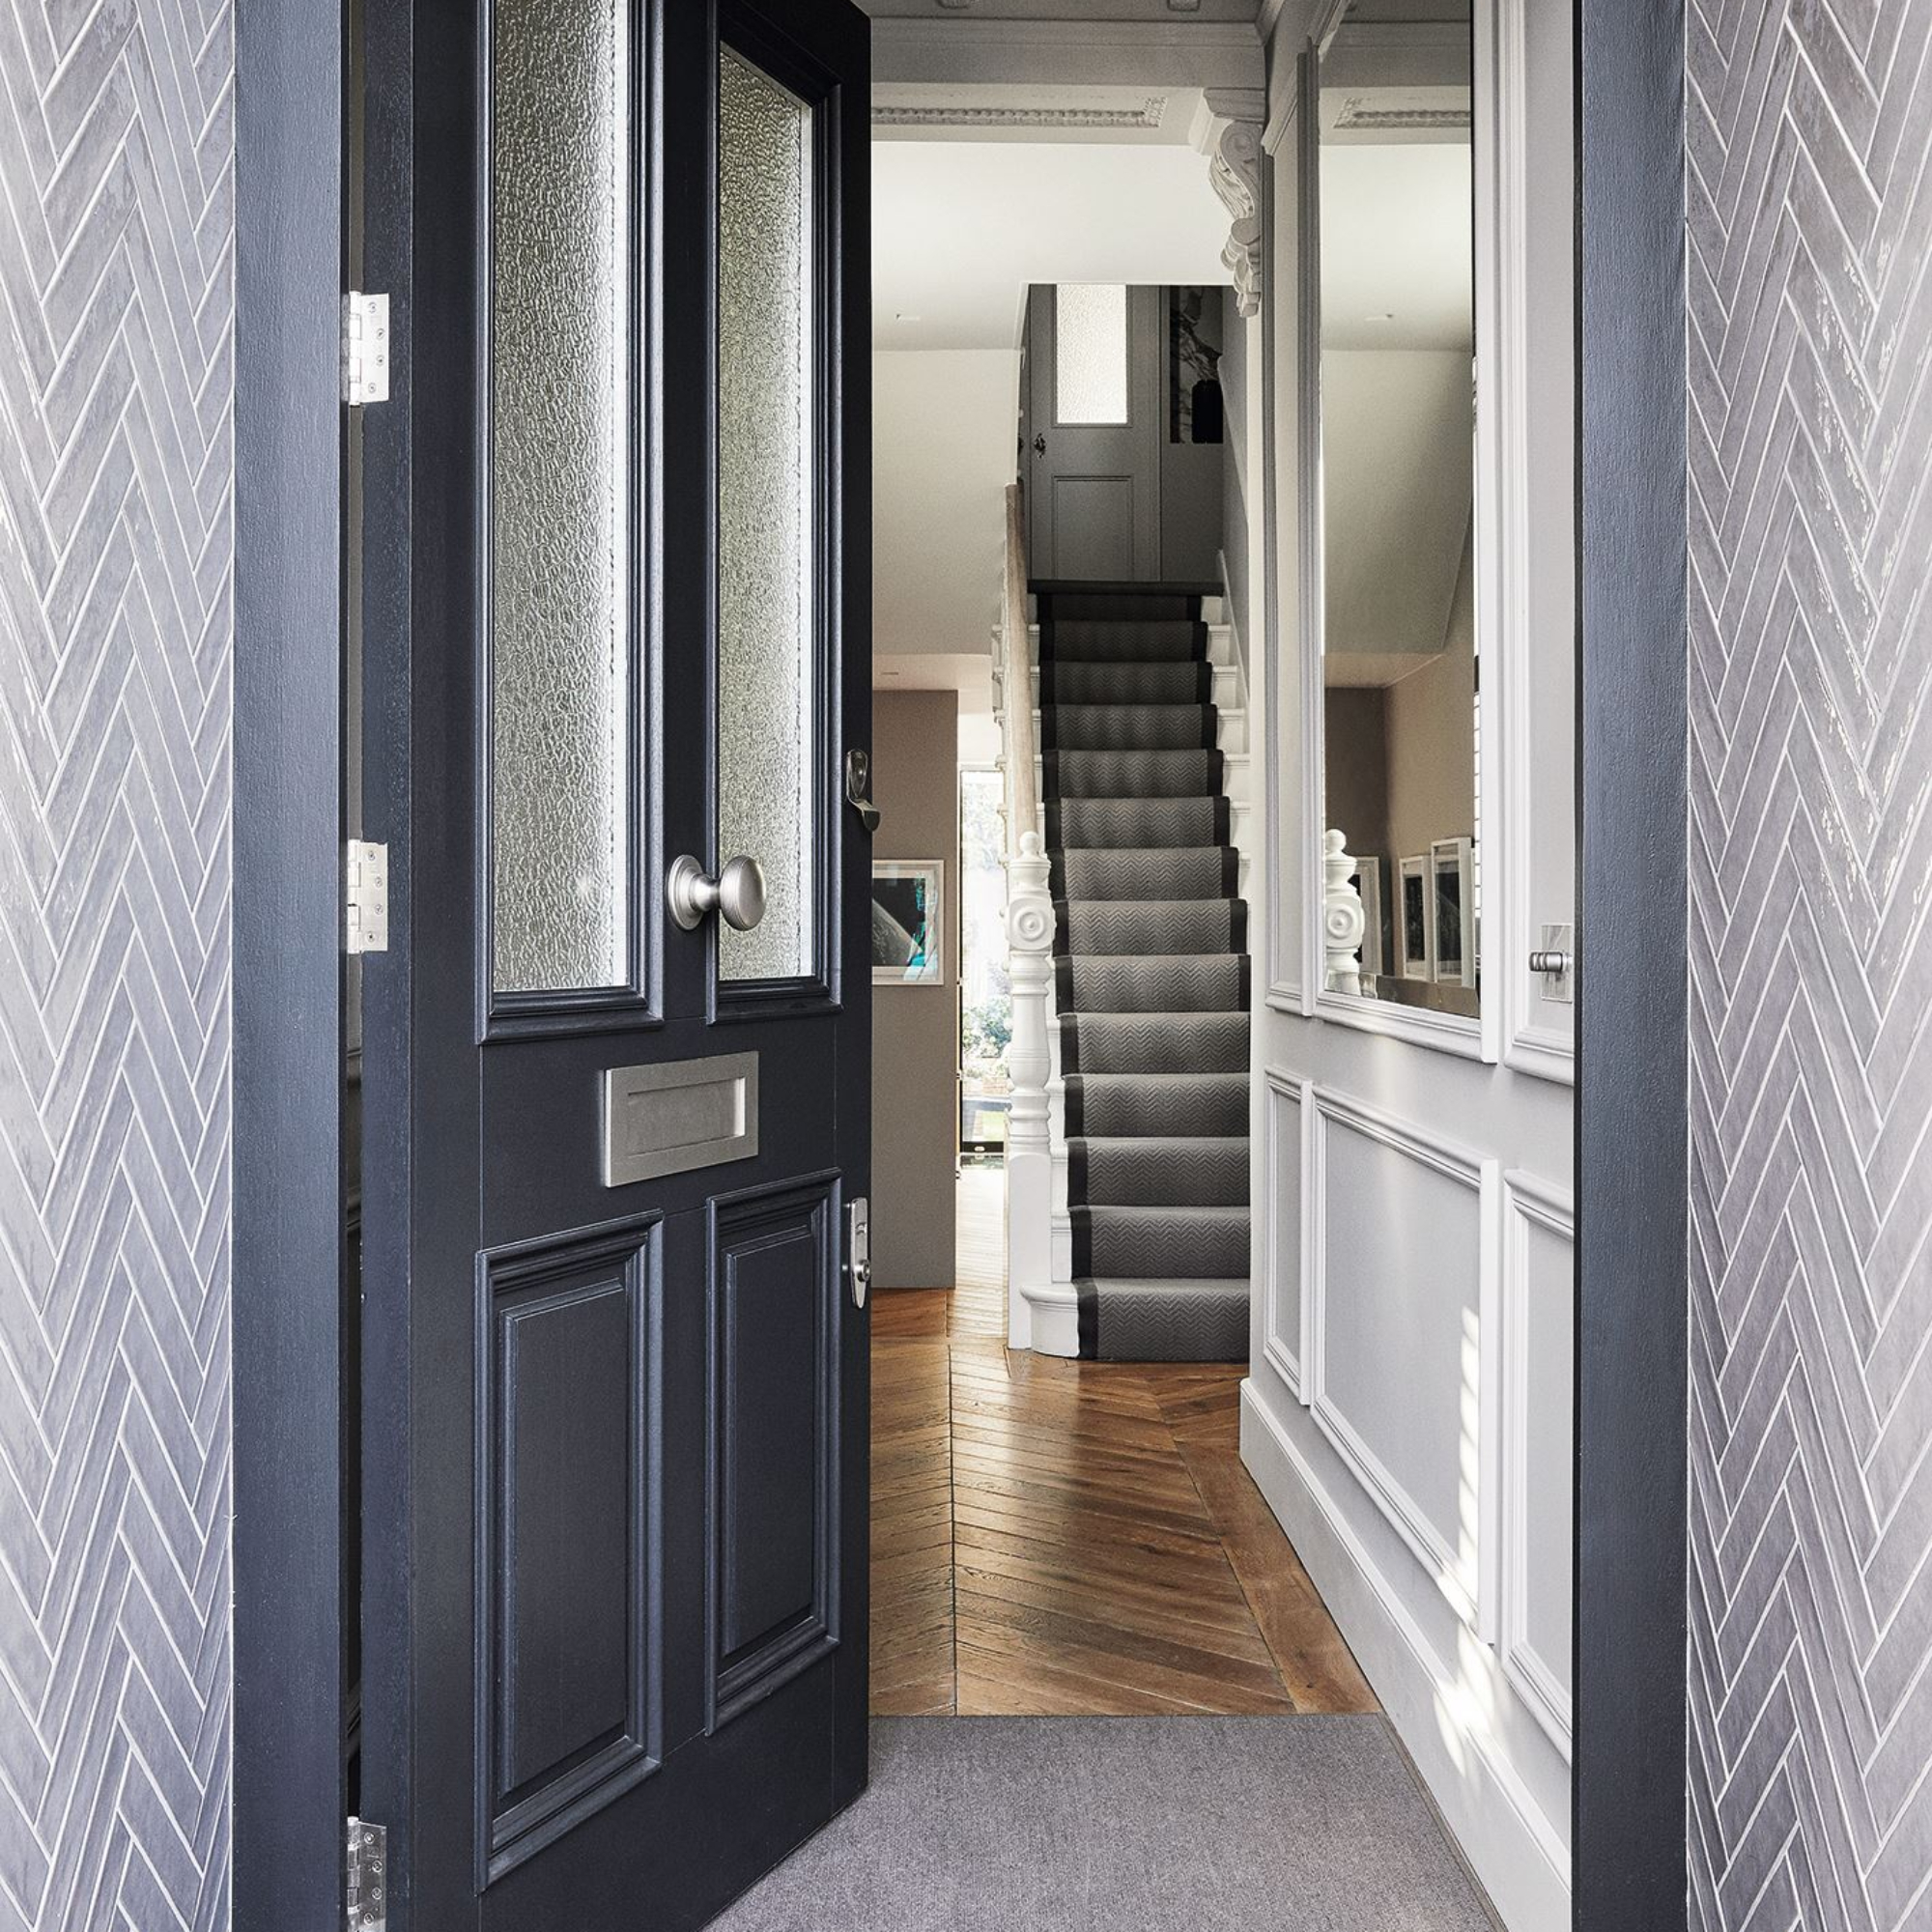
4. Don't forget to go back in with filler
'Once you have fitted the trim to the wall, patch over the nail holes with filler for a cleaner look, and sand away any excess once this has set with a sanding block,' advises Tim.
'For an even neater finish than seen in the viral TikTok method, use caulk over the edges of the trim so that it looks flush with the wall, and paint over the trim once the caulk has set.'
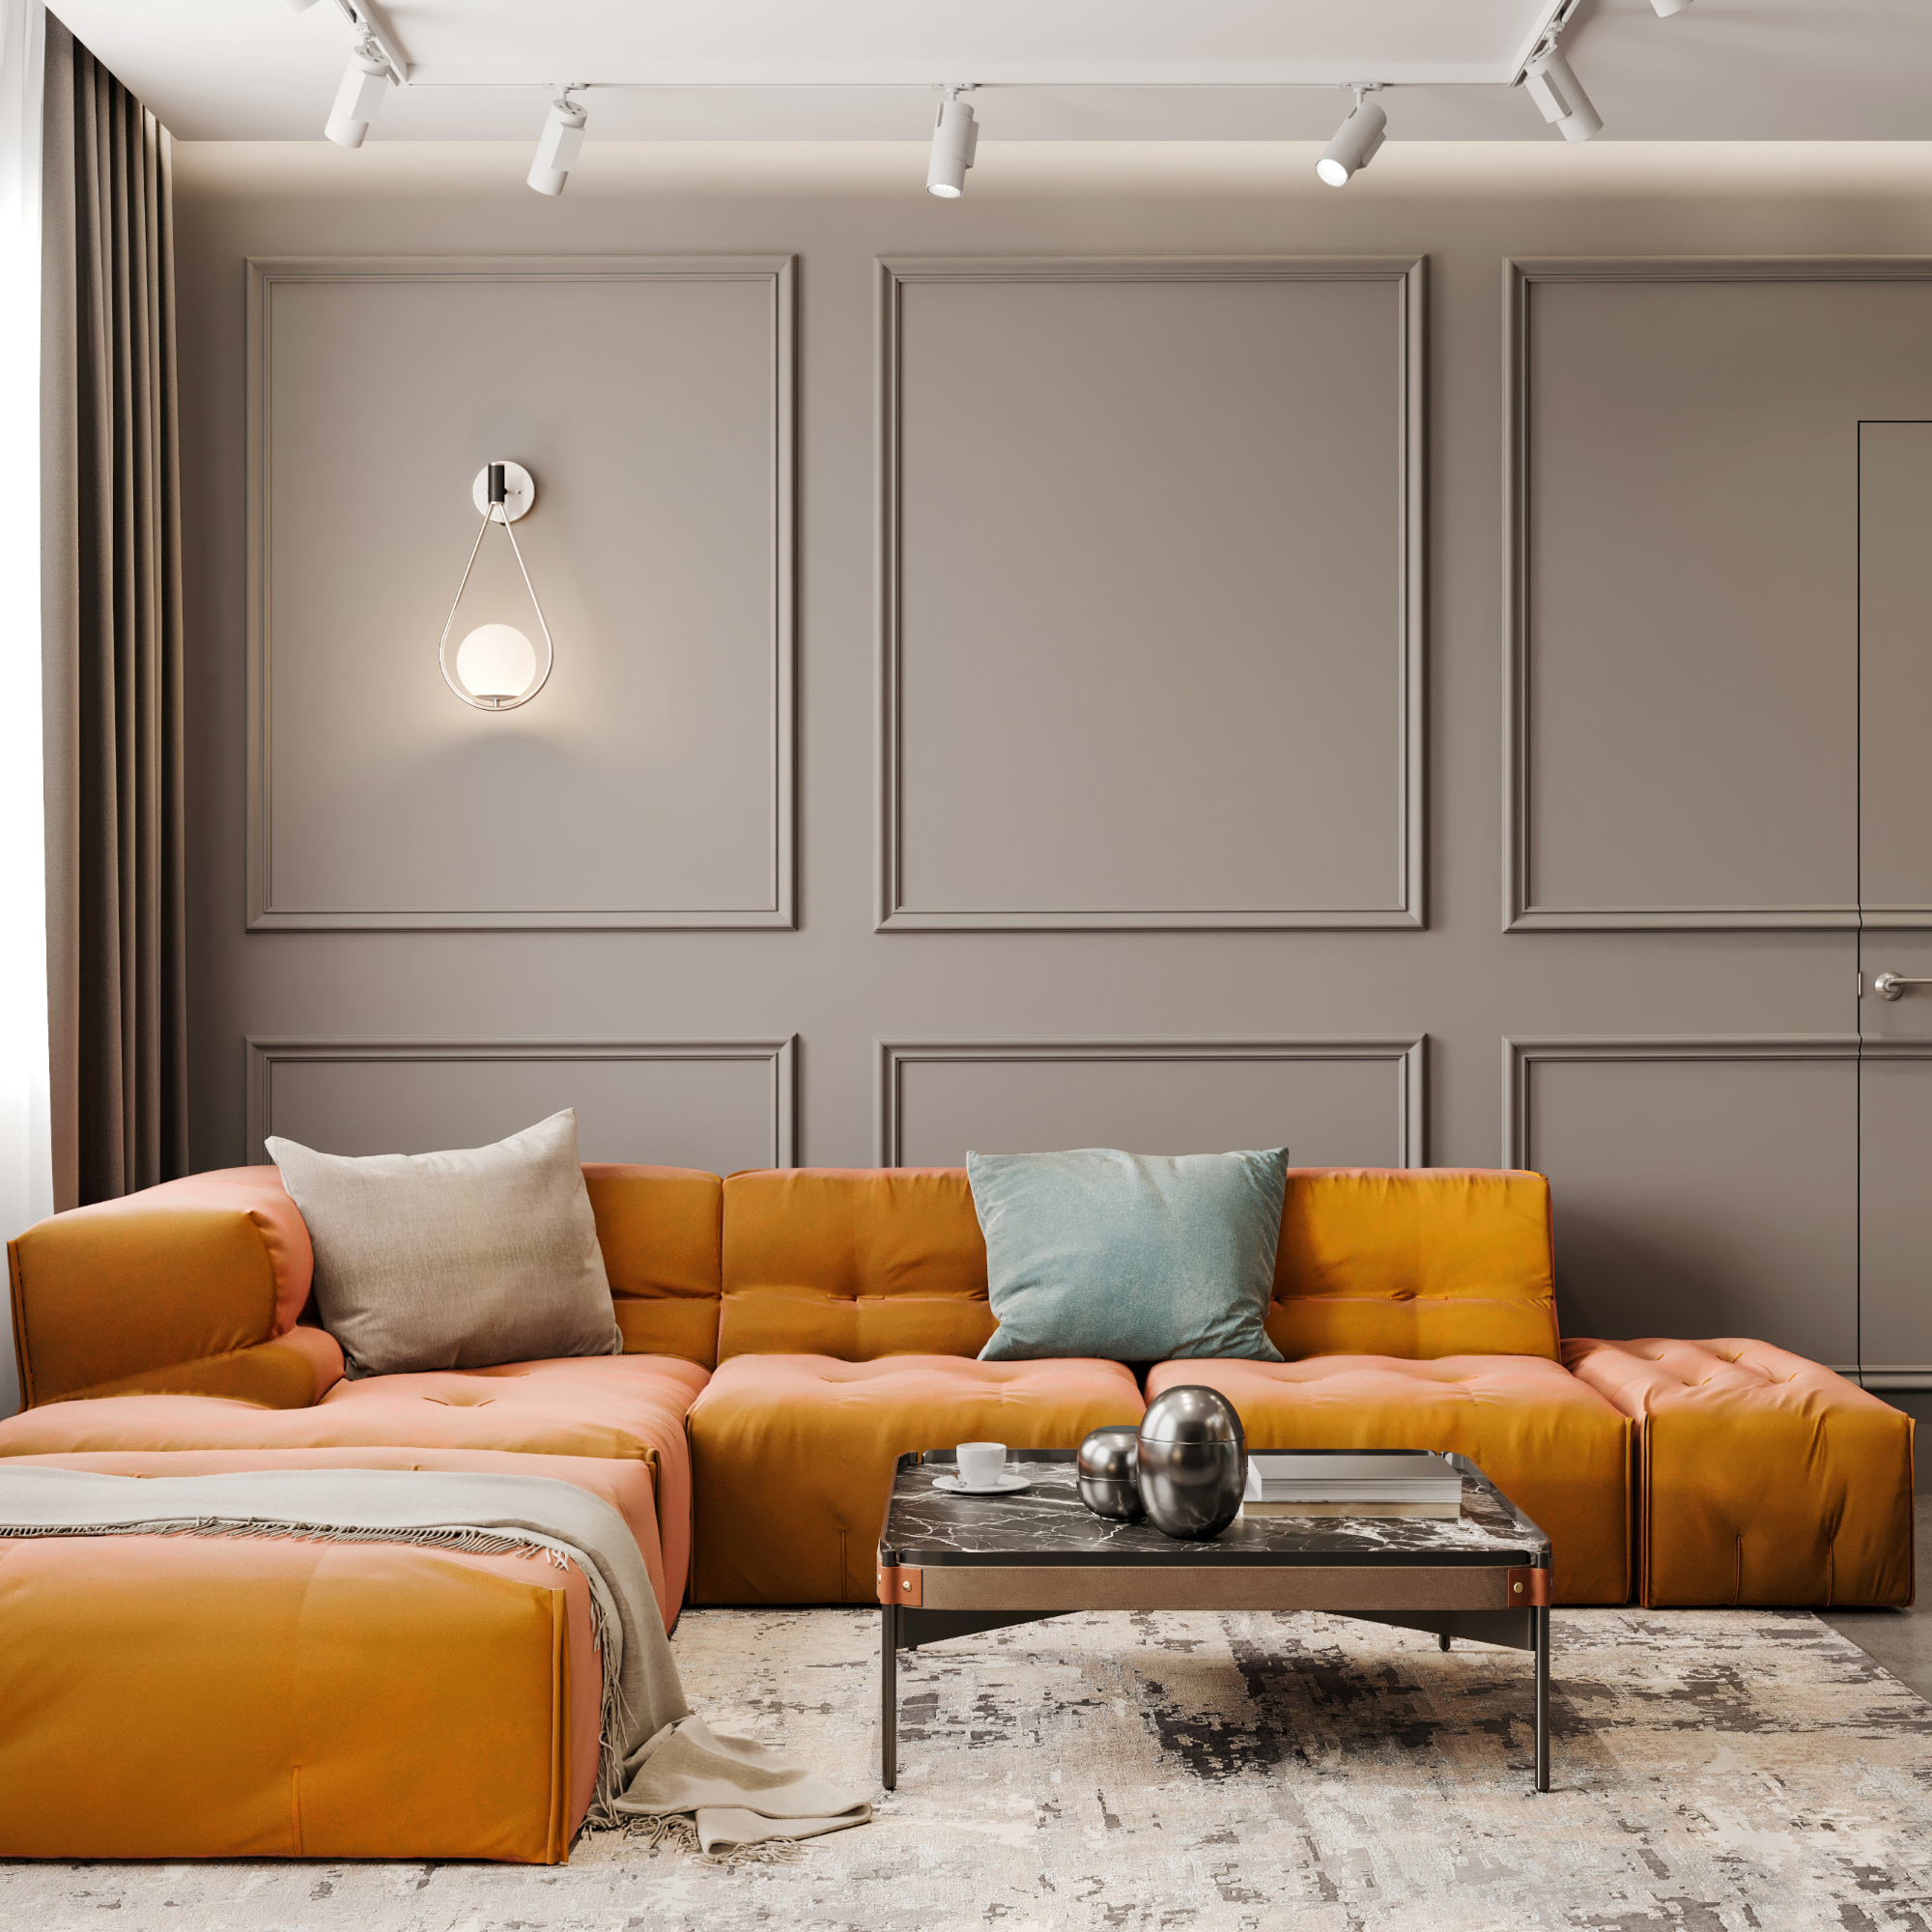
5. Paint as necessary to your desired colour
Now, comes the time to play with bedroom colour schemes and paint ideas, if that was in your DIY desires.
Tim starts, 'It is better to leave the painting until last instead of doing it first like shown in the viral method, as you can paint over the trim and walls together so that they are even and the same colour if this is the look you are wanting to achieve.'
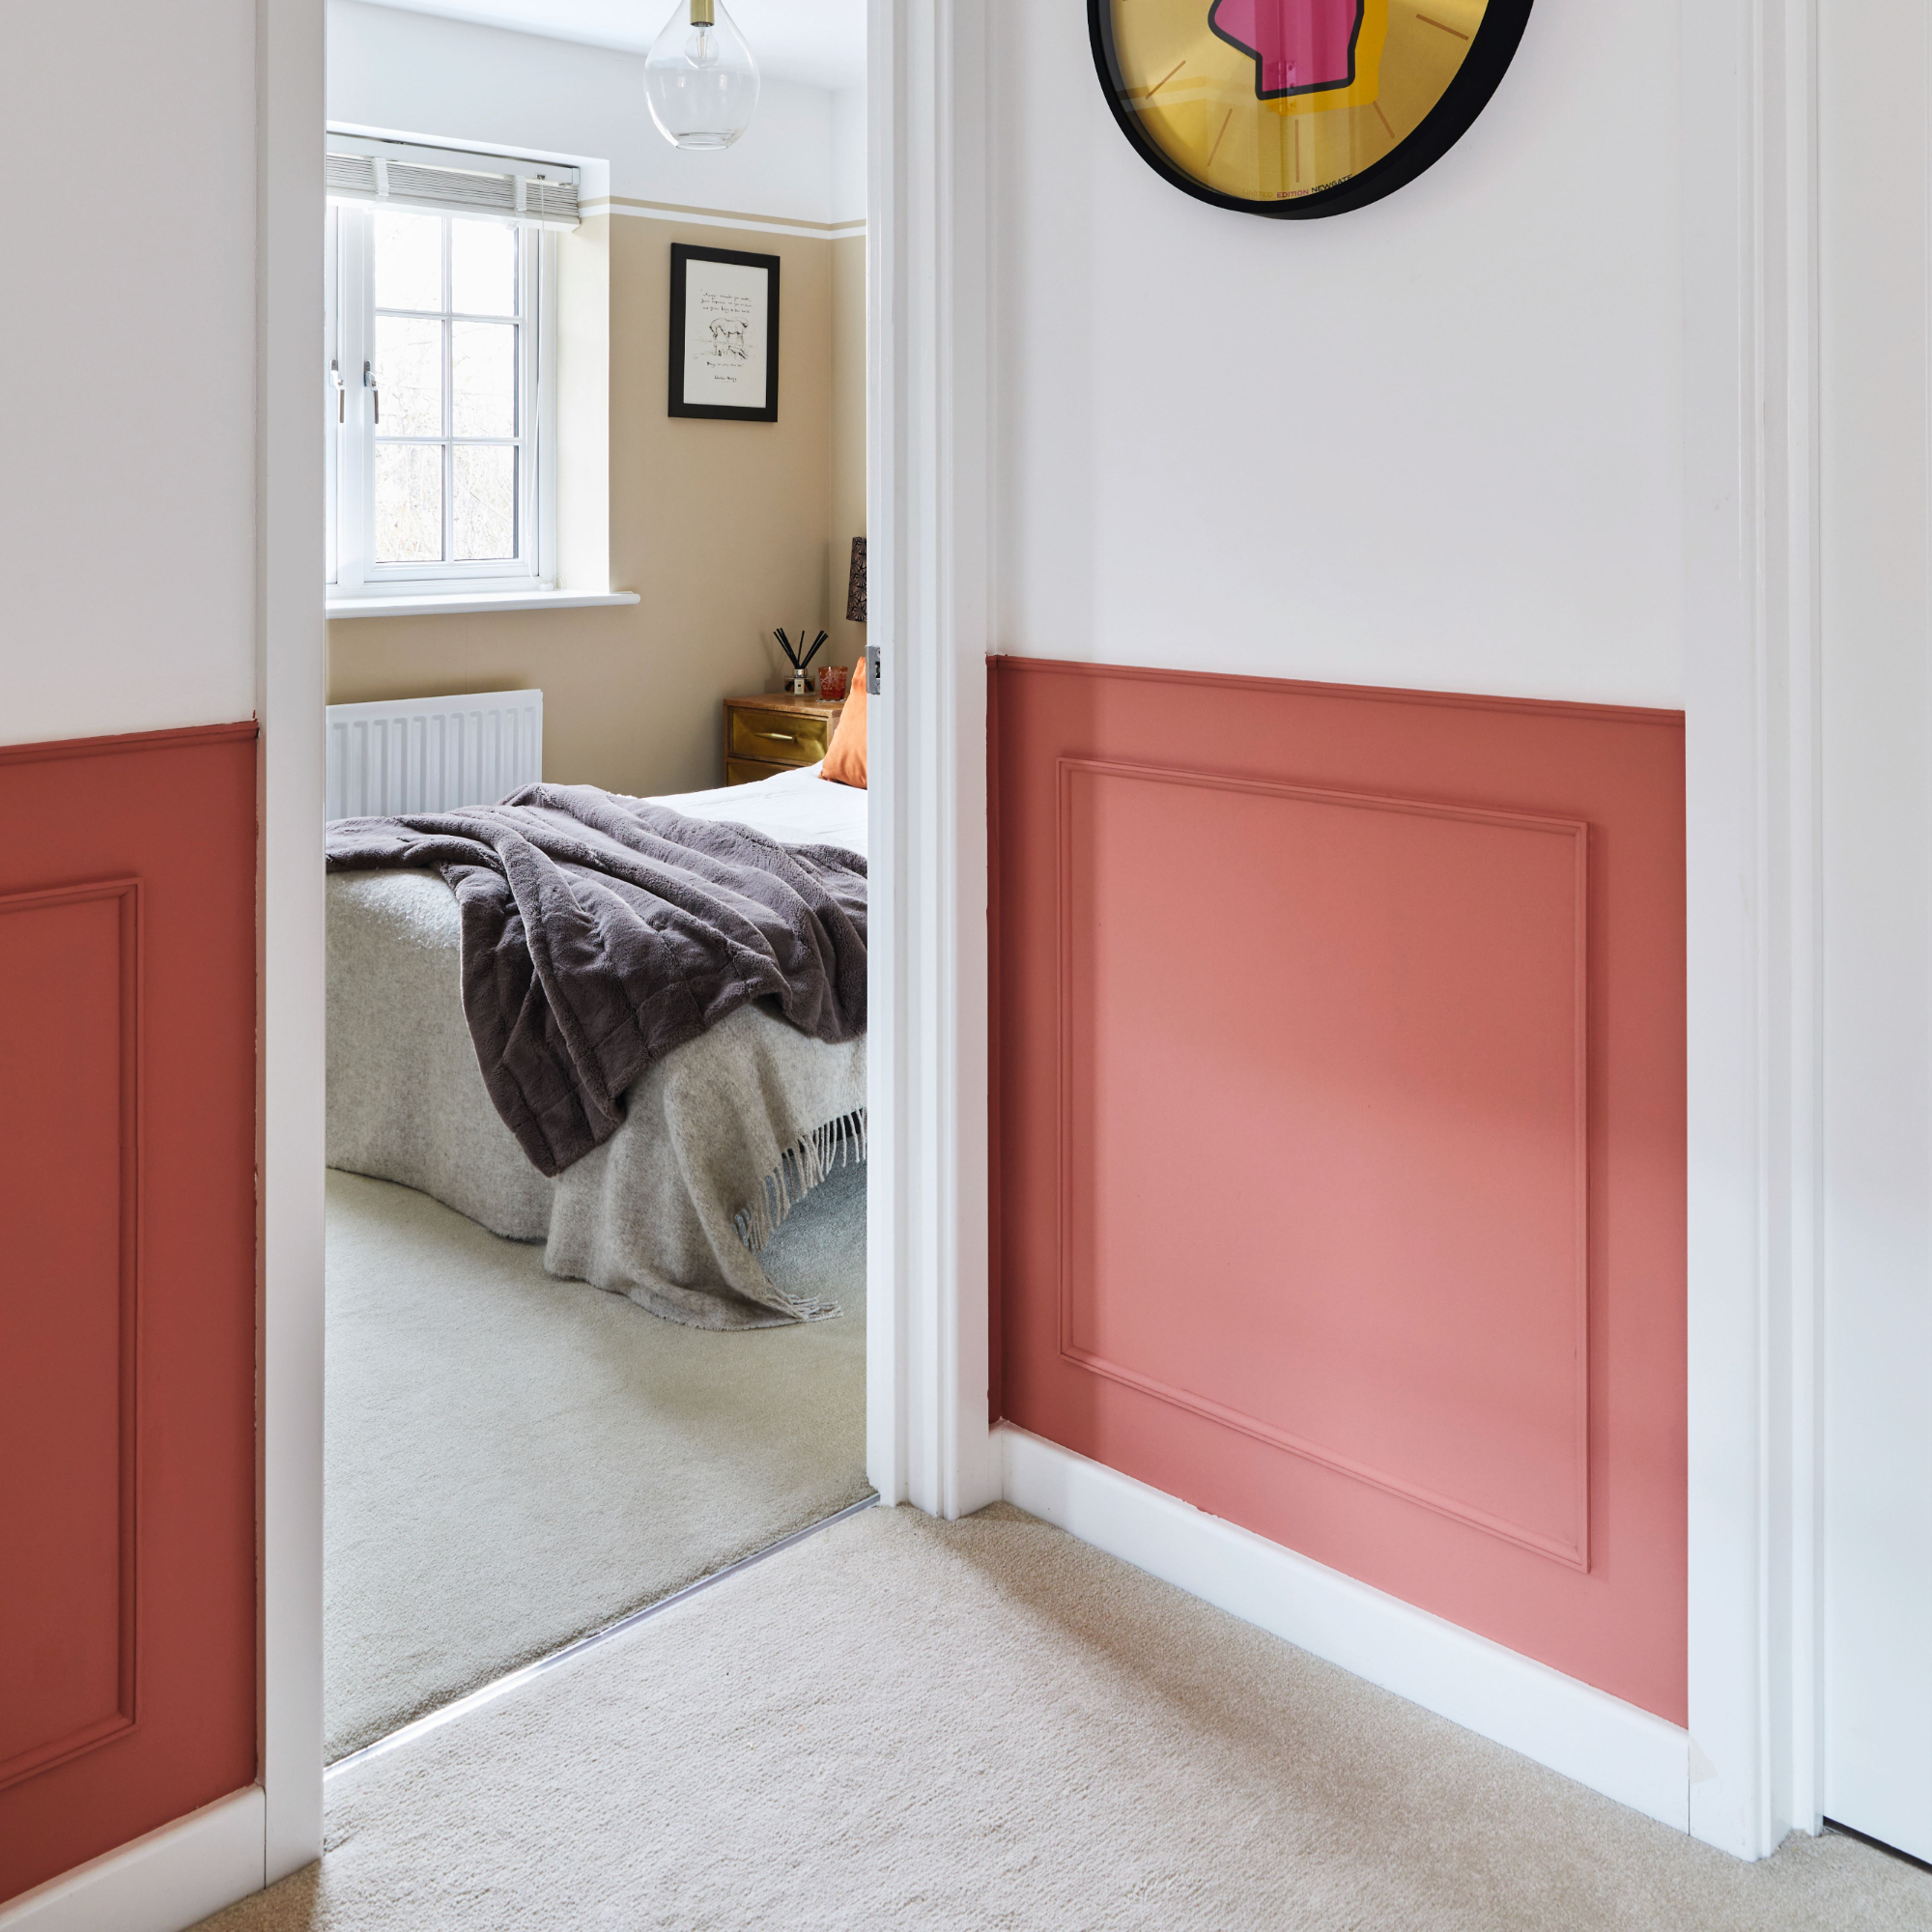
'Alternatively, if you are painting the trim a contrasting colour to the wall, use masking tape to protect the surrounding areas from paint splashes and drips.'
However, Nat flags, 'Whilst you might be tempted to paint your panels a different colour to your walls to add more character to your room, the best way to achieve this trend is by opting for a monochrome finish.'

And voila, you've achieved a professional-looking DIY panel moulding installation, without it having to cost an arm and a leg.
'Decorative panelling helps to establish a more delicate look in homes, and panelling can certainly add grandeur to a room, as well as create a sense of spaciousness,' concludes Zoe. 'This is why it's the perfect addition to a modern bedroom.'

Jullia was Ideal Home’s Junior Writer from 2022-2024 and the Ideal Home Certified Expert in Training on Vacuums having spent over 60 hours testing different models. She’s always loved all things homes and interiors, graduating with a bachelor’s degree in Architectural Studies from the University of Nottingham where her love for writing blossomed following her internship at ArchDaily. Now focused on home tech and cleaning, Jullia works on writing features and explainers to help people make the most of their home appliance investments, putting the newest launches through their paces. When she isn’t writing, she loves exploring the city, coffee shop hopping, and losing hours to a cosy game or book.