I made a bulb lasagne in a pot and it's the easiest way to get a show of stunning spring flowers for months
It’s the hack that promises staggered continuous spring bulbs, but how easy is a bulb lasagne really?

Sign up to our newsletter for style inspiration, real homes, project and garden advice and shopping know-how
You are now subscribed
Your newsletter sign-up was successful
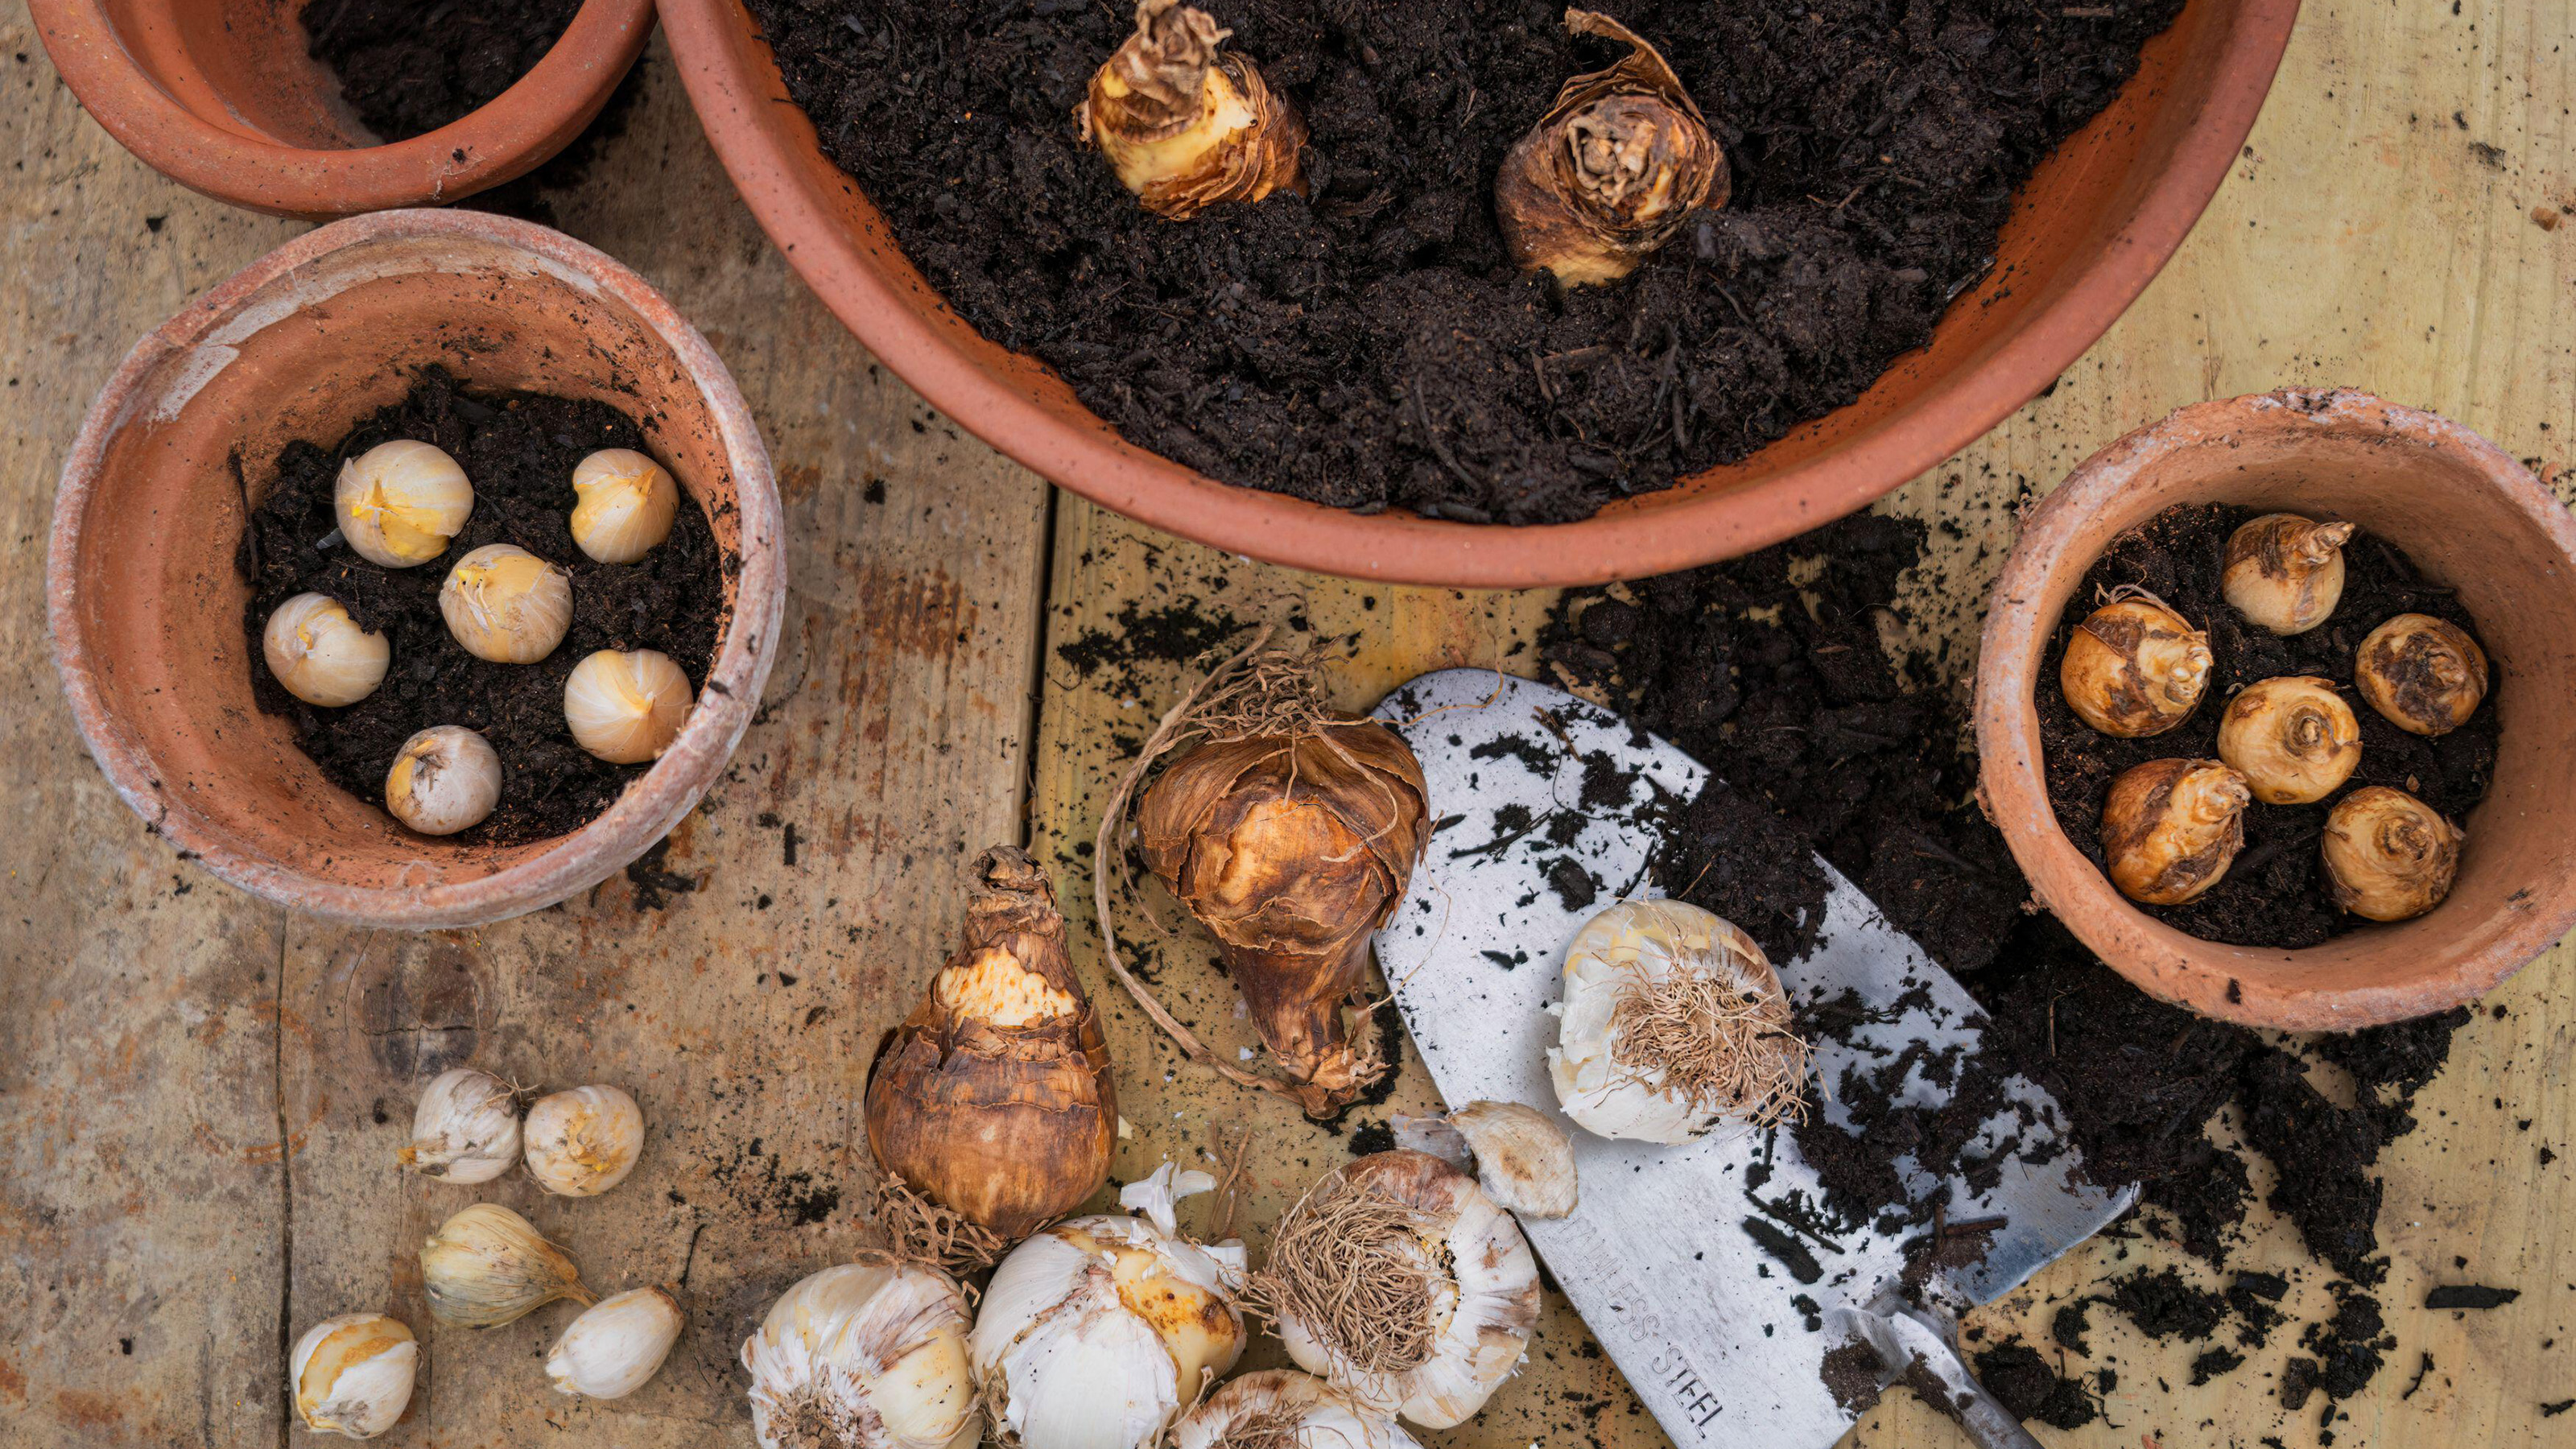
There are few things more hopeful than planting bulbs in autumn. You tuck them into the soil, forget about them for months, and then, voila! But could a bulb lasagne in a pot help to up the ante?
All over Instagram and TikTok, this spring bulbs hack might sound like a carb-heavy dinner (and a particularly delicious one at that). In gardening terms, though, a bulb lasagne is simply layering bulbs in one deep container.
The result? They all flower in succession, giving you waves of colour from early spring right through to early summer. And, as someone who spends far too much time scrolling plant content, I knew I had to try it for myself.
My own bulb lasagne in a pot
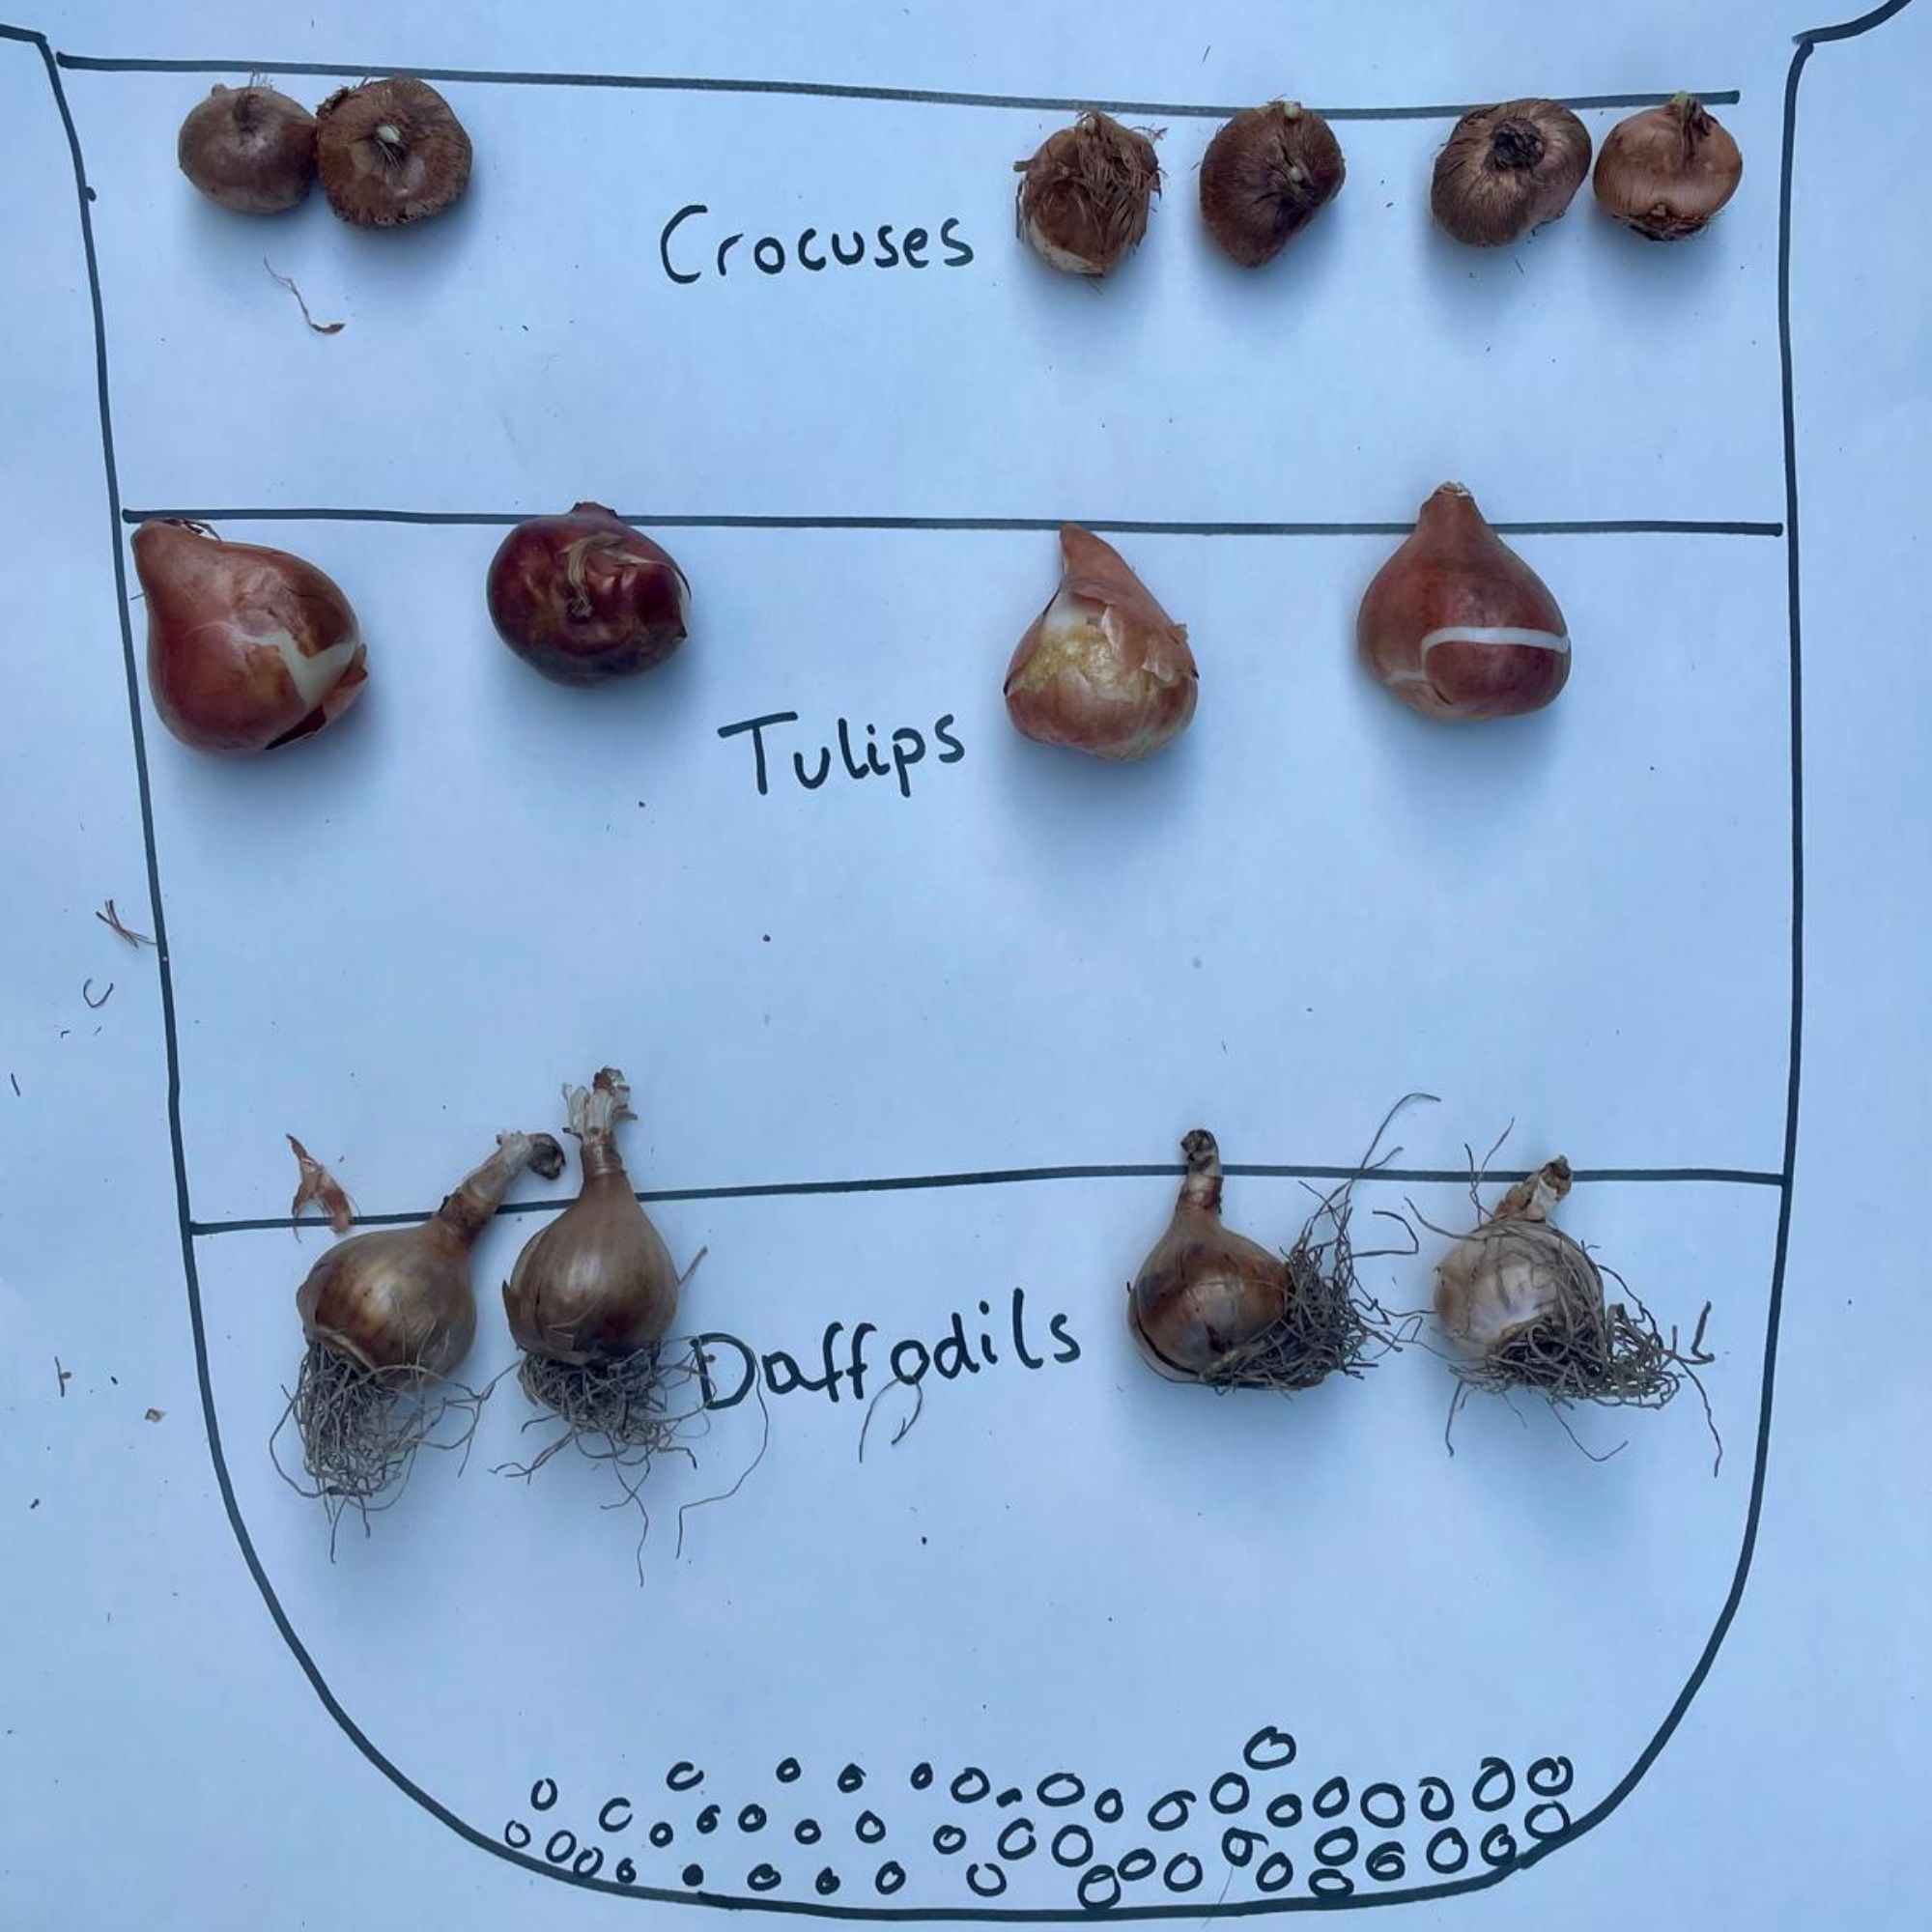
The appeal of the bulb lasagne in a pot is obvious: one pot, months of flowers, making it ideal for even the very smallest of small gardens.
You’re essentially tricking time, creating a magic box of blooms that appear one after the other. First crocuses or snowdrops poke through, then tulips or hyacinths, and finally daffodils or alliums for a show-stopping finish.
Designers love them because they offer “wow” factor in a container garden. Gardeners love them because they make the most of every inch of soil. And I love them because they make me feel clever – like I’ve hacked the system, somehow.
What you'll need
Confession time? I had some help when it came to crafting my own bulb lasagne in a pot; my husband is a professional gardener, so he was on hand to offer tips and advice when it came to choosing which types of bulbs to plant and in what type of pot.
Sign up to our newsletter for style inspiration, real homes, project and garden advice and shopping know-how
To ensure you kick off your own planting project with the same knowledge on your side, here's what you will need to gather before you get started:
- A deep container (at least 30cm deep): this embossed galvanised metal planter, from £17.99 at Crocus should really help yours pop. Make sure there are holes at the bottom; you want good drainage to keep your bottom layer of bulbs from rotting.
- Bulbs in different flowering times: to make this easier, try something like Crocus' Bulb lasagne collection for pots, from £21.95; You'll have up to 74 bulbs in your kit, featuring crocuses, two varieties of daffodil, and tulips, too!
- Good compost (peat-free) with grit mixed in for drainage; bulbs hate sitting in waterlogged soil. A bag of Westland bulb planting and potting mix from £5.99 at Crocus is ideal for this.
- A trowel, gloves, and a mug of tea: all essentials when it comes to an autumn potting session. Especially that last one.
Step-by-step guide
So, what did I have to do to create my own bulb lasagne in a pot this autumn? Well, it's not as simple as tipping everything in a pot and hoping for the best. Much like the Italian dish it's named after, in fact, there's a bit of an art to doing it well...
1. Prep the pot
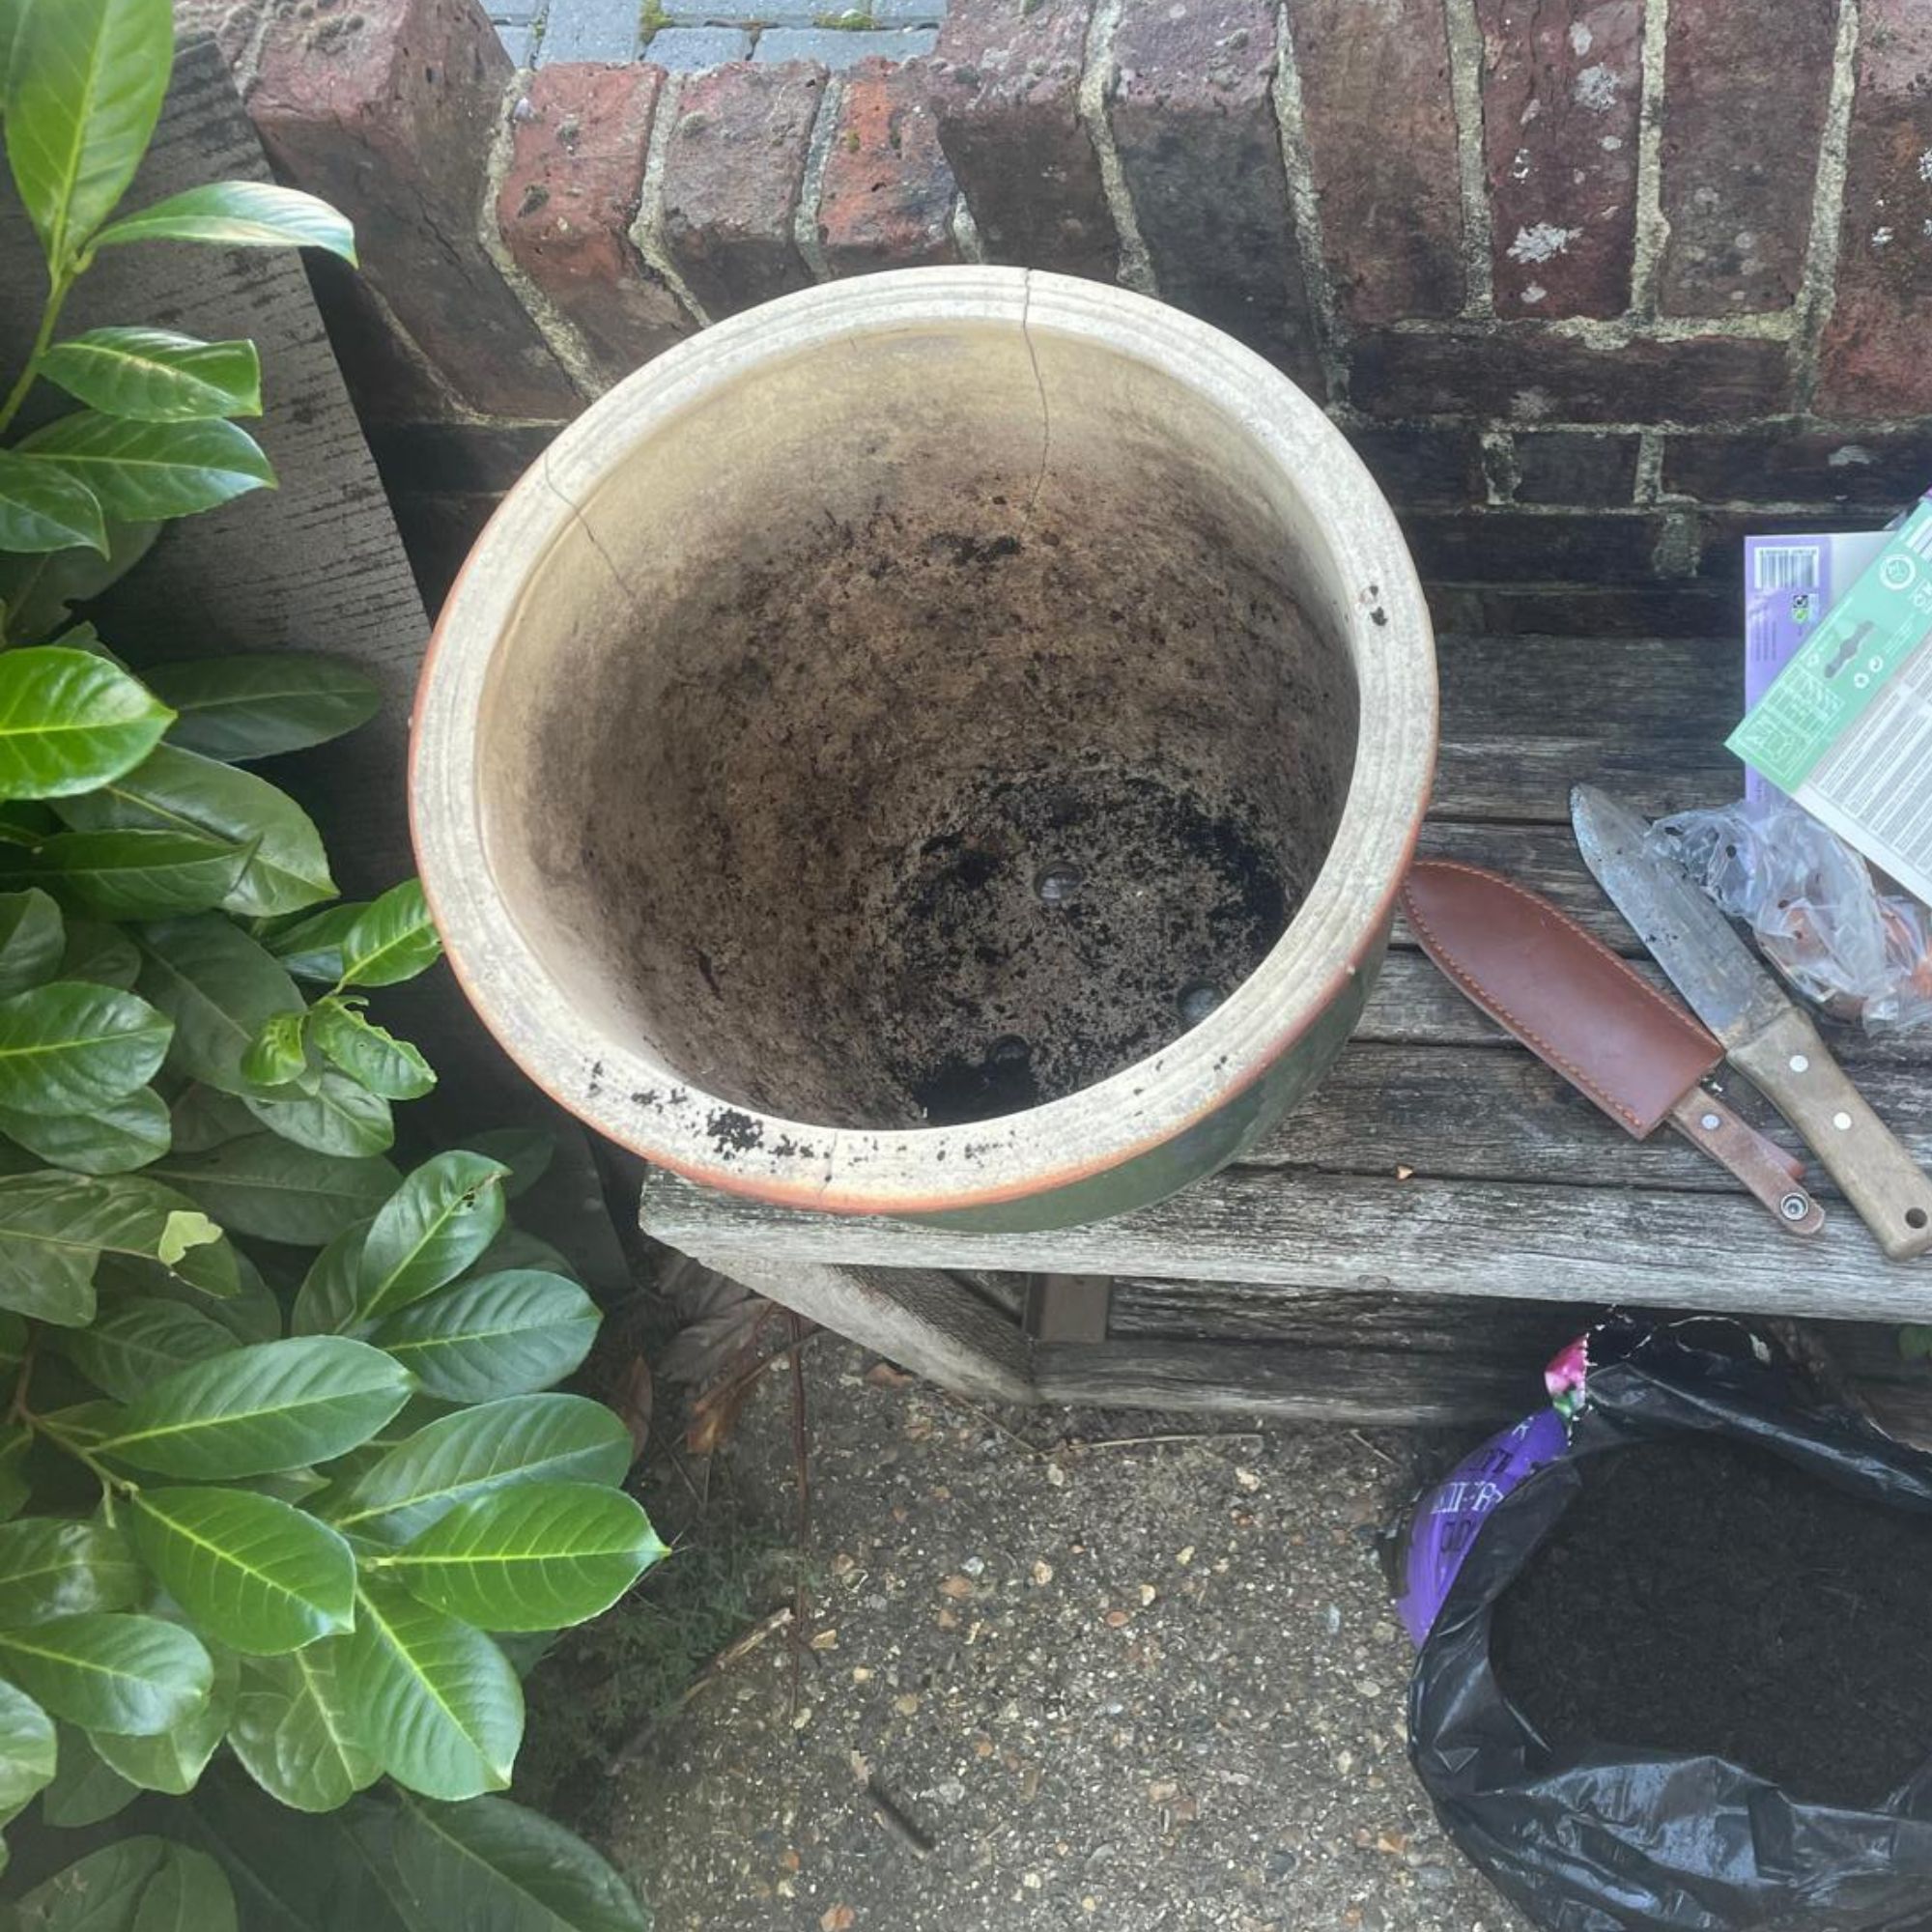
I made sure my large pot had some holes at the bottom. Then, to help with drainage, I added a small layer of stones (these Growcery clay pebbles, from £6.99 for 1L at Amazon, will provide great drainage) to the base so that it stops any water from sitting there for a long time.
As mentioned, bulbs don't like to sit too wet; I don't want any to rot before they get their chance to shine come springtime.
2. Start with the late-bloomers
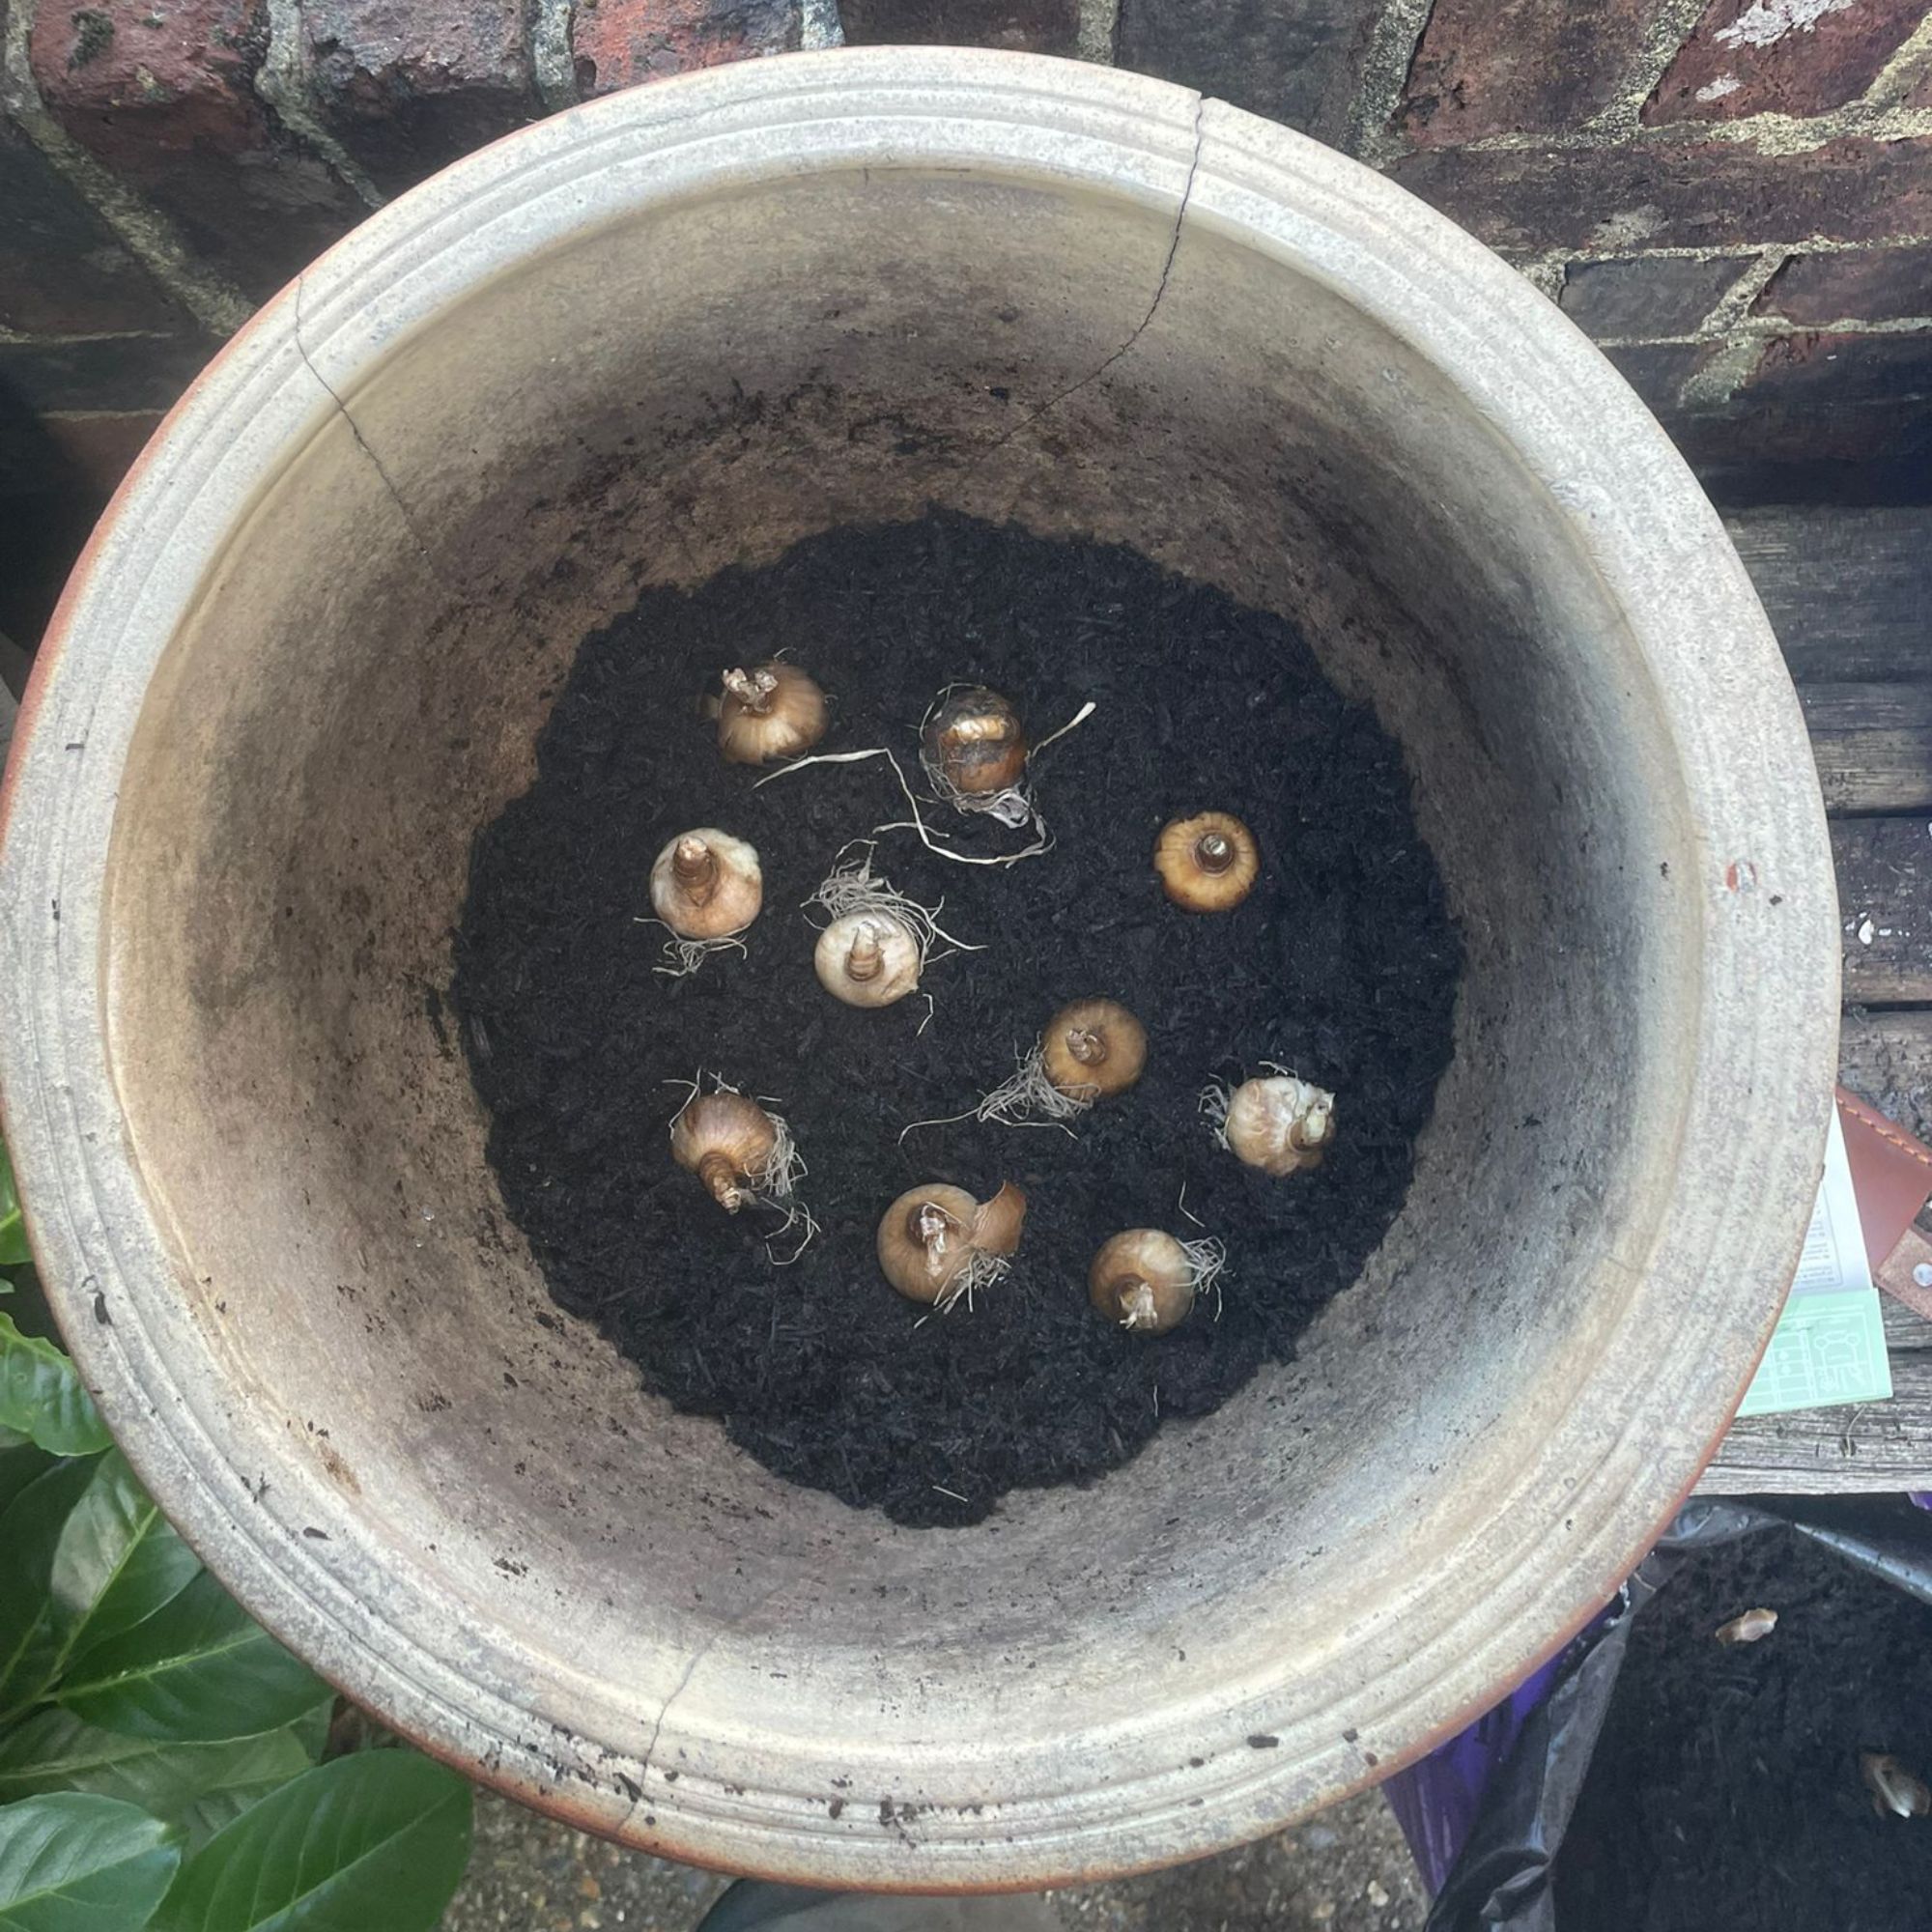
When you're making a bulb lasagne in a pot, the phrase to remember is 'pointy end up' for all of your bulbs. I popped in my first layer of compost in the pot, and then set to work with my largest late-flowering bulb choices.
For me, this was a mix of alliums and daffodils, just for a little added variety. I made sure they were close together, but made sure they weren’t touching each other or the sides of the pot. Think sardines in a tin, but with a little breathing room.
Where to buy alliums:
- Crocus: Allium Hollandicum 'Purple Sensation', from £7.99 for 5 bulbs is one of the most popular alliums and really lives up to its name.
- Thompson & Morgan: Allium Amplectens 'Graceful Beauty' from £3.98 is an unusual white variety
- Thompson & Morgan: Allium 'Globemaster' from £8.9 is a real statement allium. The plants reach 80cm tall with spherical blooms that reach up to 15cm across.
Where to buy daffodils:
- J Parkers: A mix of Daffodil and Narcissus for £9
- Amazon: This collection of 50 Daffodil mixed bulbs, £17.99includes shades of white, yellow and blush
- Amazon: With delicate white petals and a striking yellow centre, these Daffodil Sagana bulbs, £15.99 for 20 naturalise to form larger clumps over the years.
3. Then, the mid-spring layer
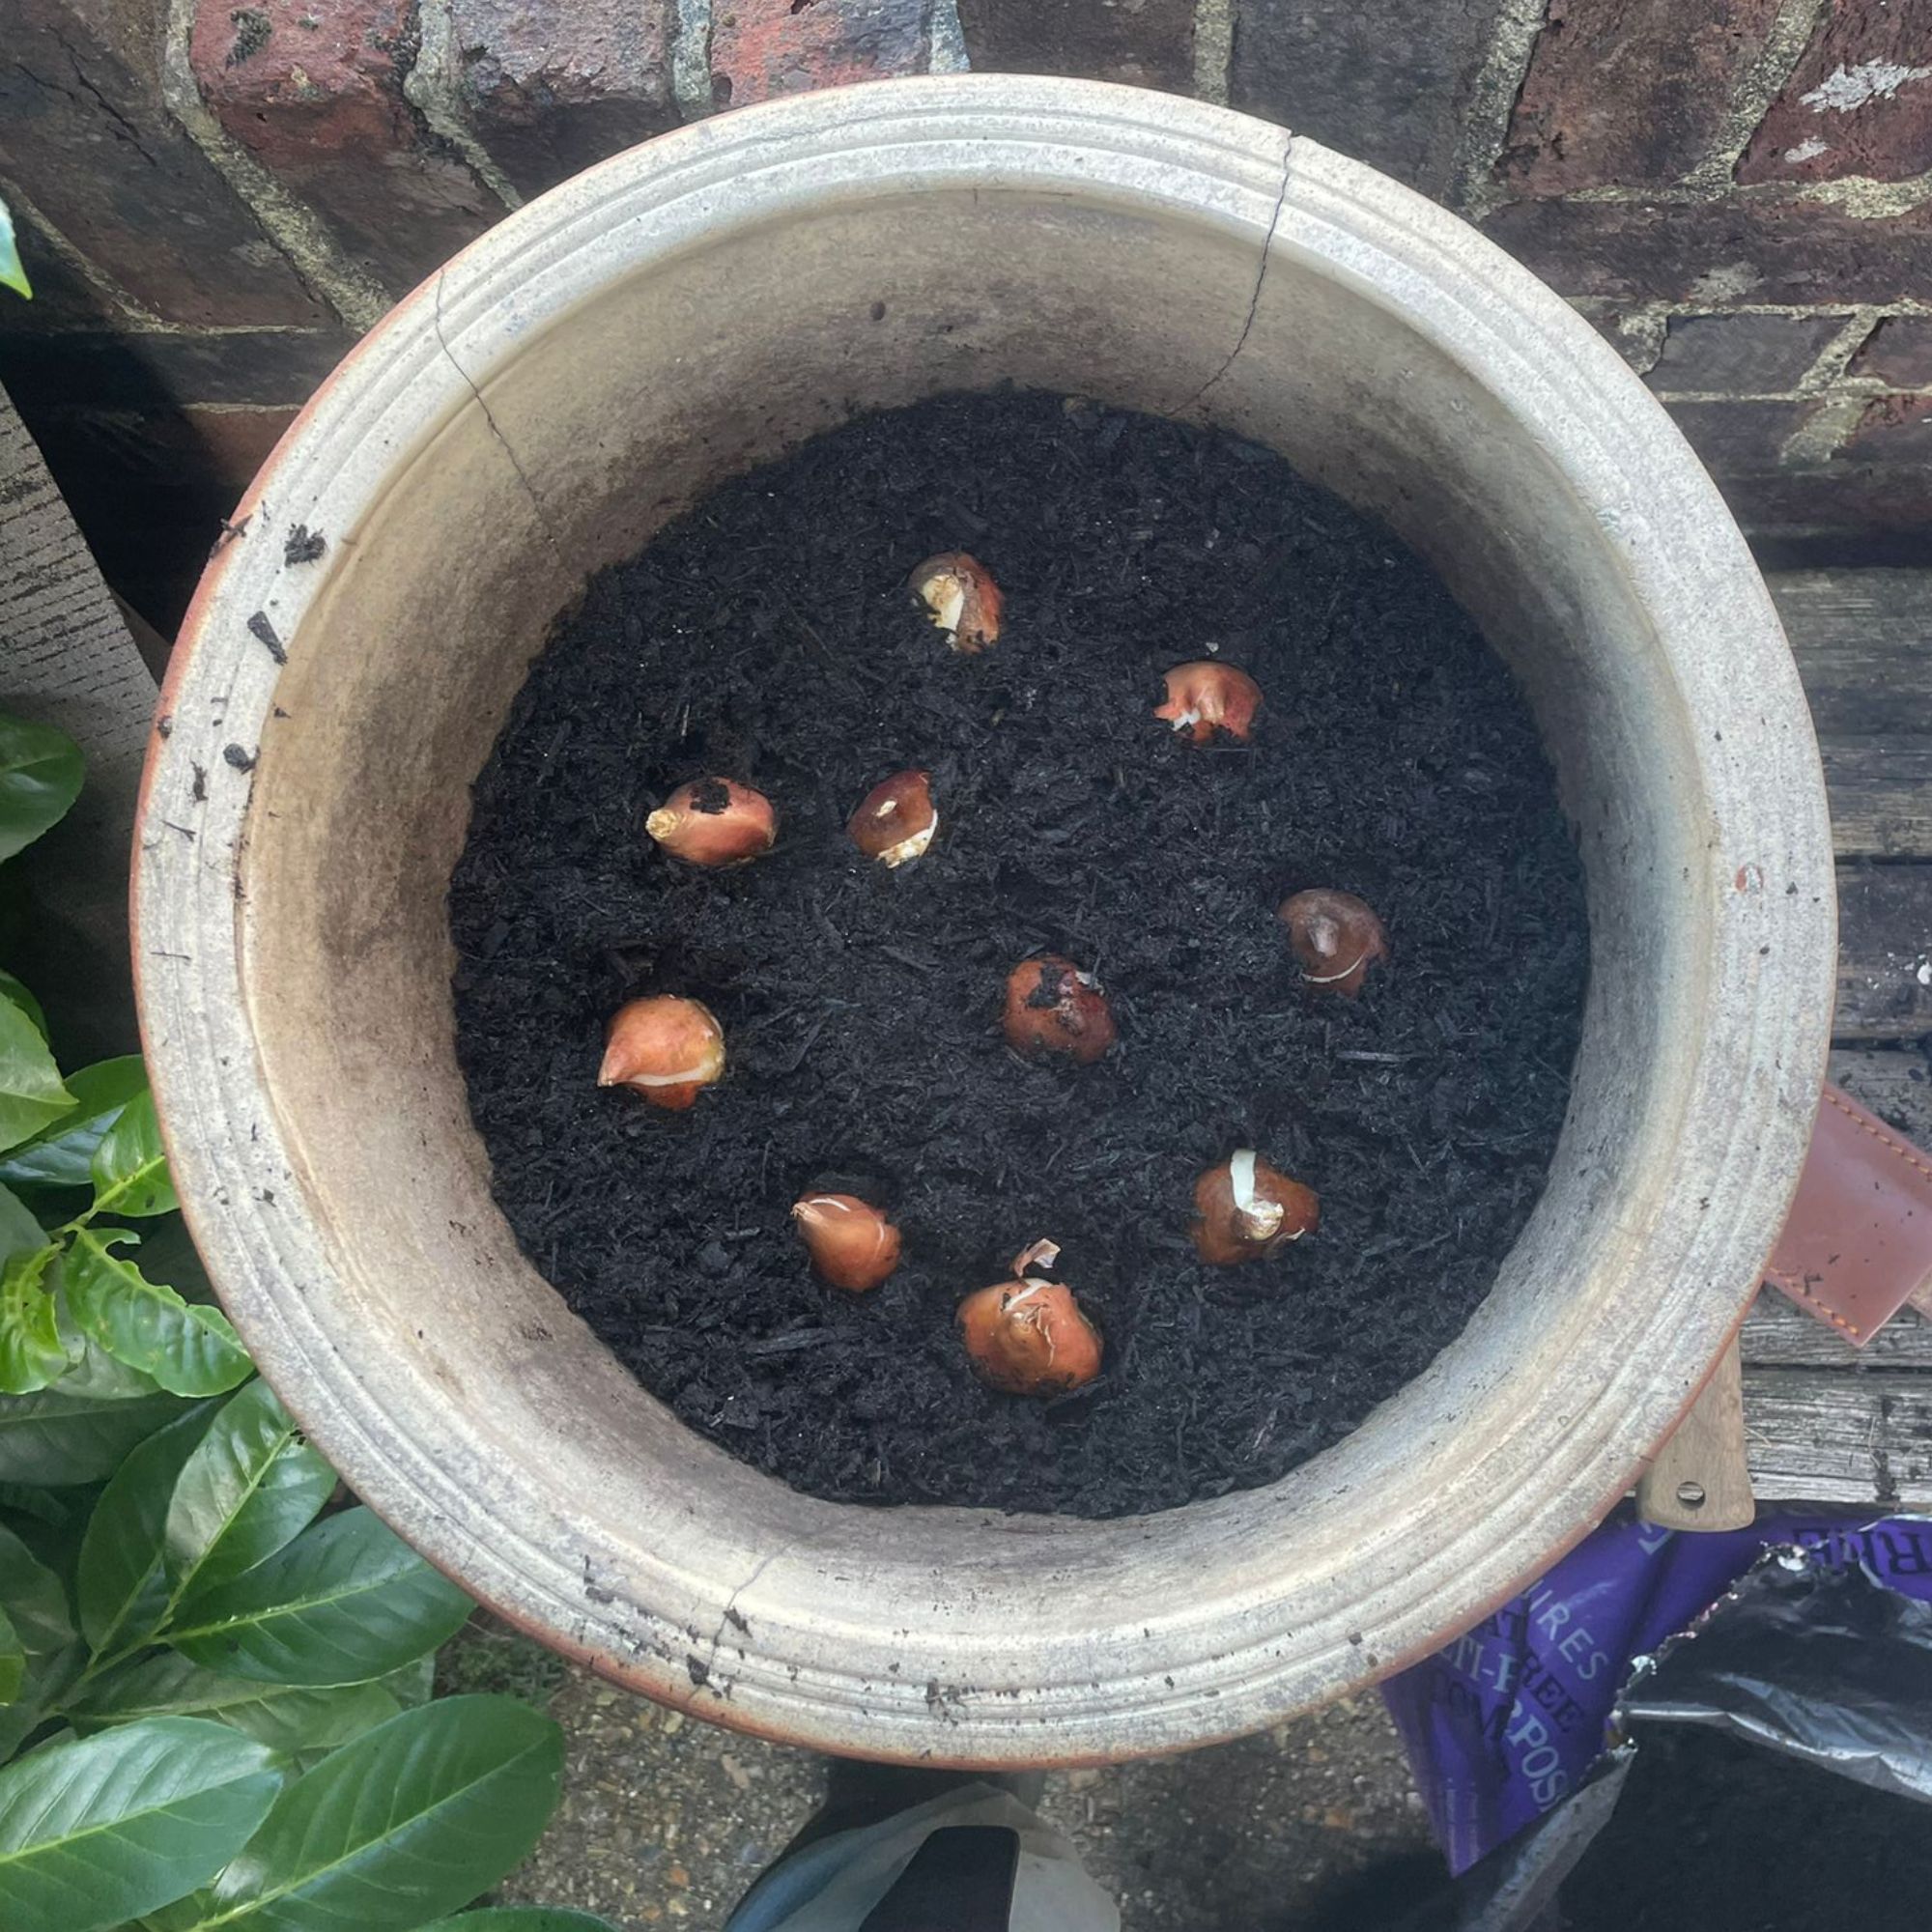
Next came another layer of compost, just enough to cover the bulbs by about 5cm. On top of this, I arranged my tulips, points facing up like tiny rockets ready for launch.
If you aren't a fan of tulips (I know some aren't), then you can also choose hyacinths for this layer.
Where to buy tulips:
- Crocus: Head Gardener’s Species Tulip Collection, £14.56
- Gardener's Dream: Tulip ‘Silver Cloud’ is quite literally what garden dreams are made of
- J.Parker's: Tulip ‘Angelique’ (£7.99 for a pack of 10 bulbs)
4. The final layer of early bloomers
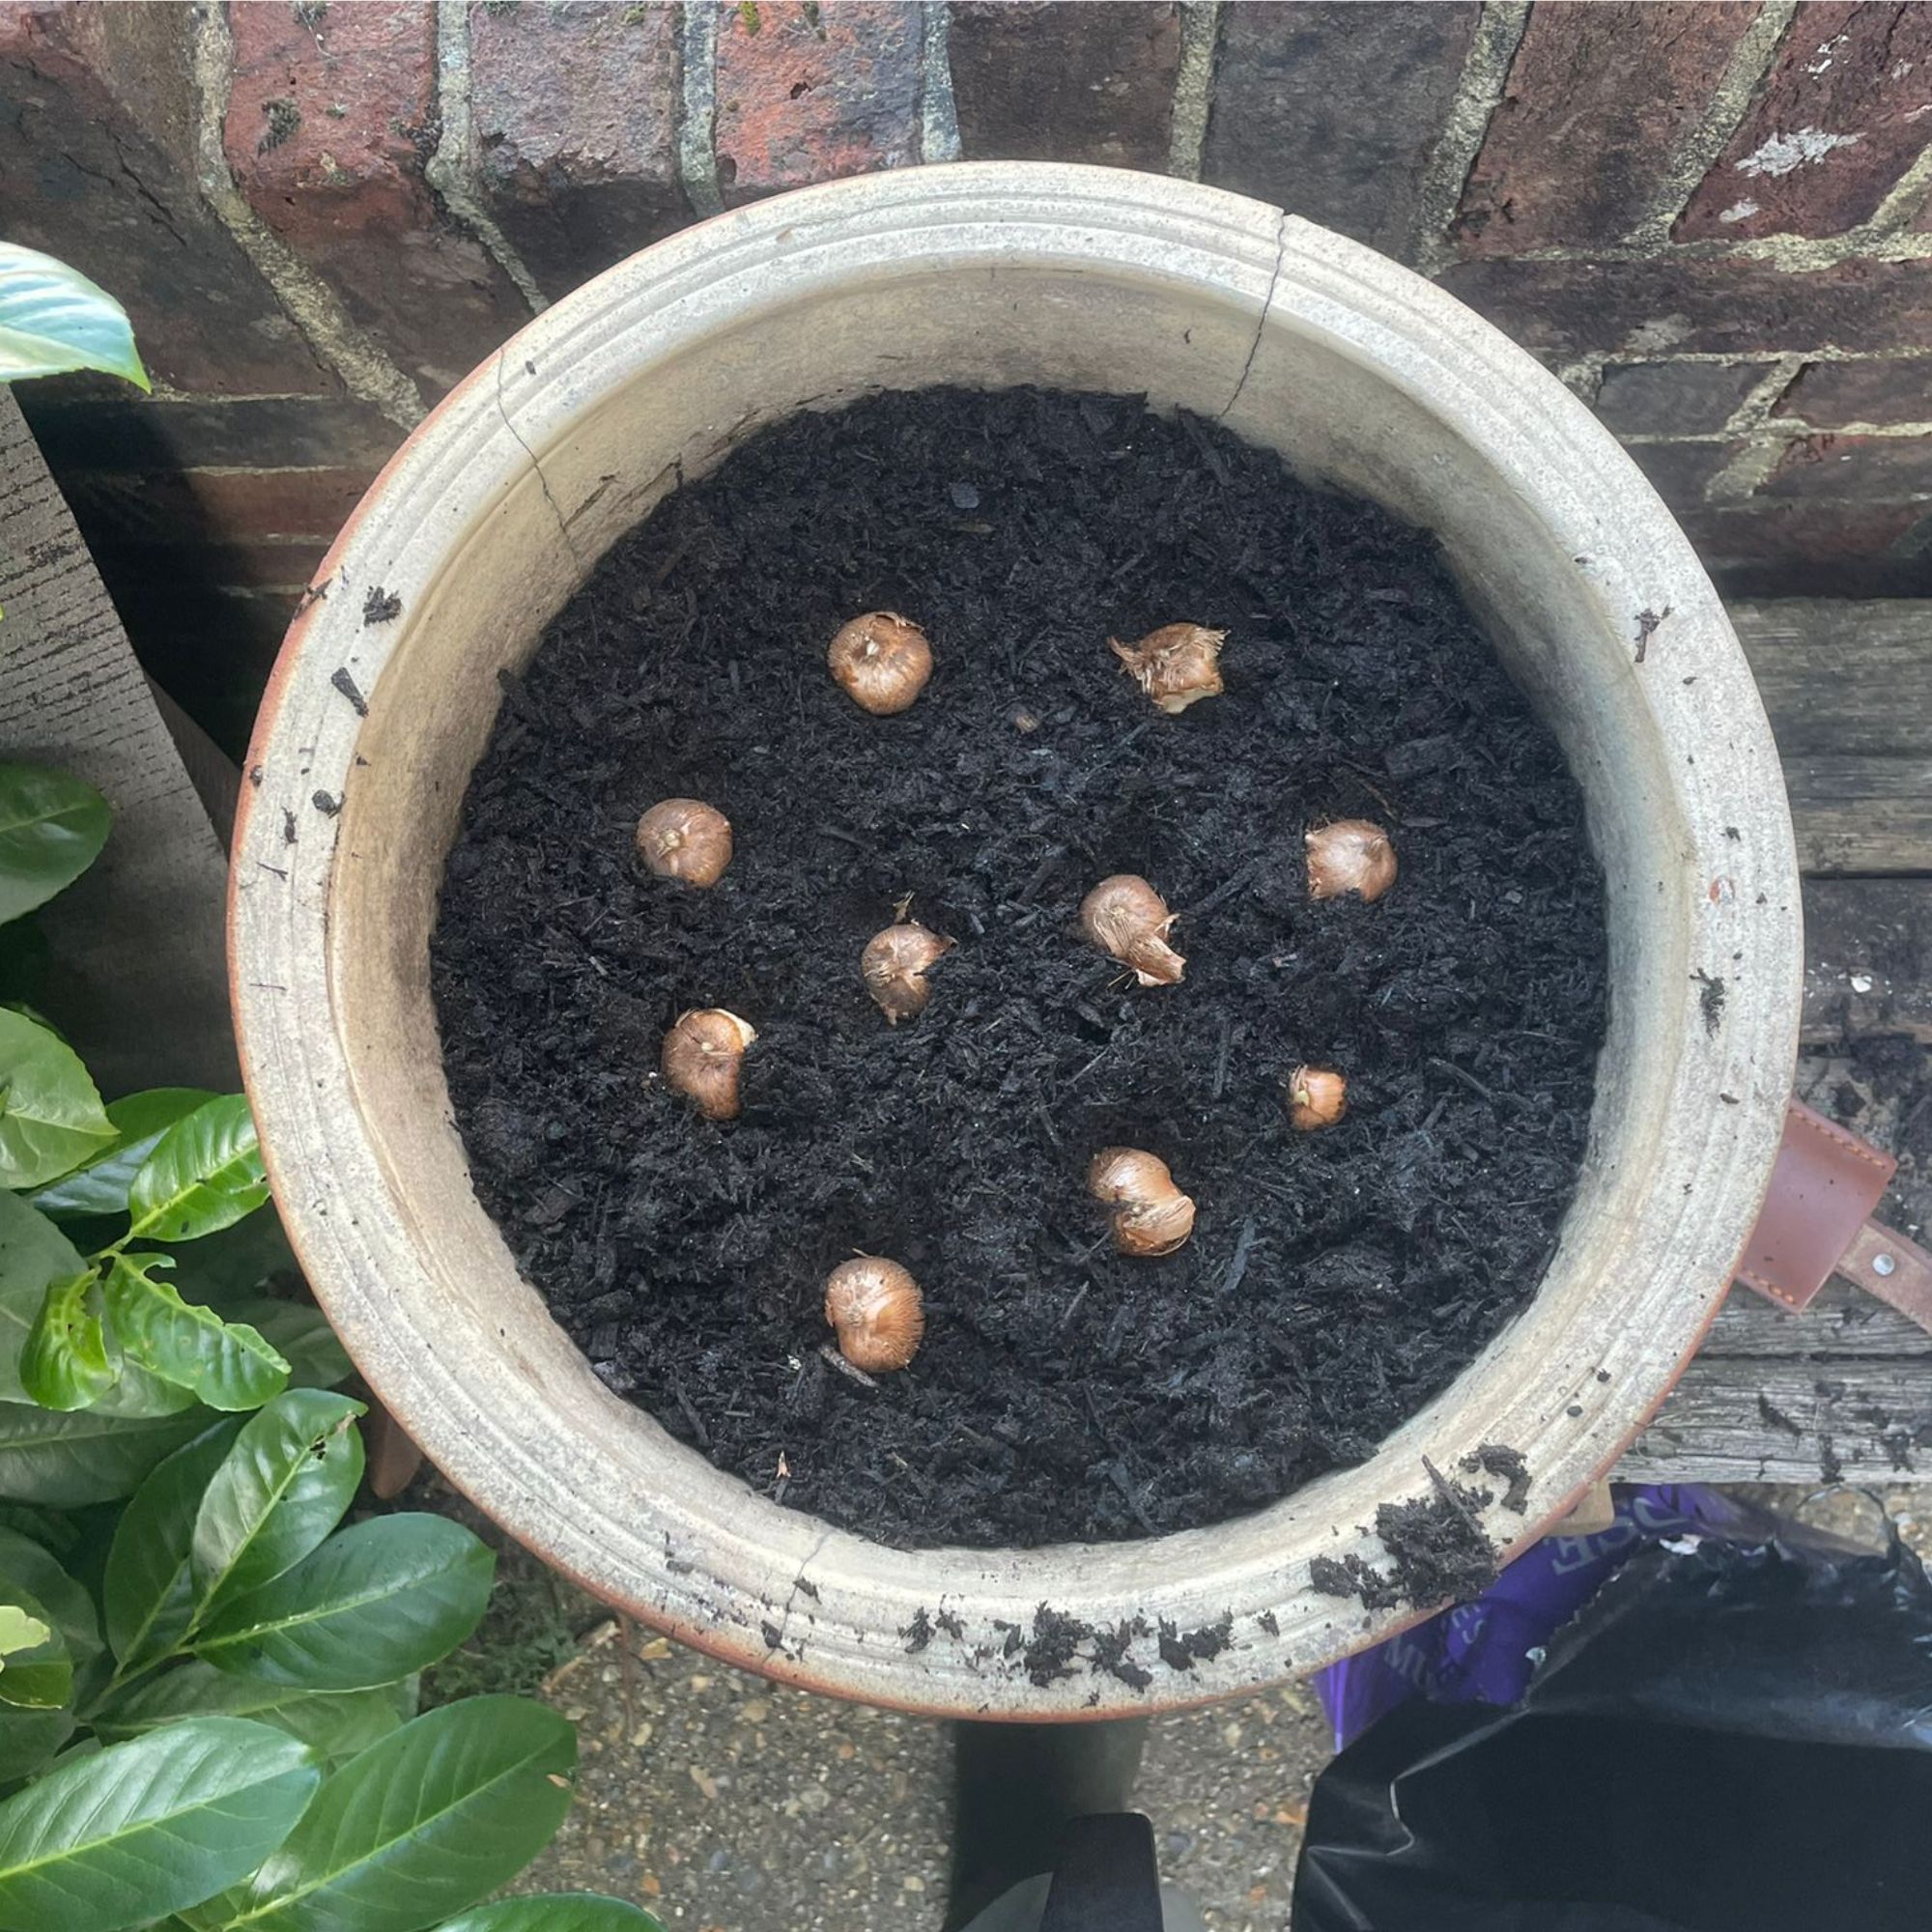
Another scoop of compost later, and it was time for the final, dramatic flourish to my bulb lasagne in a pot: a layer of crocus bulbs, for those all-important first bright pops of spring colour. You could also use musari (grape hyacinth) or early-blooming narcissi, for this, if you prefer.
I laid them carefully, spacing them evenly. A last layer of soil smoothed everything over, leaving just a few centimetres of space at the rim for watering, and there it was: three neat layers of blooms, stacked like a gardener’s version of comfort food.
Where to buy muscari:
- Amazon: 20 X Muscari Latifolium Spring Bulbs, £8.99, are a striking alternative to the standard purple blooms
- Amazon: 50 X Muscari Siberian Tiger Spring Bulbs, £14.99, are the perfect complement to snowdrops for a pretty minimalist garden.
- Thompson & Morgan: Mix these pale pink Muscari 'Pink Sunrise', £3.99, with white and purple varieties for a natural look.
5. And... wait
Now comes the hardest part: waiting. I’ve tucked my bulb lasagne in a pot in a sunny, sheltered spot, watered it well, and left nature to get on with it.
In the depths of winter, when I’ve almost forgotten they’re there, shoots will push through. First crocuses in late February, then daffodils in March, and finally tulips to steal the show in April and May. Or, at least, that's the hope.
It feels like I’ve planted a timeline of joy. One pot, three seasons, endless satisfaction.
FAQs
What are the best bulbs for a lasagne?
The best bulbs for a lasagne are late spring daffodils or tulips for the bottom later (alliums also work well here), mid-spring blooming daffodils or tulips (or hyacinths) for the middle layer, and early-bloomers like crocuses, grape hyacinths, or some varieties of daffodil for the top layer.
I opted for a mix of creamy yellow and purple varieties, but you can also stick to one palette or go completely multi-coloured with some more unusual spring bulbs. Choose the ones that make your heart sing.
What do you do with bulb lasagne after flowering?
After my bulb lasagne has flowered, I'll let all the flowers and foliage die back. I'm going to go for the easiest possible option: leaving them in the pot and hiding it somewhere less prominent in my garden for next spring.
Some bulbs, like tulips, may require replacing, but I'll cross this bridge when I come to it.
Planting a bulb lasagne in a pot isn’t just about maximising space (though that’s a bonus if you’ve only got a balcony or small patio). It’s about hope, anticipation, and a little bit of magic.
Will it turn out picture-perfect? Time will tell. But that’s half the fun of gardening, I suspect; the experiments, the surprises, the moments when something beautiful bursts through against all odds.
Either way, I'll be ready with my camera (and another cup of tea, probably) to update you on how it all turned out. Wish me luck...

Kayleigh Dray became Ideal Home’s Acting Content Editor in the spring of 2023, and is very excited to get to work. She joins the team after a decade-long career working as a journalist and editor across a number of leading lifestyle brands, both in-house and as a freelancer.