How to clean a vacuum cleaner – a step-by-step guide to keep it working better for longer
Clean your vacuum cleaner inside and out for better suction and a more hygienic home – here's how to do it

Lauren Bradbury
Sign up to our newsletter for style inspiration, real homes, project and garden advice and shopping know-how
You are now subscribed
Your newsletter sign-up was successful
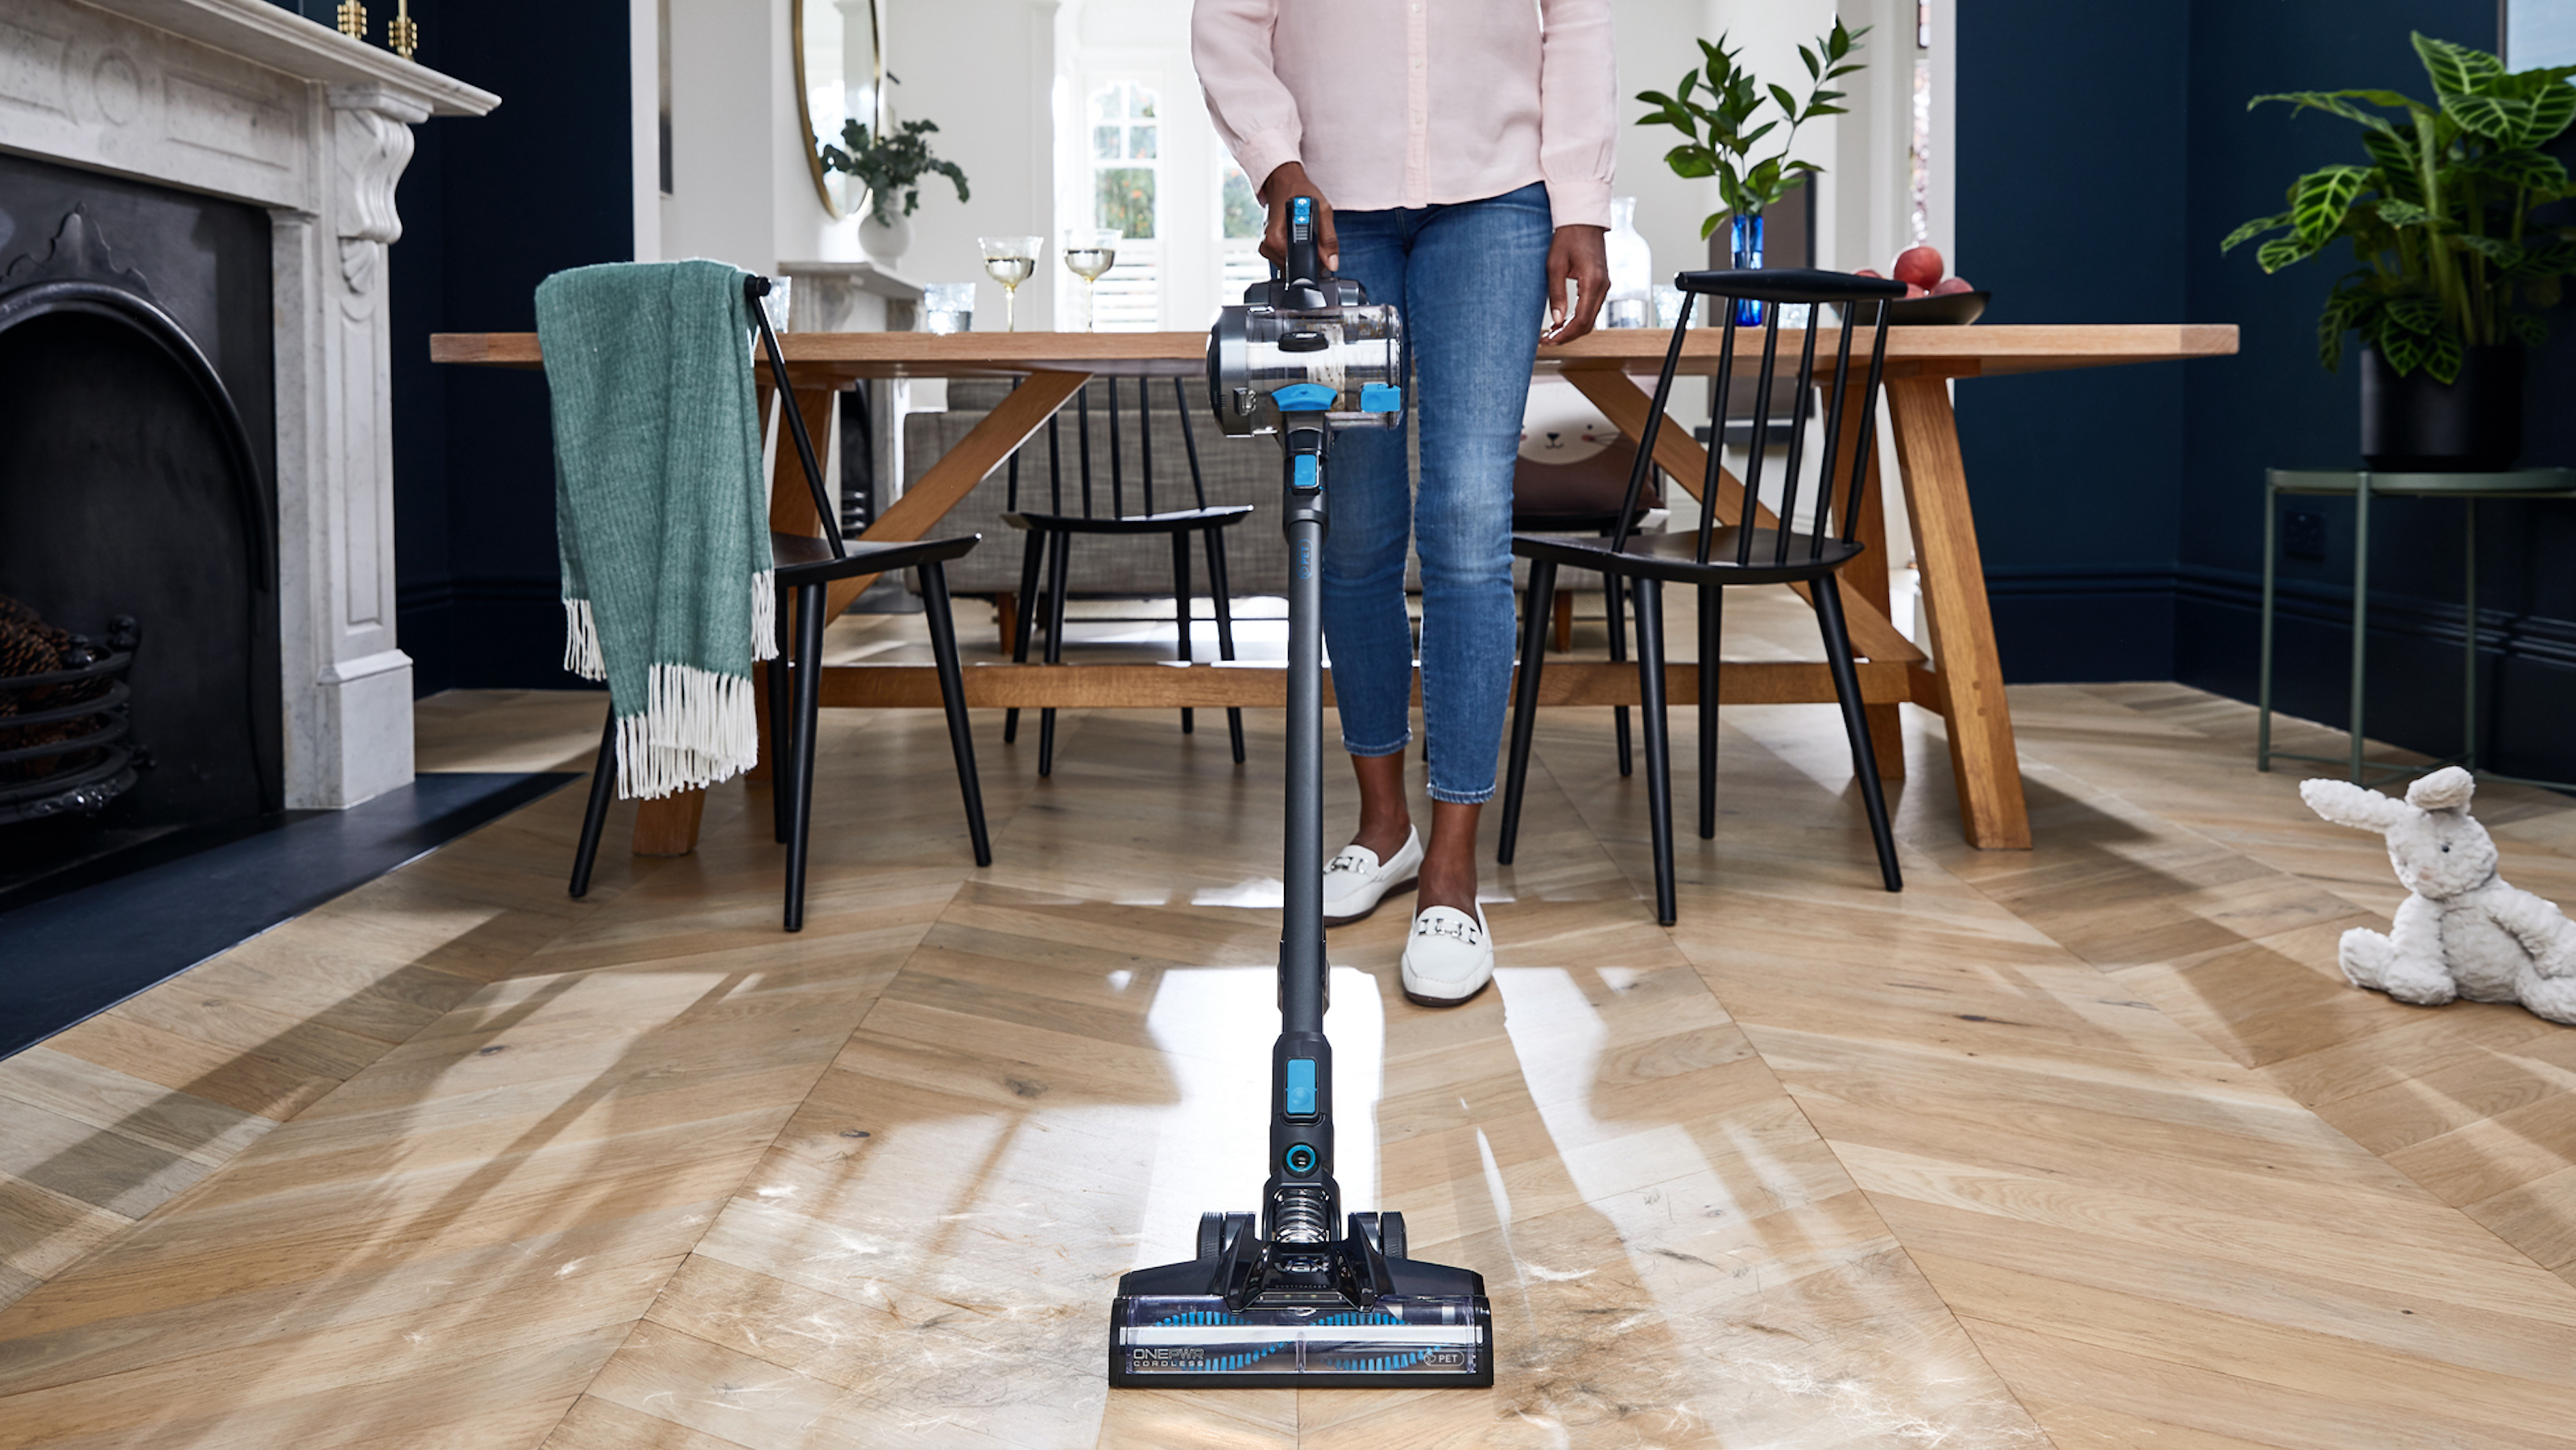
No matter whether you have carpets or hard flooring, a vacuum cleaner is the ultimate cleaning essential. Nothing cleans floors quite like a vacuum cleaner - but it’s important to know how to clean your vacuum cleaner, too.
Yes, cleaning the things that clean for you is the only way to achieve a happy and hygienic home, and the best vacuum cleaners are no exception. And when you think about it, this makes sense. These vacuum cleaners go through the wringer, picking up everything from food crumbs to pet hair and dust bunnies.
However, emptying the dust bin or throwing away the vacuum bag just doesn’t cut the mustard when cleaning a vacuum cleaner. You must also know how to clean a vacuum cleaner from the inside out to prevent blockages or escaped dirt. So, this is how to do it.
1. Clean the vacuum dust bin
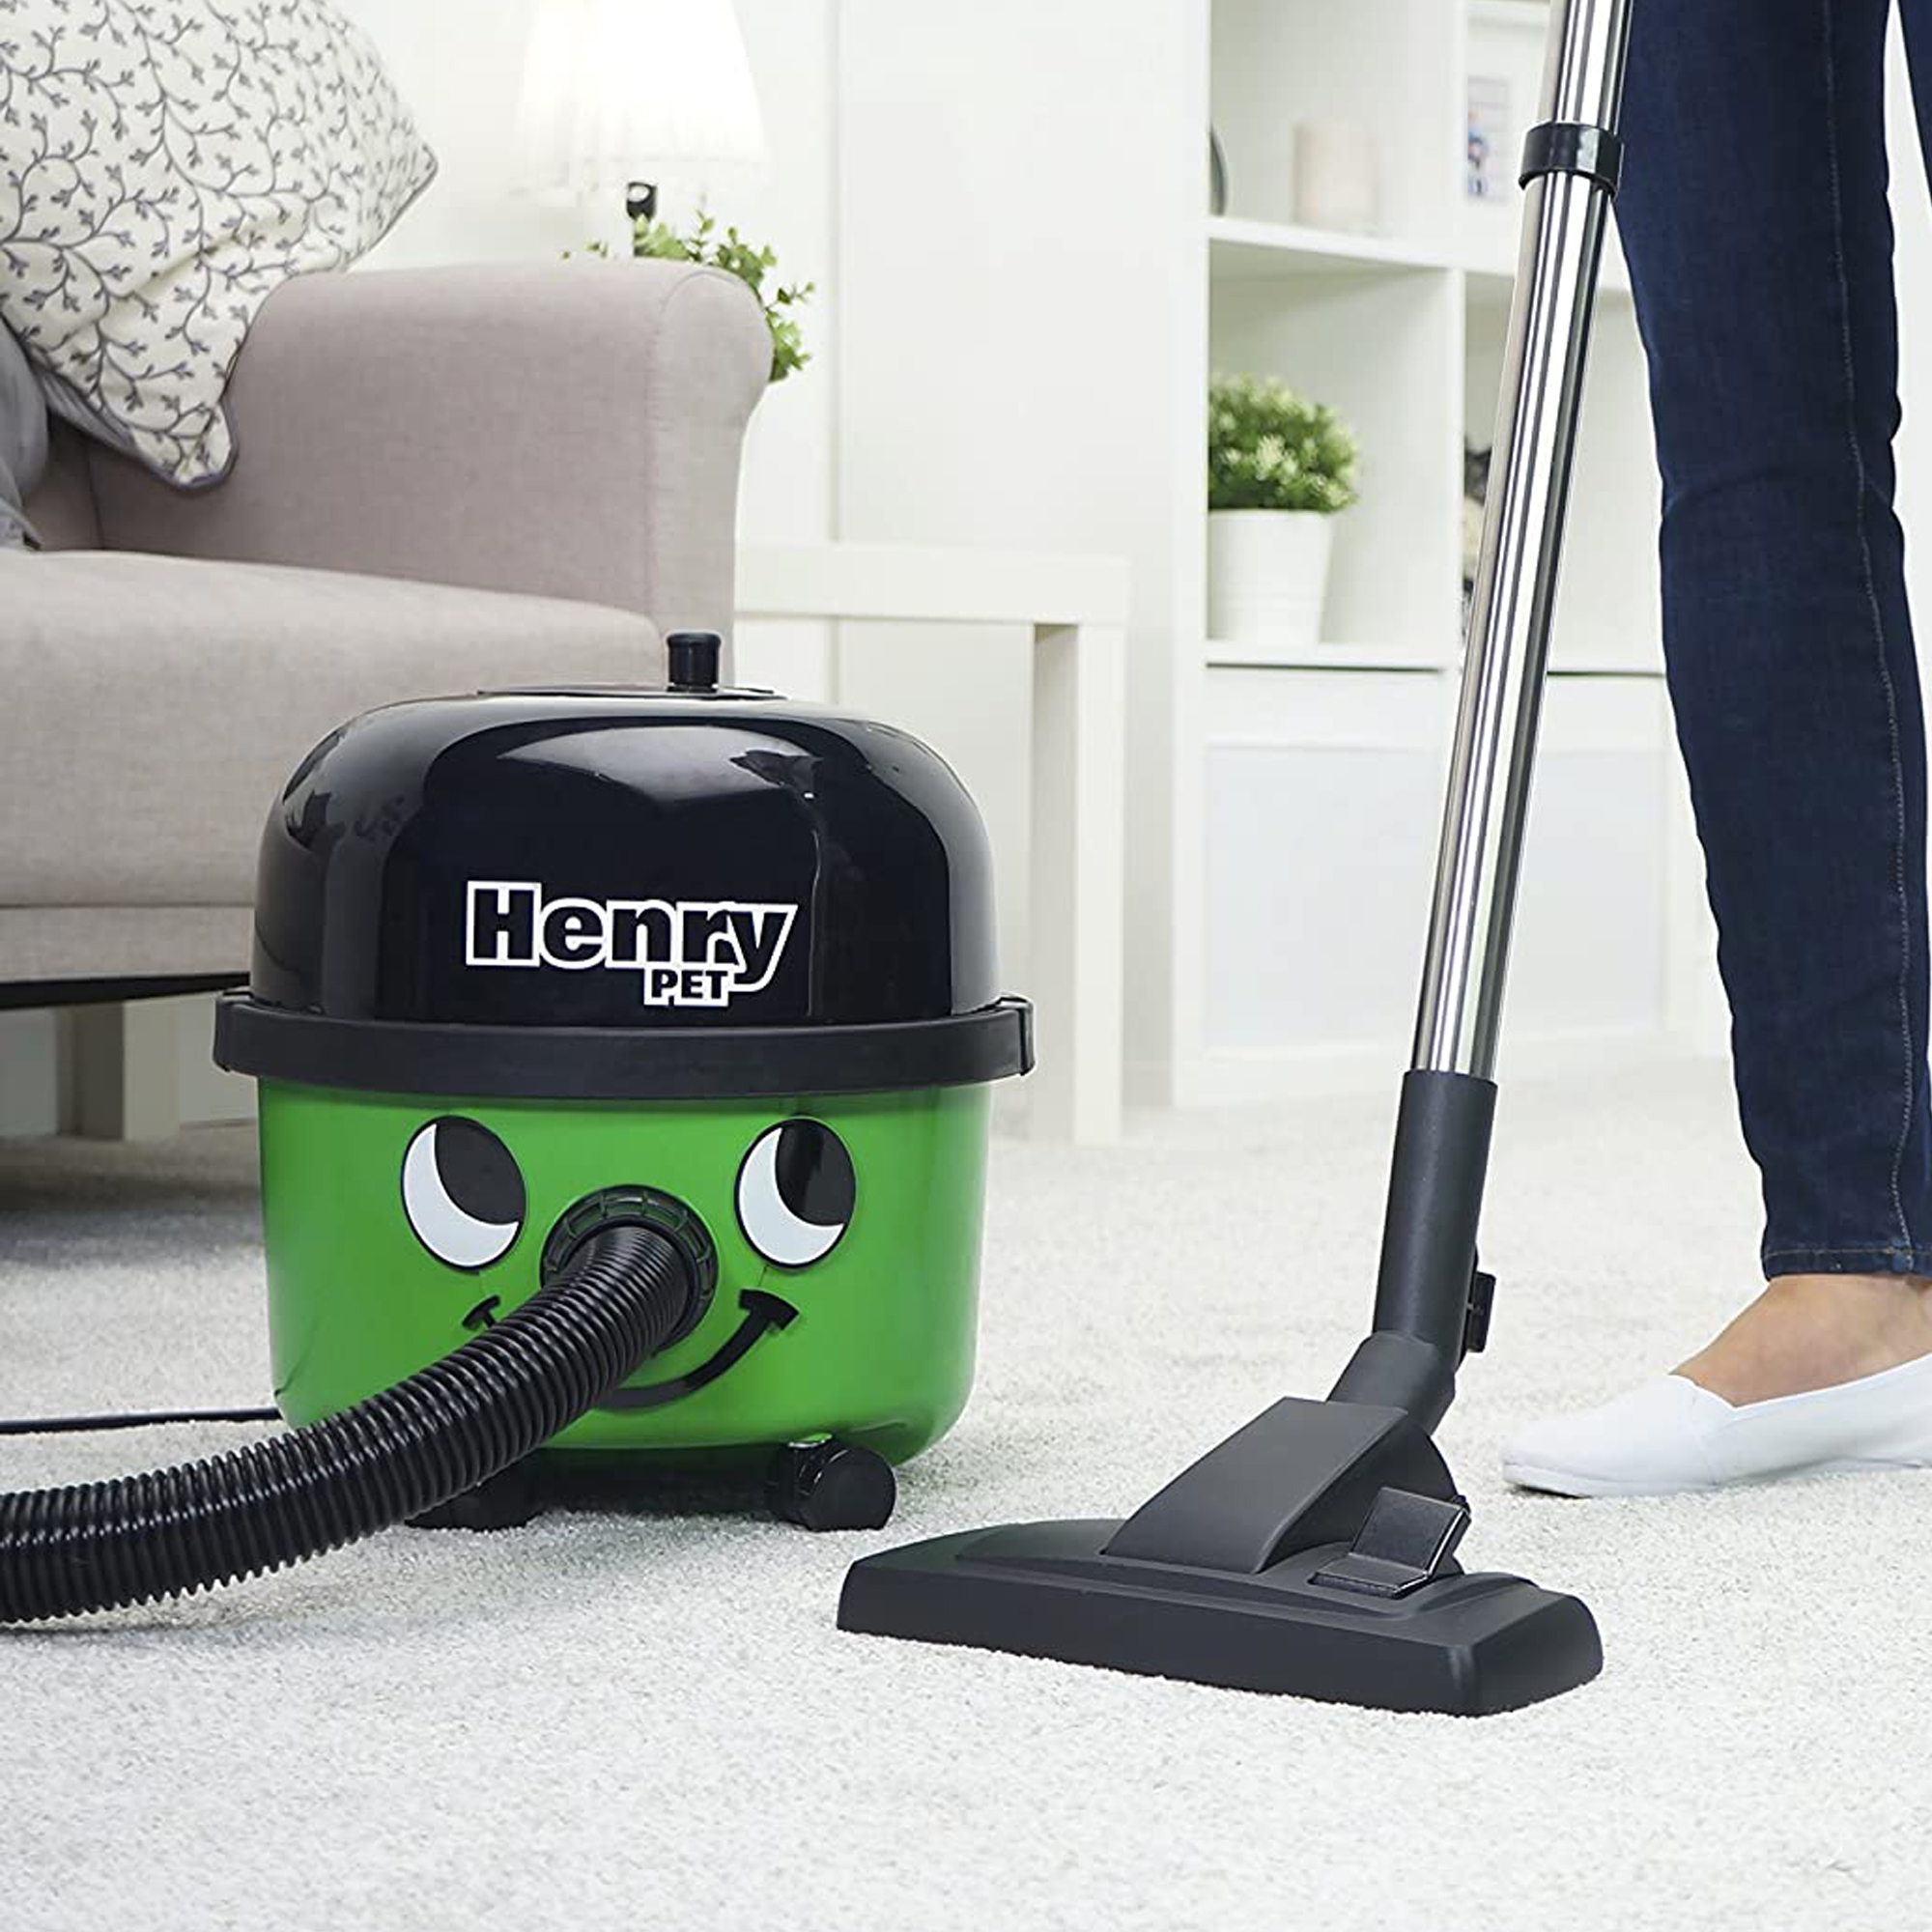
It’s important to note that you should only clean a vacuum cleaner when it is turned off and unplugged (if it is a corded vacuum cleaner). This will prevent any unwanted accidents or damage.
Then, your first step should be to empty the dust bin and vacuum it. The dust bin or cup is where the dust, dirt and debris from your floors are collected in bagless vacuums. It's designed to be unclipped easily from the body of the vacuum for emptying.
If you have a bagged vacuum, you will need to remove the dust bag when it is full, then dispose of this in your waste bin as it’s generally recommended that you don’t reuse vacuum cleaner bags.
Most vacuum manufacturers then recommend simply wiping the inside of the dust cup or vacuum bag area with a damp cloth to clean the area (don't use any other cleaning products, as these may damage the surface of your vacuum cleaner).
Sign up to our newsletter for style inspiration, real homes, project and garden advice and shopping know-how
However, you can often buy specific cleaning products from your vacuum cleaner manufacturer for this job, too.
'We recommend that you sanitise and clean the dust container of your vacuum cleaner with the Care+Protect Rapid Action Bagless Vacuum Hygieniser,’ says Catrin Davies, Product Manager at Hoover.
‘This Hygieniser hygienically deep-cleans dust collection bins, protecting from dust mites and allergens. It has a menthol fragrance and removes bad odours, and is also ideal for waste bins. Simply spray inside the empty dust bin, wait some minutes, then wipe out with a dry cloth.'
2. Check for blockages
There's nothing more frustrating than a blockage that prevents your vacuum from cleaning properly, and it’s actually one of the main reasons why your vacuum cleaner loses suction.
Most blockages happen when dust and dirt begin to gather around a small obstruction in the hose, stick or floorhead of your vacuum – that could be as simple as a hairpin or toothpick that acts like a dam, with the dirt from your floor building up behind it until the airway is completely blocked.
'I've tried and tested a lot of vacuums, from the best cordless vacuums to the best vacuums for pet hair, and blockages can occur in even the best brands,' explains Ideal Home's Ecommerce Editor, Molly Cleary.
'I've learnt that the best way to stop blockages is to be mindful of what you vacuum up from the carpet – don't just run over something with the floorhead and hope for the best. If you do suction something up that you suspect could get caught in the hose or airway, immediately switch off the vacuum and check to see if the item has been sucked into the dust bin.’
‘If not, check the floorhead, hose and stick until you find the object and remove it from the vacuum before it can cause a problem.'

Our Ecommerce Editor Molly oversees appliance content at Ideal Home, including vacuums and cleaning. Molly is a pro when it comes to writing reviews of appliances she’s tested at home and at our testing facility. She knows exactly how to put a vacuum through its paces, tackling everything from clutter and pet hair to hard floors and carpet, and she's our go-to for how to keep vacuum cleaners in tip-top condition.
3. Clean the vacuum filters
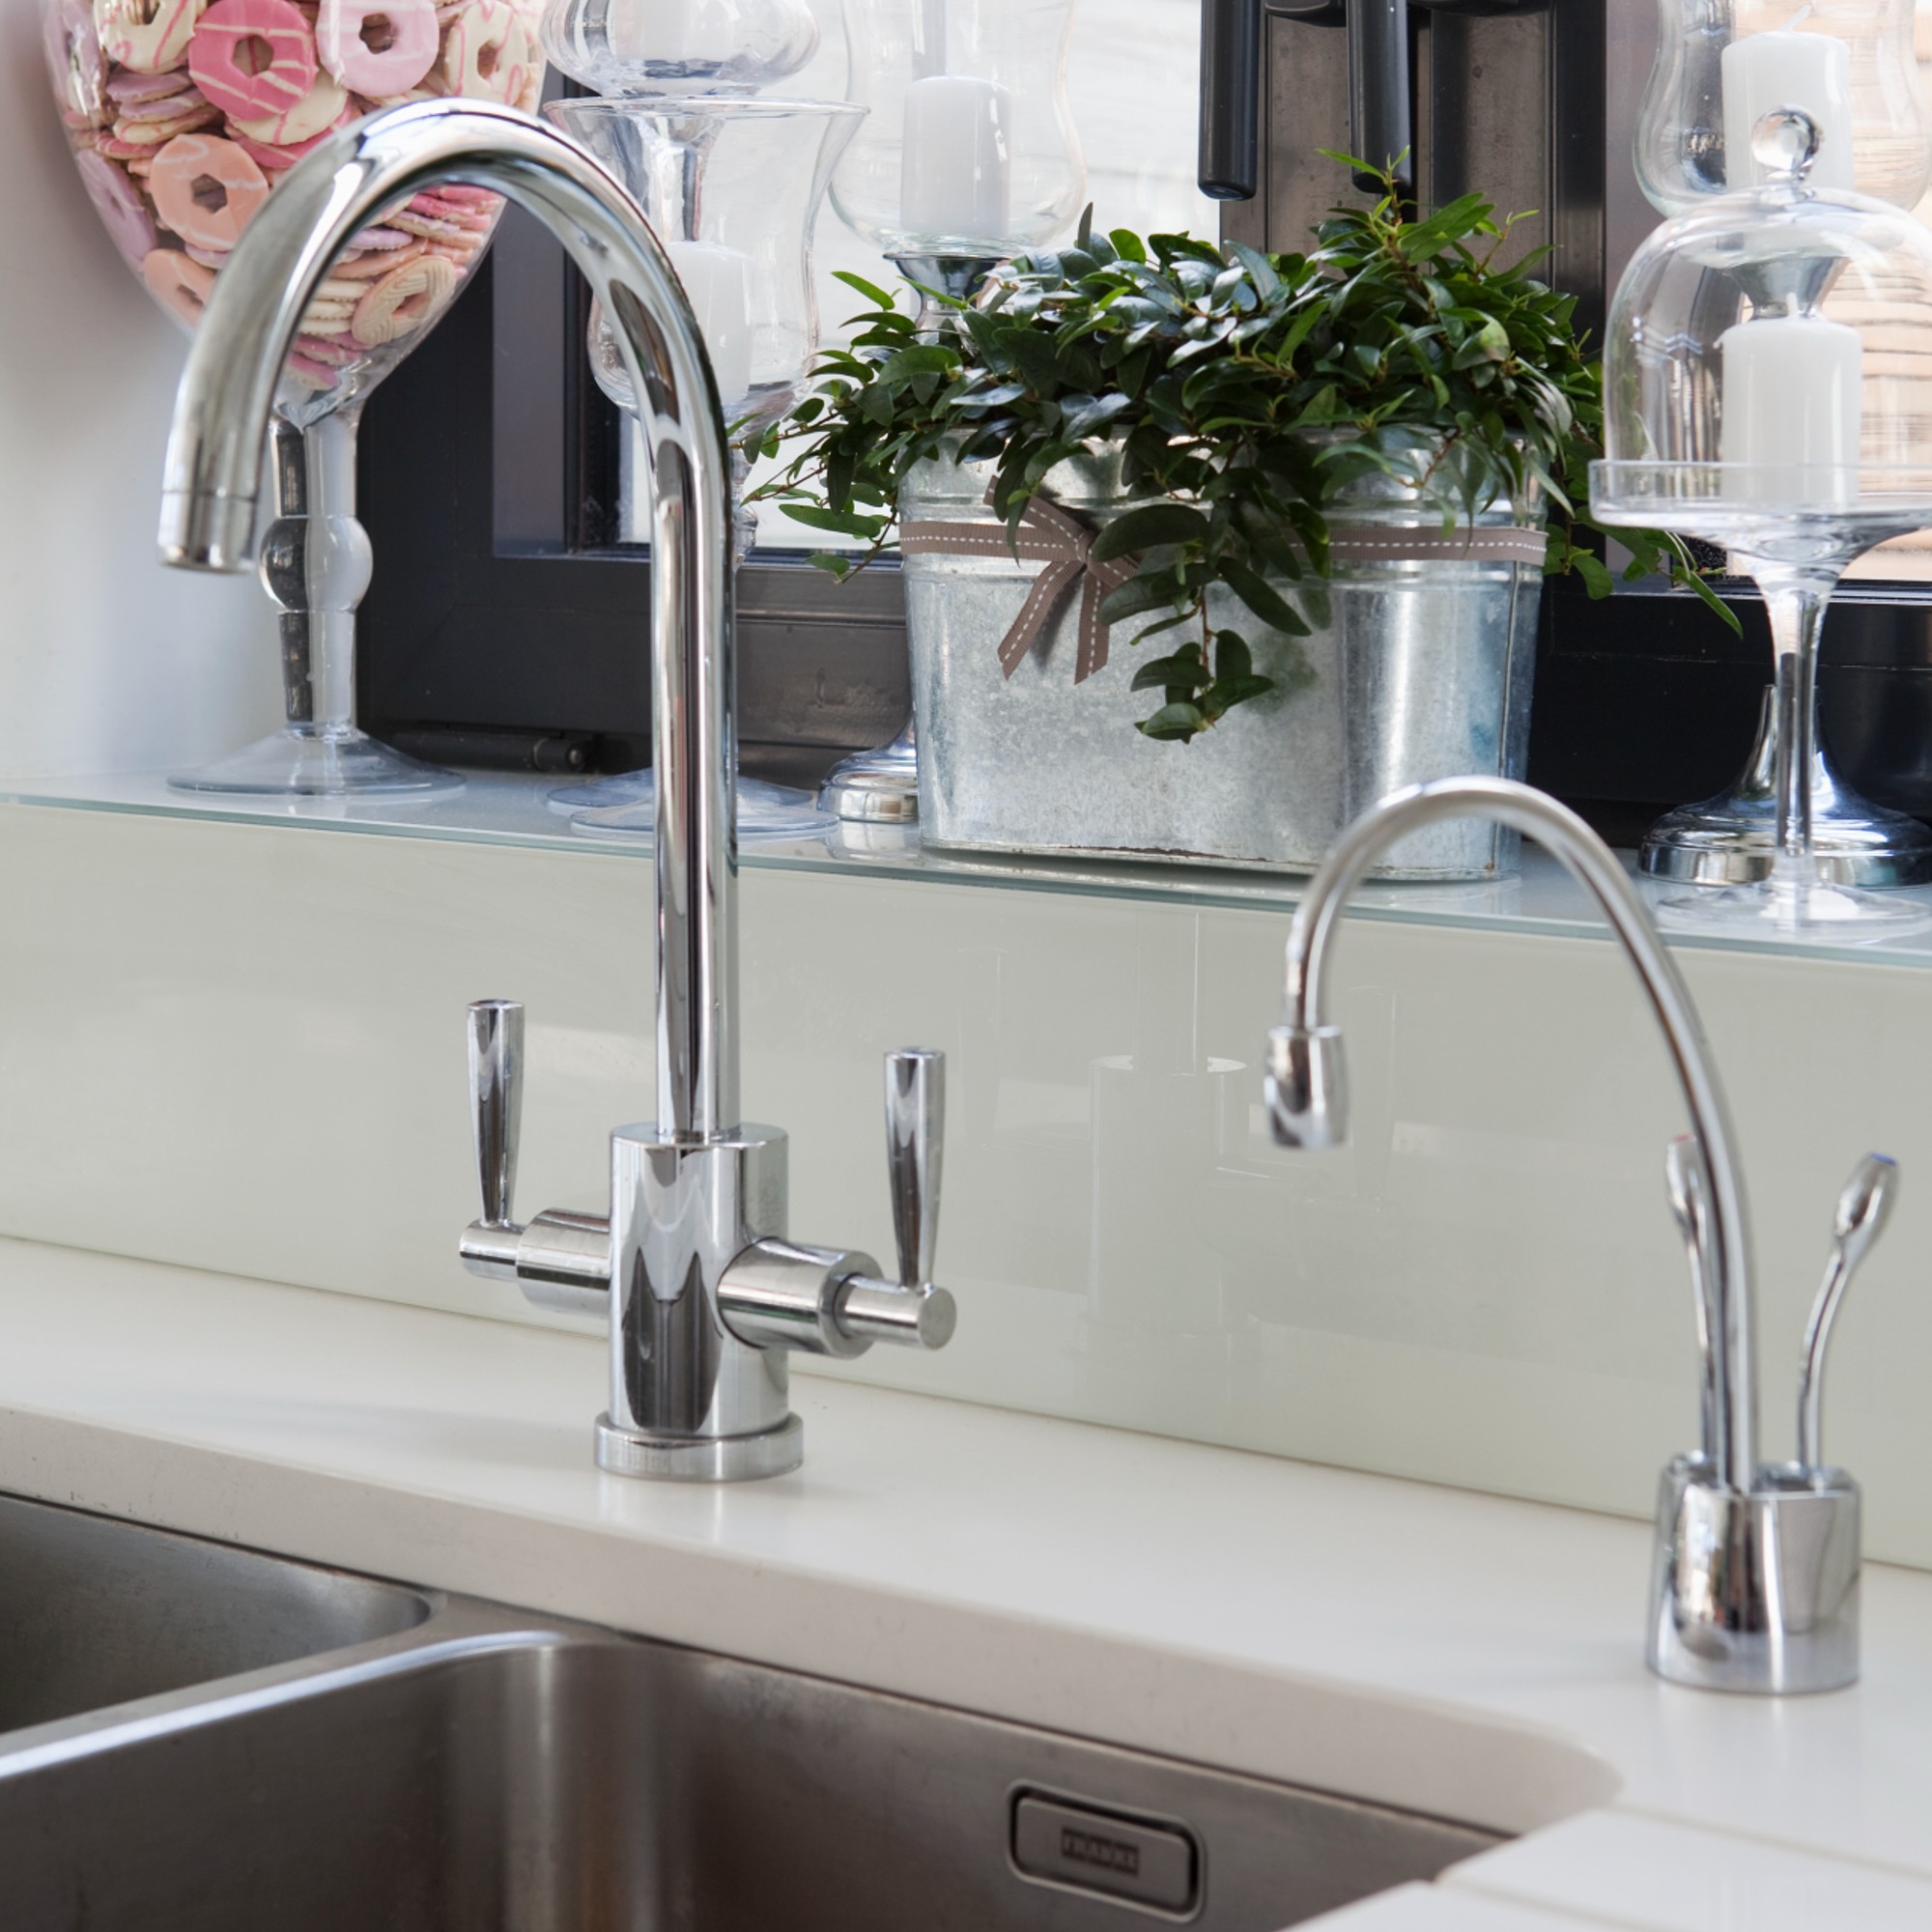
The filter in a vacuum cleaner is an essential component as it traps dirt, dust, and allergens inside the vacuum cleaner, stopping them from being released back into your home. However, it can get extremely dirty and ultimately affect the suction of your vacuum cleaner, even if you choose the best vacuum cleaner for suction.
Because of this, it’s best to clean your vacuum filters regularly. And this is as simple as running it under a tap.
Catrin echoes this, stating, 'Usually the filters can be removed and washed with tap water – don’t use any detergent or soap, as this could cause damage. Leave the filters to dry for at least 24 hours before putting them back in the vacuum.’
Just remember that some brands may have specific filter cleaning requirements, so always double-check before you get started. You can also check out our guides on how to clean a Shark vacuum filter and how to clean a Dyson filter.
4. Clean the brush rolls

Cleaning the brush rolls is one of the least-loved vacuum hygiene jobs. They can often become entangled with pet or human hair, which is why many vacuum manufacturers have developed innovative solutions to help.
Shark, for example, has Anti-Hair Wrap Technology (our guide to the best Shark vacuum cleaners has information on the models with this feature).
However, hair can still become tangled and affect the use of your vacuum cleaner, which is why you should address it as soon as you spot it. If hair, string, or fibre becomes wrapped around the brush roll, the easiest way to remove it is with scissors. Snip through the hair, taking care not to cut the roller, then pull the hair away from the brush roll and discard it.
Once your rollers are clear of any hair and other materials, you can remove them from your vacuum, brush away any dirt, then wash them in warm water – manufacturers recommend not to use any additional cleaning products.
'I do this job once a month as part of a deep clean of my vacuum,' says Ideal Home's Molly Cleary. 'It's important to remember to let the brush rolls dry thoroughly before returning them to your appliance; this takes around 24 hours on average.'
5. Clean vacuum attachments
Most modern vacuum cleaners will come with cleaning attachments to use for specific cleaning jobs around the house. And while knowing what vacuum tool is right for each job is the first step to successfully using these tools, knowing how to clean them is the second.
Thankfully, this is pretty easy. All you need to do is fill a washing-up bowl with hot, soapy water and then give them a quick brush with a scrubbing brush. This should remove any lingering dirt or debris, and you can finish by rinsing them off and letting them dry.
It’s essential that you leave all of these attachments to air dry for at least 24 hours before using them, as you don’t want to risk water getting anywhere near your vacuum cleaner.
6. Wipe down your vacuum
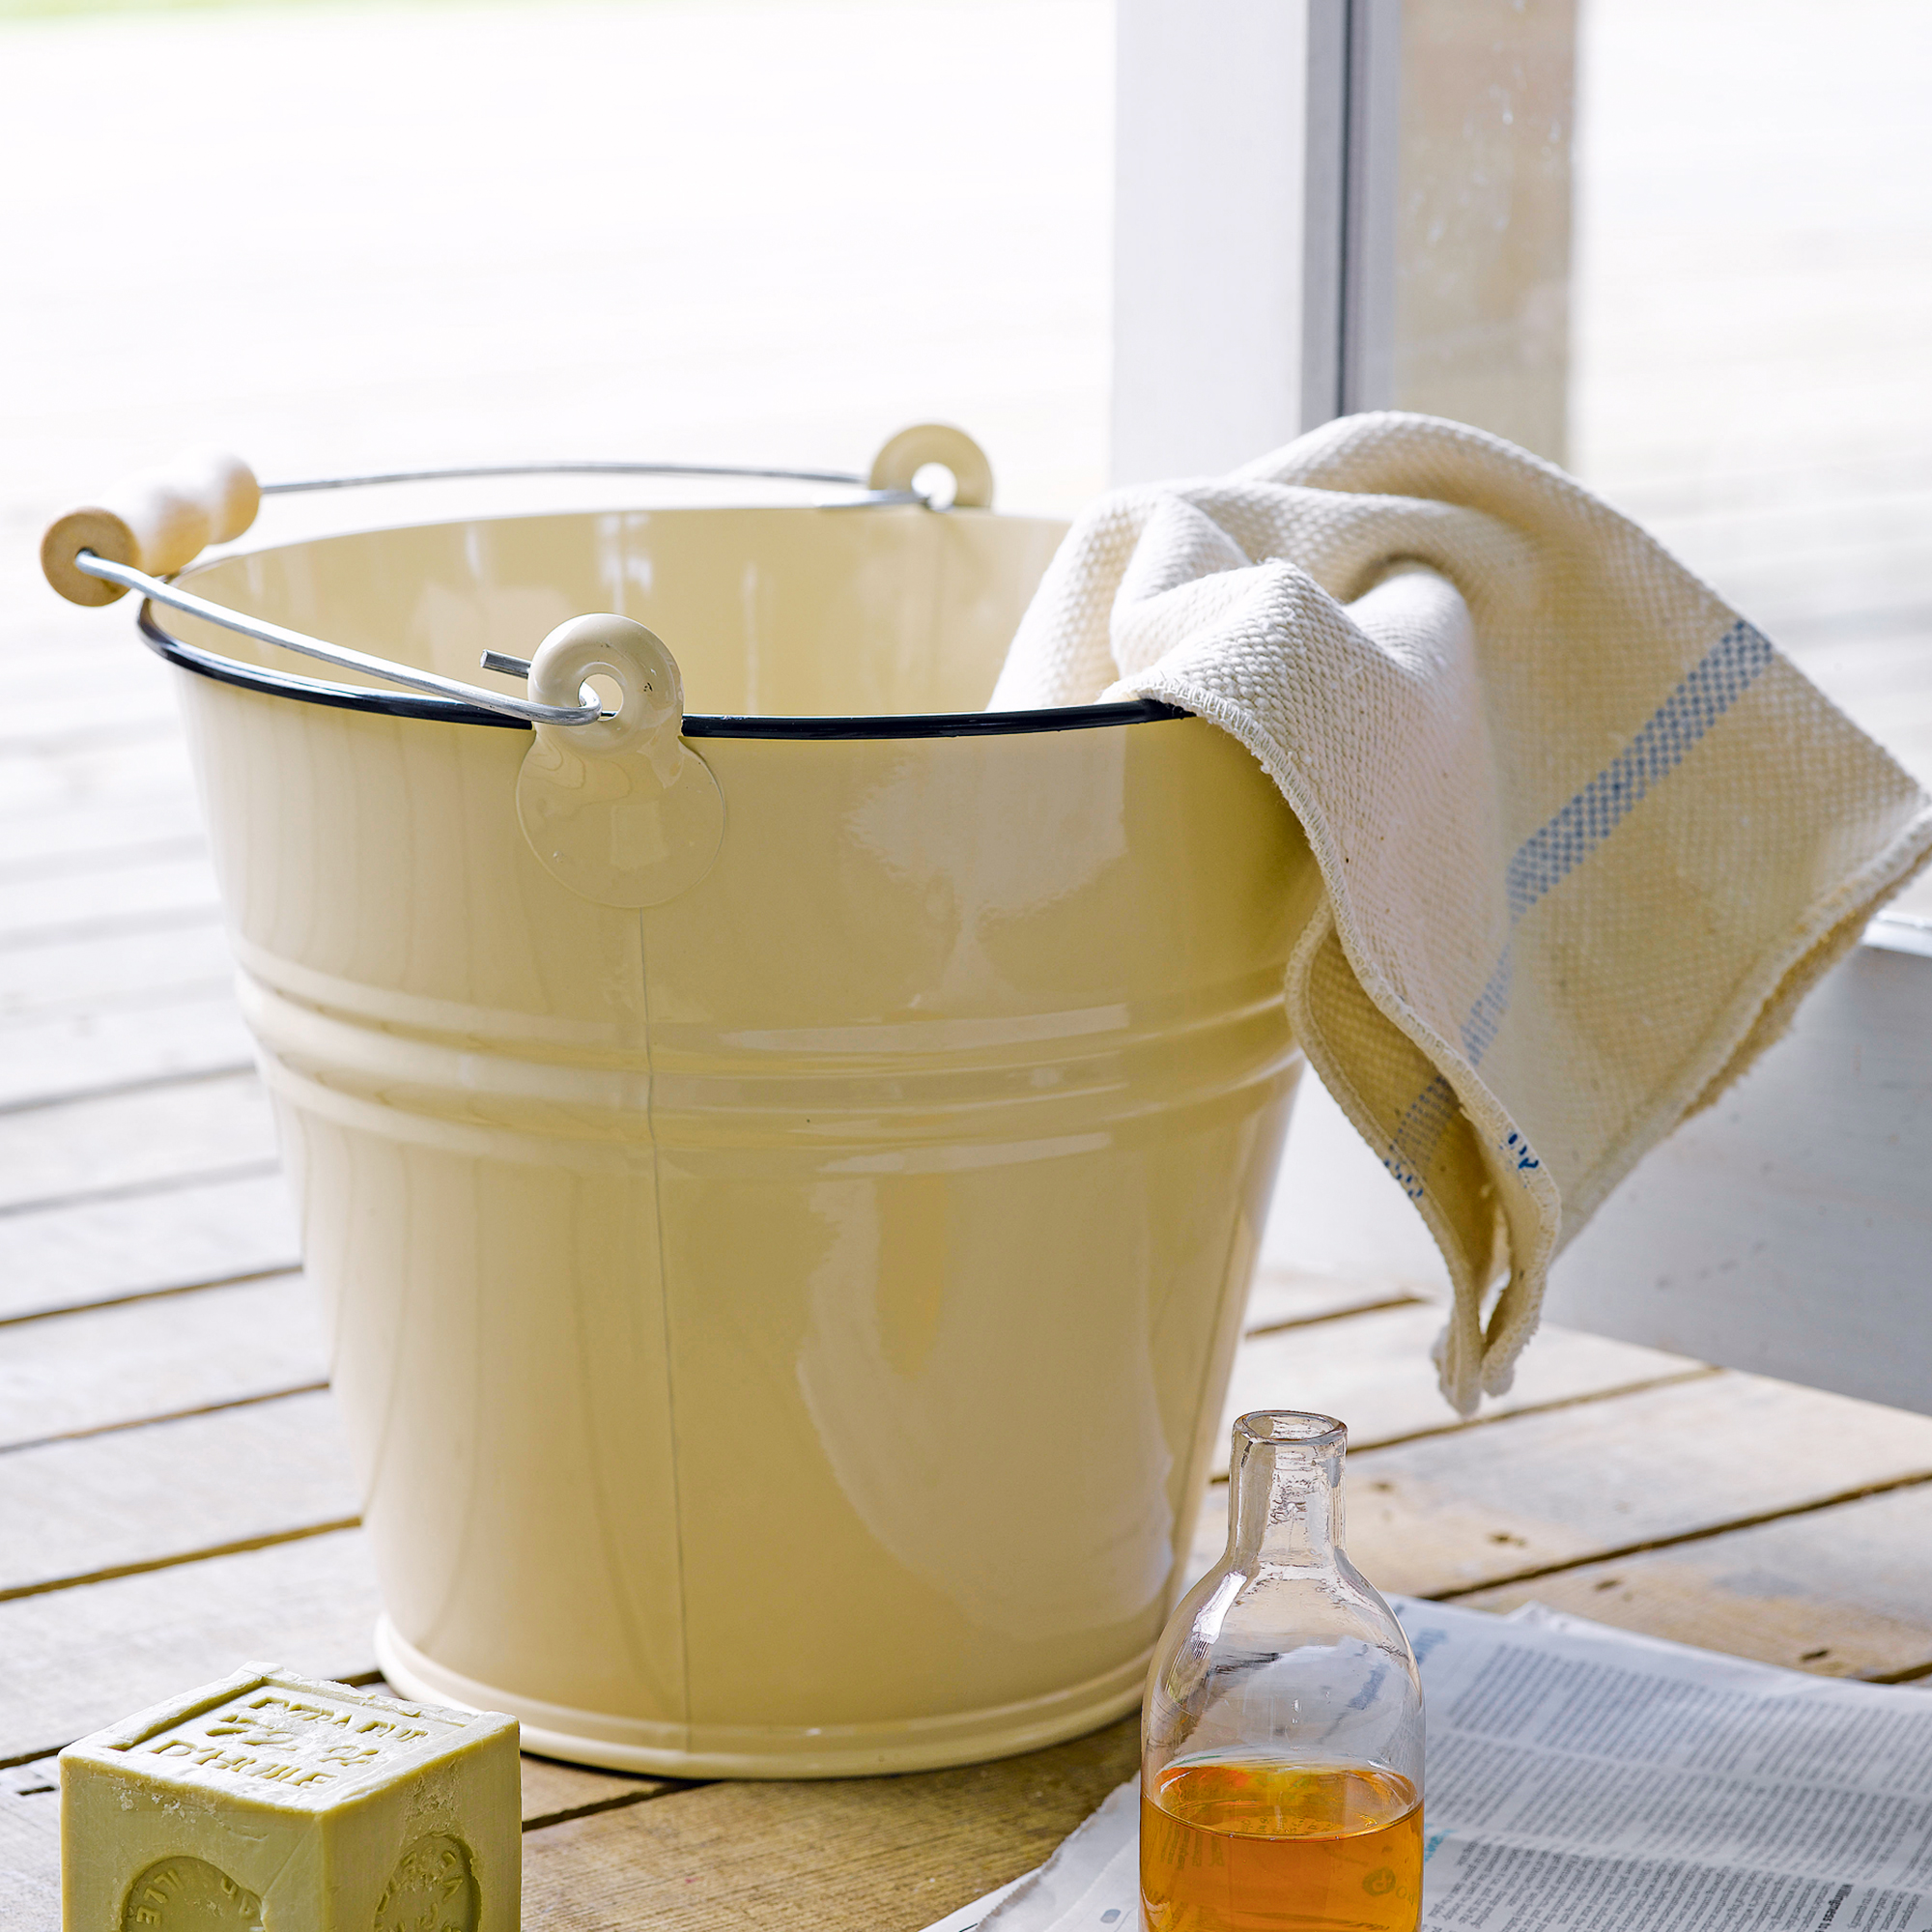
Finish cleaning your vacuum with a final wipe-down. 'A soft cloth is all you need to wipe clean the exterior of the vacuum. This ensures parts such as the handle and nozzle stay dust free,' says Gavin Sadler, Product Training Manager, Bosch.
Then, avoid making any vacuum cleaner storage mistakes to ensure you're not cleaning your vacuum cleaner more than you actually need to.
The best vacuum cleaners - our top picks
If you’ve tried cleaning your vacuum cleaner but it’s still not solved any suction problems, or it’s just way too old, here are our top picks of the best:
FAQs
How often should you clean a vacuum cleaner?
How often you should clean a vacuum cleaner depends on how much use it gets and which part of the appliance you are dealing with. 'For example, the filter should be cleaned monthly,' suggests Gavin Sadler from Bosch. 'The dust container should be emptied whenever full, and, similarly, the brush-rolls should be cleaned as soon as debris collects to ensure they don’t get tangled.'
What is the average life of a vacuum cleaner?
Generally, a vacuum cleaner will last around eight years with proper care, attention, and cleaning. If you don’t look after your vacuum cleaner, it will undoubtedly last much less than this.
In some cases, you may find that your vacuum cleaner lasts longer than that.
However, it’s still important to look out for the signs that it’s time to replace your vacuum cleaner - as every model is different.
So, take this as your sign to clean your vacuum cleaner.

Andrea began her journalism career at Ideal Home and is currently Editor of our sister title, Country Homes & Interiors, which celebrates modern country style. Andrea is passionate about colour and how it can transform both our homes and our sense of wellbeing, and has completed The Power of Colour course with the prestigious KLC School of Design. Andrea's career spans interiors magazines, women's lifestyle titles and newspapers. After her first job at Ideal Home, she moved on to women's magazines, Options and Frank. From there it was on to the launch of Red magazine, where she stayed for 10 years and became Assistant Editor. She then shifted into freelancing, and spent 14 years writing for everyone from The Telegraph to The Sunday Times, Livingetc, Stylist and Woman & Home. She was then offered the job as Editor of Country Homes & Interiors, and now combines that role with writing for idealhome.co.uk.
- Lauren BradburyContent Editor (House Manual)
