

Whether you’re mentally preparing yourself to paint a wall or currently holding a paint-covered paint roller and wondering what to do with it, we get why knowing how to clean a paint roller is something you’d want in your back pocket.
After all, cleaning a paint roller is very different to cleaning paint brushes. Sure, they can both help you bring your paint ideas to life, but they’re two very different tools used for two very different painting tasks. In fact, knowing how to use a paint roller can help you paint a wall in minutes, while paint brushes can help with smaller projects and corners.
And as Emma Bestley, Creative Director and Co-Founder of YesColours explains, ‘By properly cleaning and storing your paint roller, you will be able to reuse your roller for future DIY projects, alongside keeping them dust and debris-free.’ So, this is how to clean a paint roller.
What you’ll need

Cleaning a paint roller can be a messy business, which is why it's essential to wear gloves. And while you could opt for disposable ones, we prefer these reusable gloves.

This handy tool will take your paint roller cleaning to the next level. You can scrape the roller on one side and comb out the paint on the other.

White spirit is essential if you're looking to clean oil-based paint off your roller. Just be warned that you can't pour this down the sink.
Step-by-step
1. Scrape excess paint back into the tin
While it’s important to know how much paint you need to avoid excess, it’s often hard to avoid paint build-up on a paint roller. That’s because they’re often made from porous fibres that absorb a lot of paint throughout the painting process.
So, your first step is to scrape off excess paint and put it back into the tin. To do this, hold the roller upright over the tin and use a filling knife - like this Harris Seriously Good Filling Knife 2.5inch from Dunelm - or a dedicated paint roller scraper to scrape the excess back into the tin. Then, you can decide what to do with the leftover paint.
Make sure you do this as soon as possible, though. As Sophie Smith of Zhoosh Paints says, ‘The key is to clean the roller immediately after use, when the paint is still wet.’

2. Disassemble the roller
If you want to work smarter and not harder while cleaning a paint roller, it’s then a good idea to disassemble the whole thing. By that, we mean sliding the roller off the handle and setting the handle aside.
If the handle is relatively clean, you may be able to get away without cleaning it. But if it’s also covered in paint, you can set it aside to clean it later. For now, we’re focusing just on the roller itself.
3. Wash water-based paint off the roller
Paints typically come in two different forms: water-based or oil-based. Water-based paints are the most common, and you’ll be happy to know they’re also the easiest to clean when cleaning a paint roller.
To wash water-based paint off the roller, you’ll need to rinse it under some warm water and then squeeze some washing-up liquid onto it.
Emma says, ‘Add a few drops of dish soap as required and slowly work the roller into a lather, massaging out the paint under the tap and continue rinsing until the water runs clean.’
Of course, you can also do this in a bucket or roller tray to avoid getting your kitchen or bathroom sink too dirty. Personally, I always do this in my bath - but it’s all down to personal preference.
As time goes on, you should see the water start to run clear, and you should be able to feel that the roller brush is much cleaner. When you’re confident you’ve cleaned off as much of the paint as possible, you can move on to the next step (skipping the oil-based paint section).

4. Soak the roller to remove oil-based paint
Although knowing how to clean a paint roller is easy when you use water-based paint, it’s a little more difficult when you use oil-based paint. It’s also less eco-friendly, which is why we’d always urge DIY-ers to lean more towards water-based paints.
Unfortunately, washing up liquid won’t work in this instance, so it’s better to soak your roller in white spirit instead. Pour some white spirit into your paint tray or bucket and let the roller soak in the solution for a few minutes.
You can then work the white spirit through the roller, removing as much paint as possible. And while one pass might be enough to clean the paint off the roller brush, you may also have to switch out the dirty white spirit with fresh white spirit to repeat the process.
However, it’s important to note that you must never pour white spirit down the drain. Not only does it have the potential to harm your plumbing, but most councils also class white spirit as a hazardous substance. Because of this, you need to contact your local authority to find the best way to dispose of it.
5. Rinse the roller and let it dry
When you’ve cleaned the paint from your paint roller, finish by rinsing it under a tap for a few seconds. During this stage, the water should run clear. If it doesn’t, you may want to run your hands up and down it to remove any residual paint.
Then, all you need to do is leave it to dry. Don’t be tempted to lay your roller flat on your kitchen counter or your draining board, though, as this can flatten and damage the fibres. This will make it impossible to use in the future.
Instead, Sophie says, ‘Dry the roller by standing it upright on a draining area so that the fibres remain nice and fluffy once it has dried.’

6. Clean the tray and roller handle
Although knowing how to clean a paint roller is essential for those who want to use it repeatedly, it’s also important to clean the tray and roller handle. However, some people find that wrapping their tray in cling film (or a plastic bag) and then throwing it away is a great way to bypass the cleaning of the tray.
If you need to clean the tray and roller handle, though, you shouldn’t need as many products as the roller itself. Sophie echoes this, saying, ‘Clean the handle thoroughly under the warm water tap, which should be enough to remove fresh paint. If the paint has dried you may need to give it a scrape with an old knife first.’
Again, you should leave everything to dry fully before using it once more.
FAQs
Can I wash paint rollers in the washing machine?
Yes, you can! If you’re looking for an alternative way to clean a paint roller, you can pop it in the washing machine. That doesn’t mean that it’s necessarily the right option, though.
You should never wash your paint rollers in a machine with anything else, so you’ll have to dedicate a whole cycle to your rollers. This can be expensive and time-consuming.
Additionally, most experts would still suggest removing the excess paint from your roller before putting it in the washing machine to prevent any clogged pipes. As you’re doing that, you might as well clean the whole thing by hand.
How many times can you wash a paint roller?
If you clean a paint roller after every use and store it properly (i.e. upright rather than lying down), you should be able to use and wash a paint roller between 3 and 5 times before needing to replace it.
If you don’t wash your paint roller regularly or wash it too harshly, you may find that it disintegrates faster than you’d like.
So, always ensure you know how to clean a paint roller - especially if you’re using oil-based paints.
Well, there you have it. That’s how to clean a paint roller!

-
 Worried your neighbour is attracting rats? What you can legally do
Discover what steps you can take if your neighbour's habits are causing a rodent issue
-
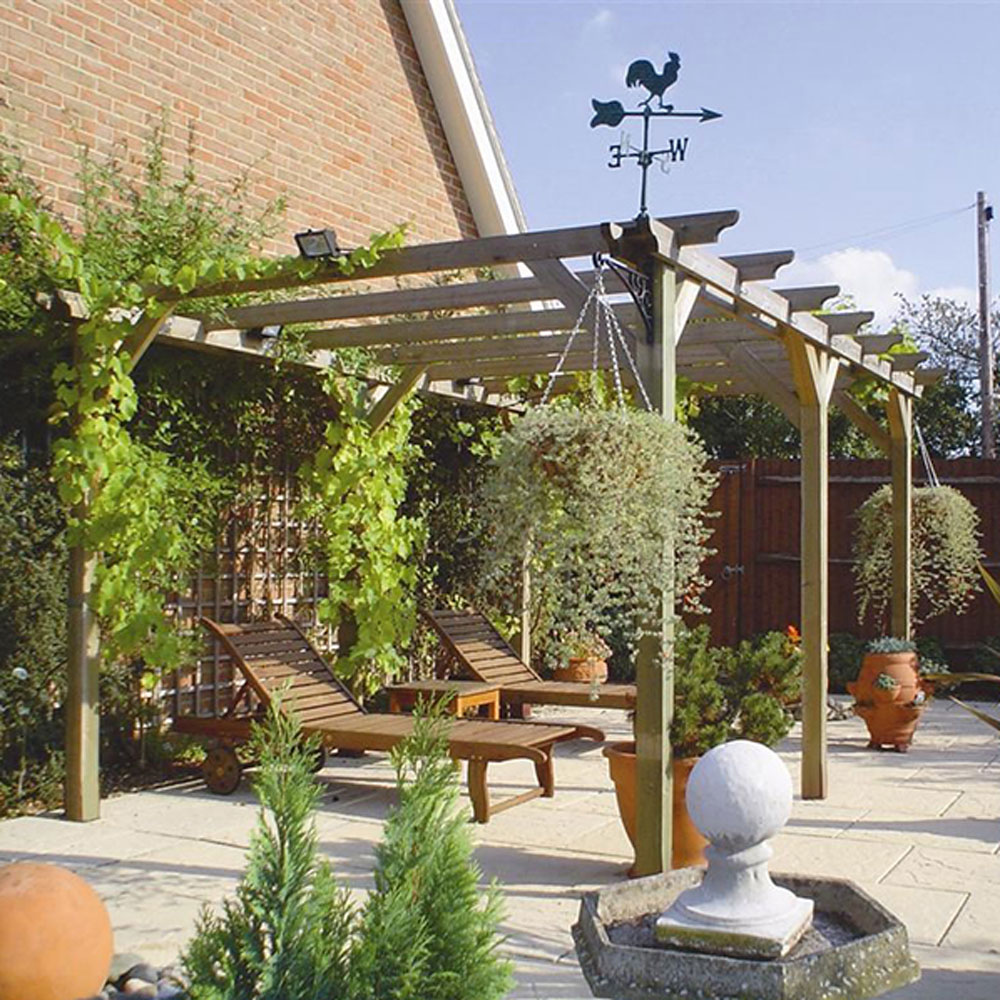 How to weatherproof a pergola – 6 solutions to get the most out of your outdoor space all year round
From roof ideas to practical upgrades, here's what the experts recommend
-
 It's time to say goodbye to grey kitchen walls – paint experts say these 3 colours are best for an inviting cooking space
These three shades are the secret to an on-trend kitchen


-
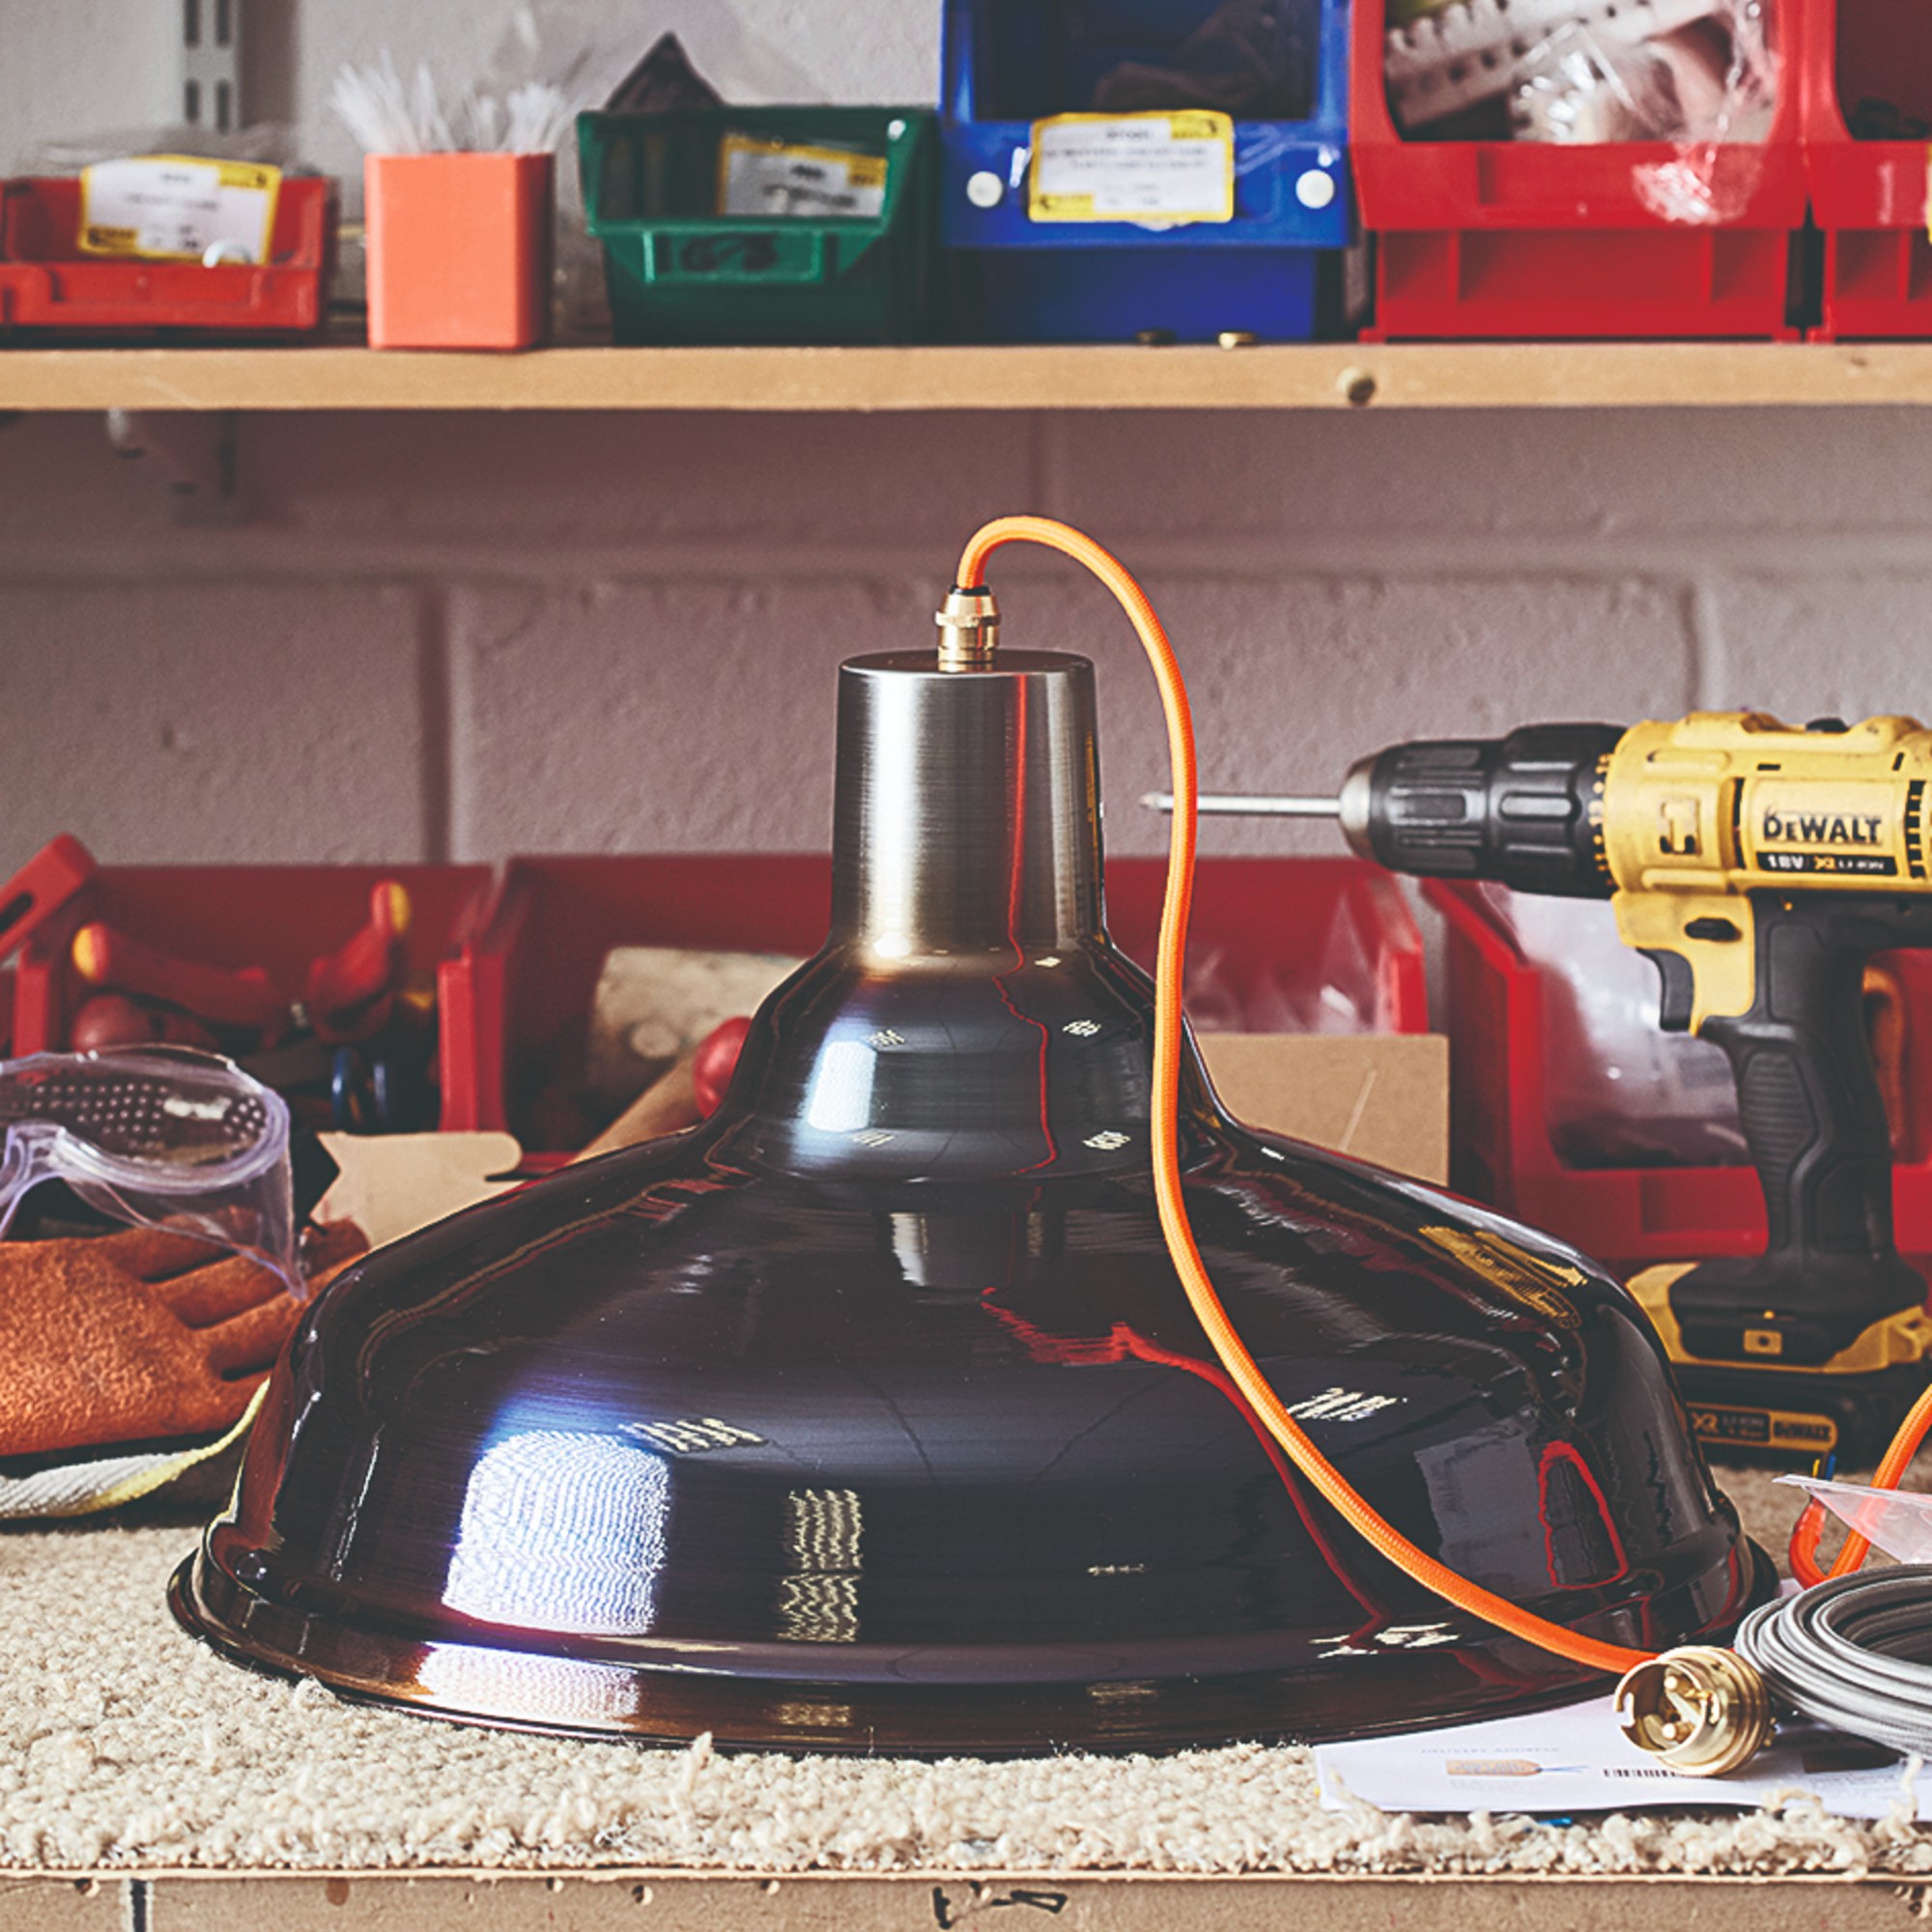 The one tool all experts agree every DIYer needs to own – whether you’re a seasoned pro or a beginner
So best to make sure it’s in your tool box…
-
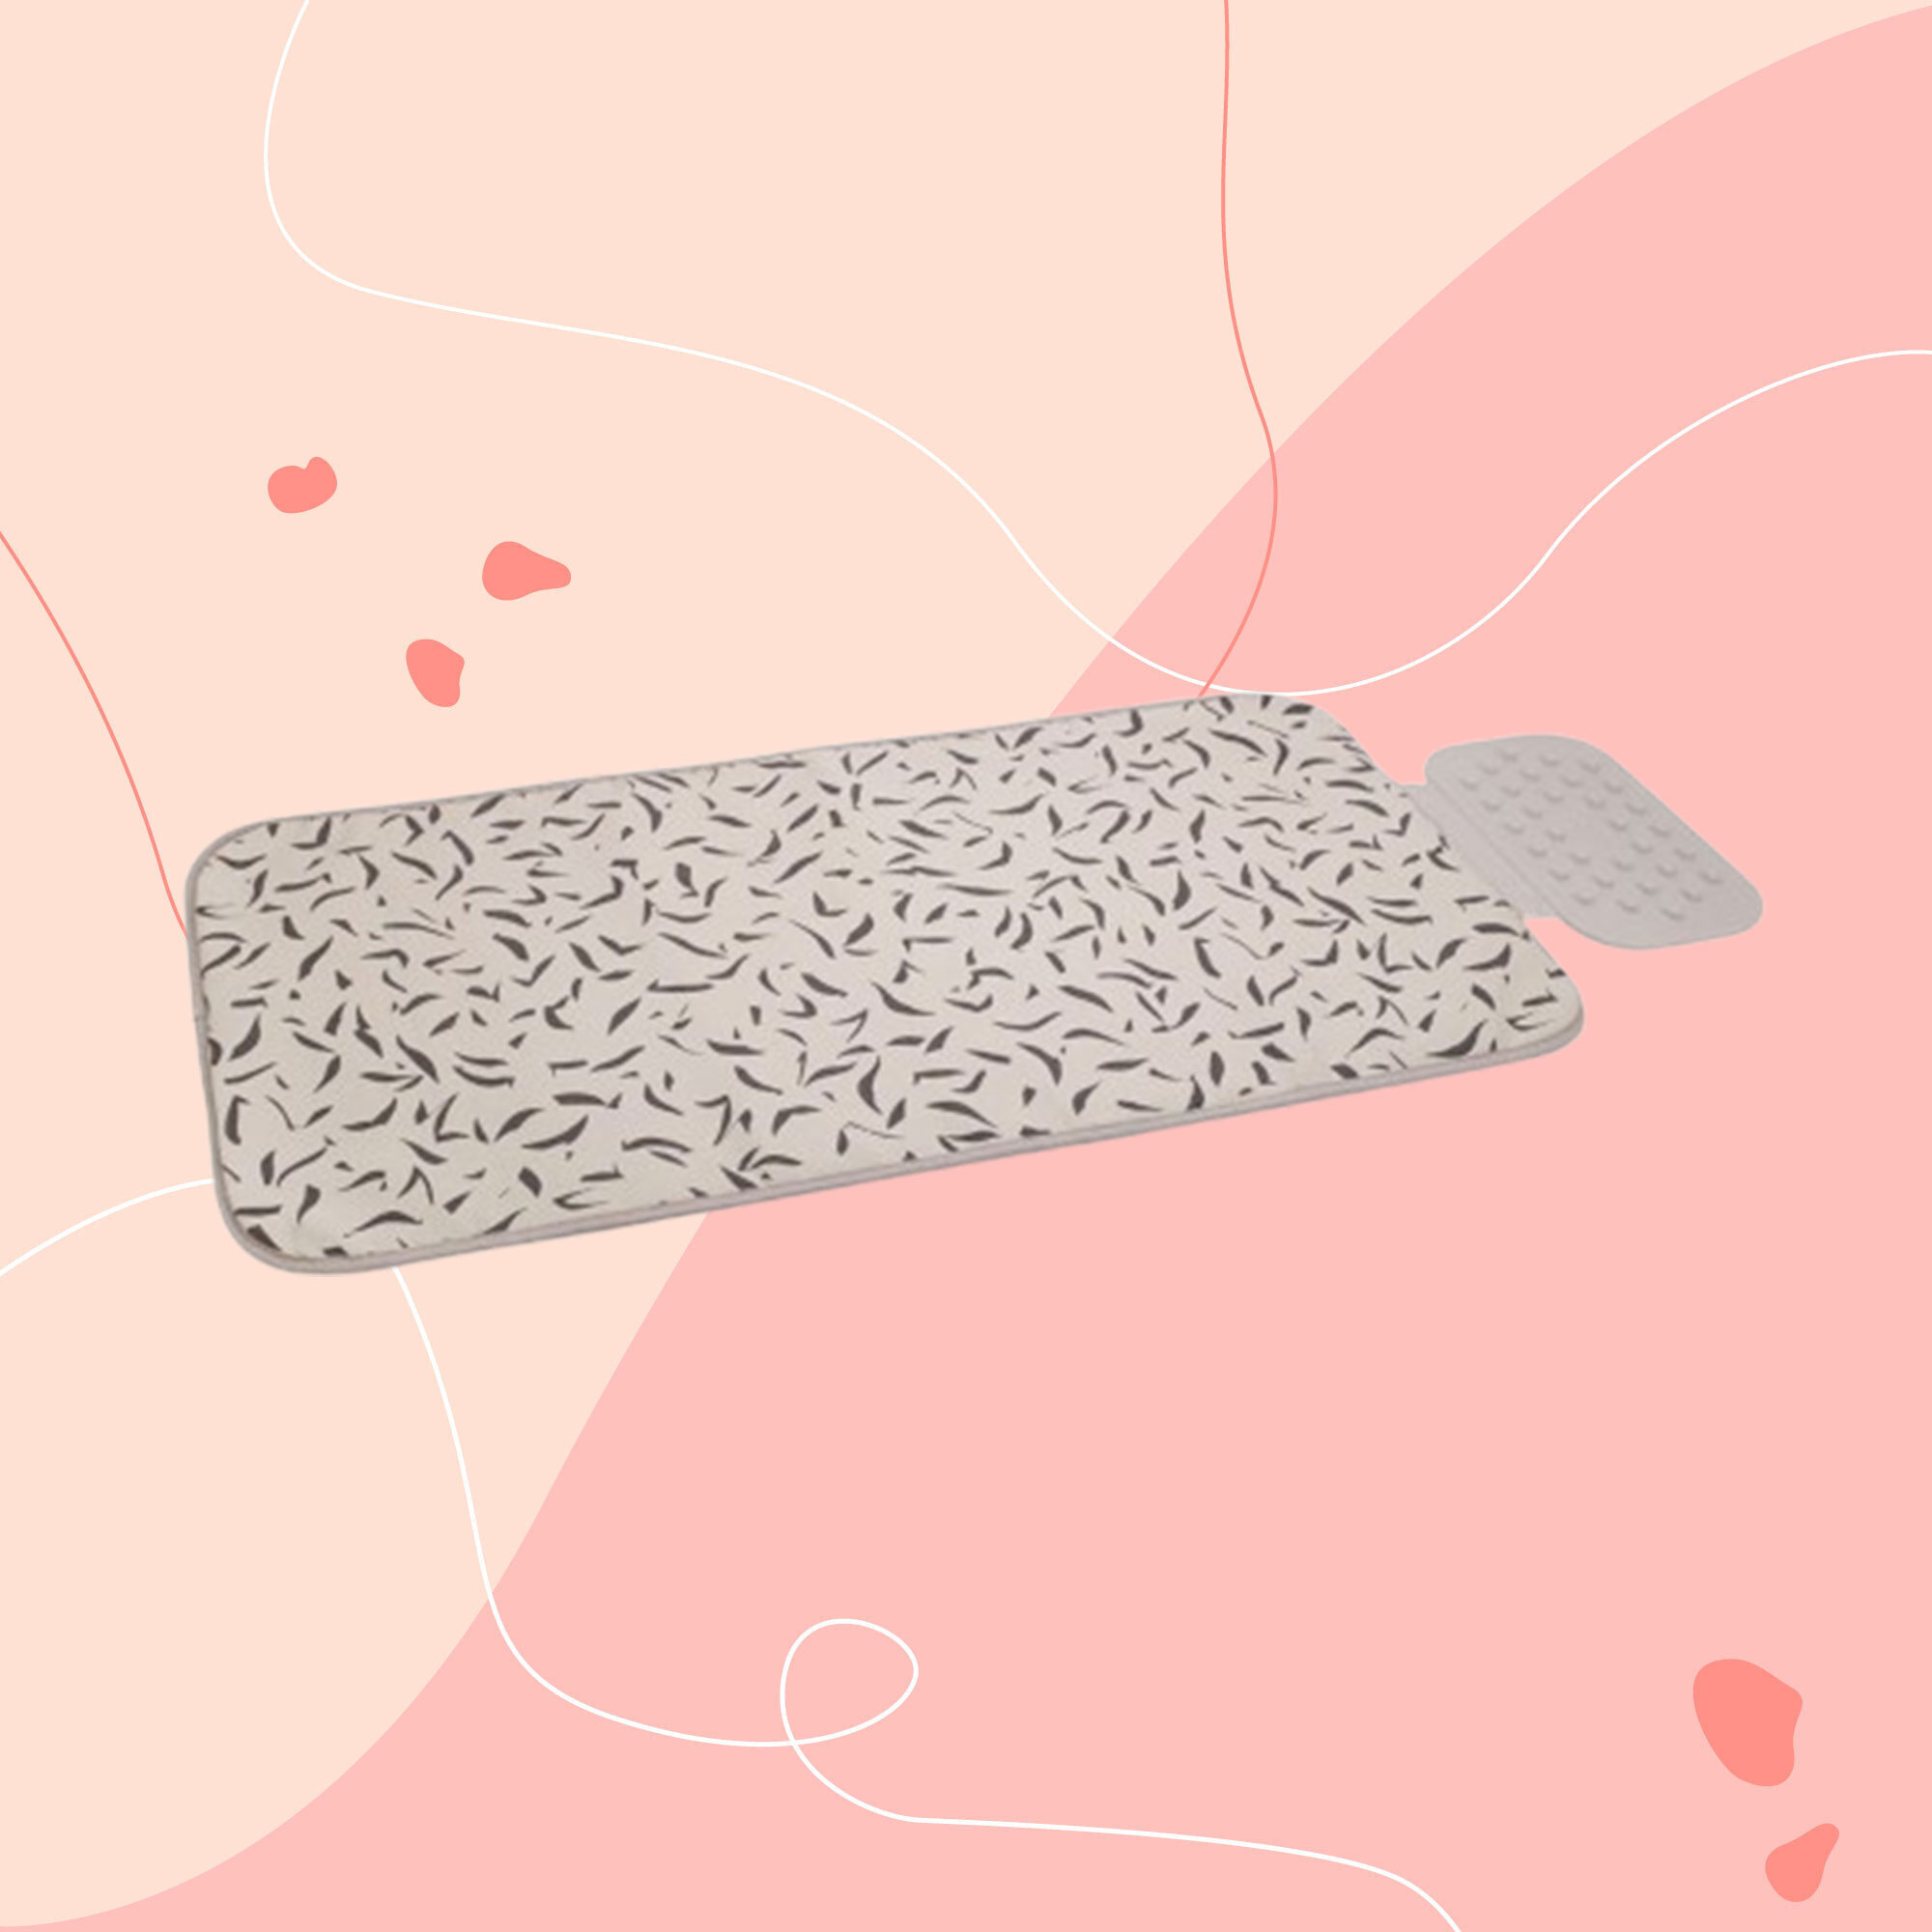 I ditched my ironing board for this clever Joseph Joseph mat – and it’s perfect for small homes
This £35 mat is a gamechanger for ironing and steaming alike
-
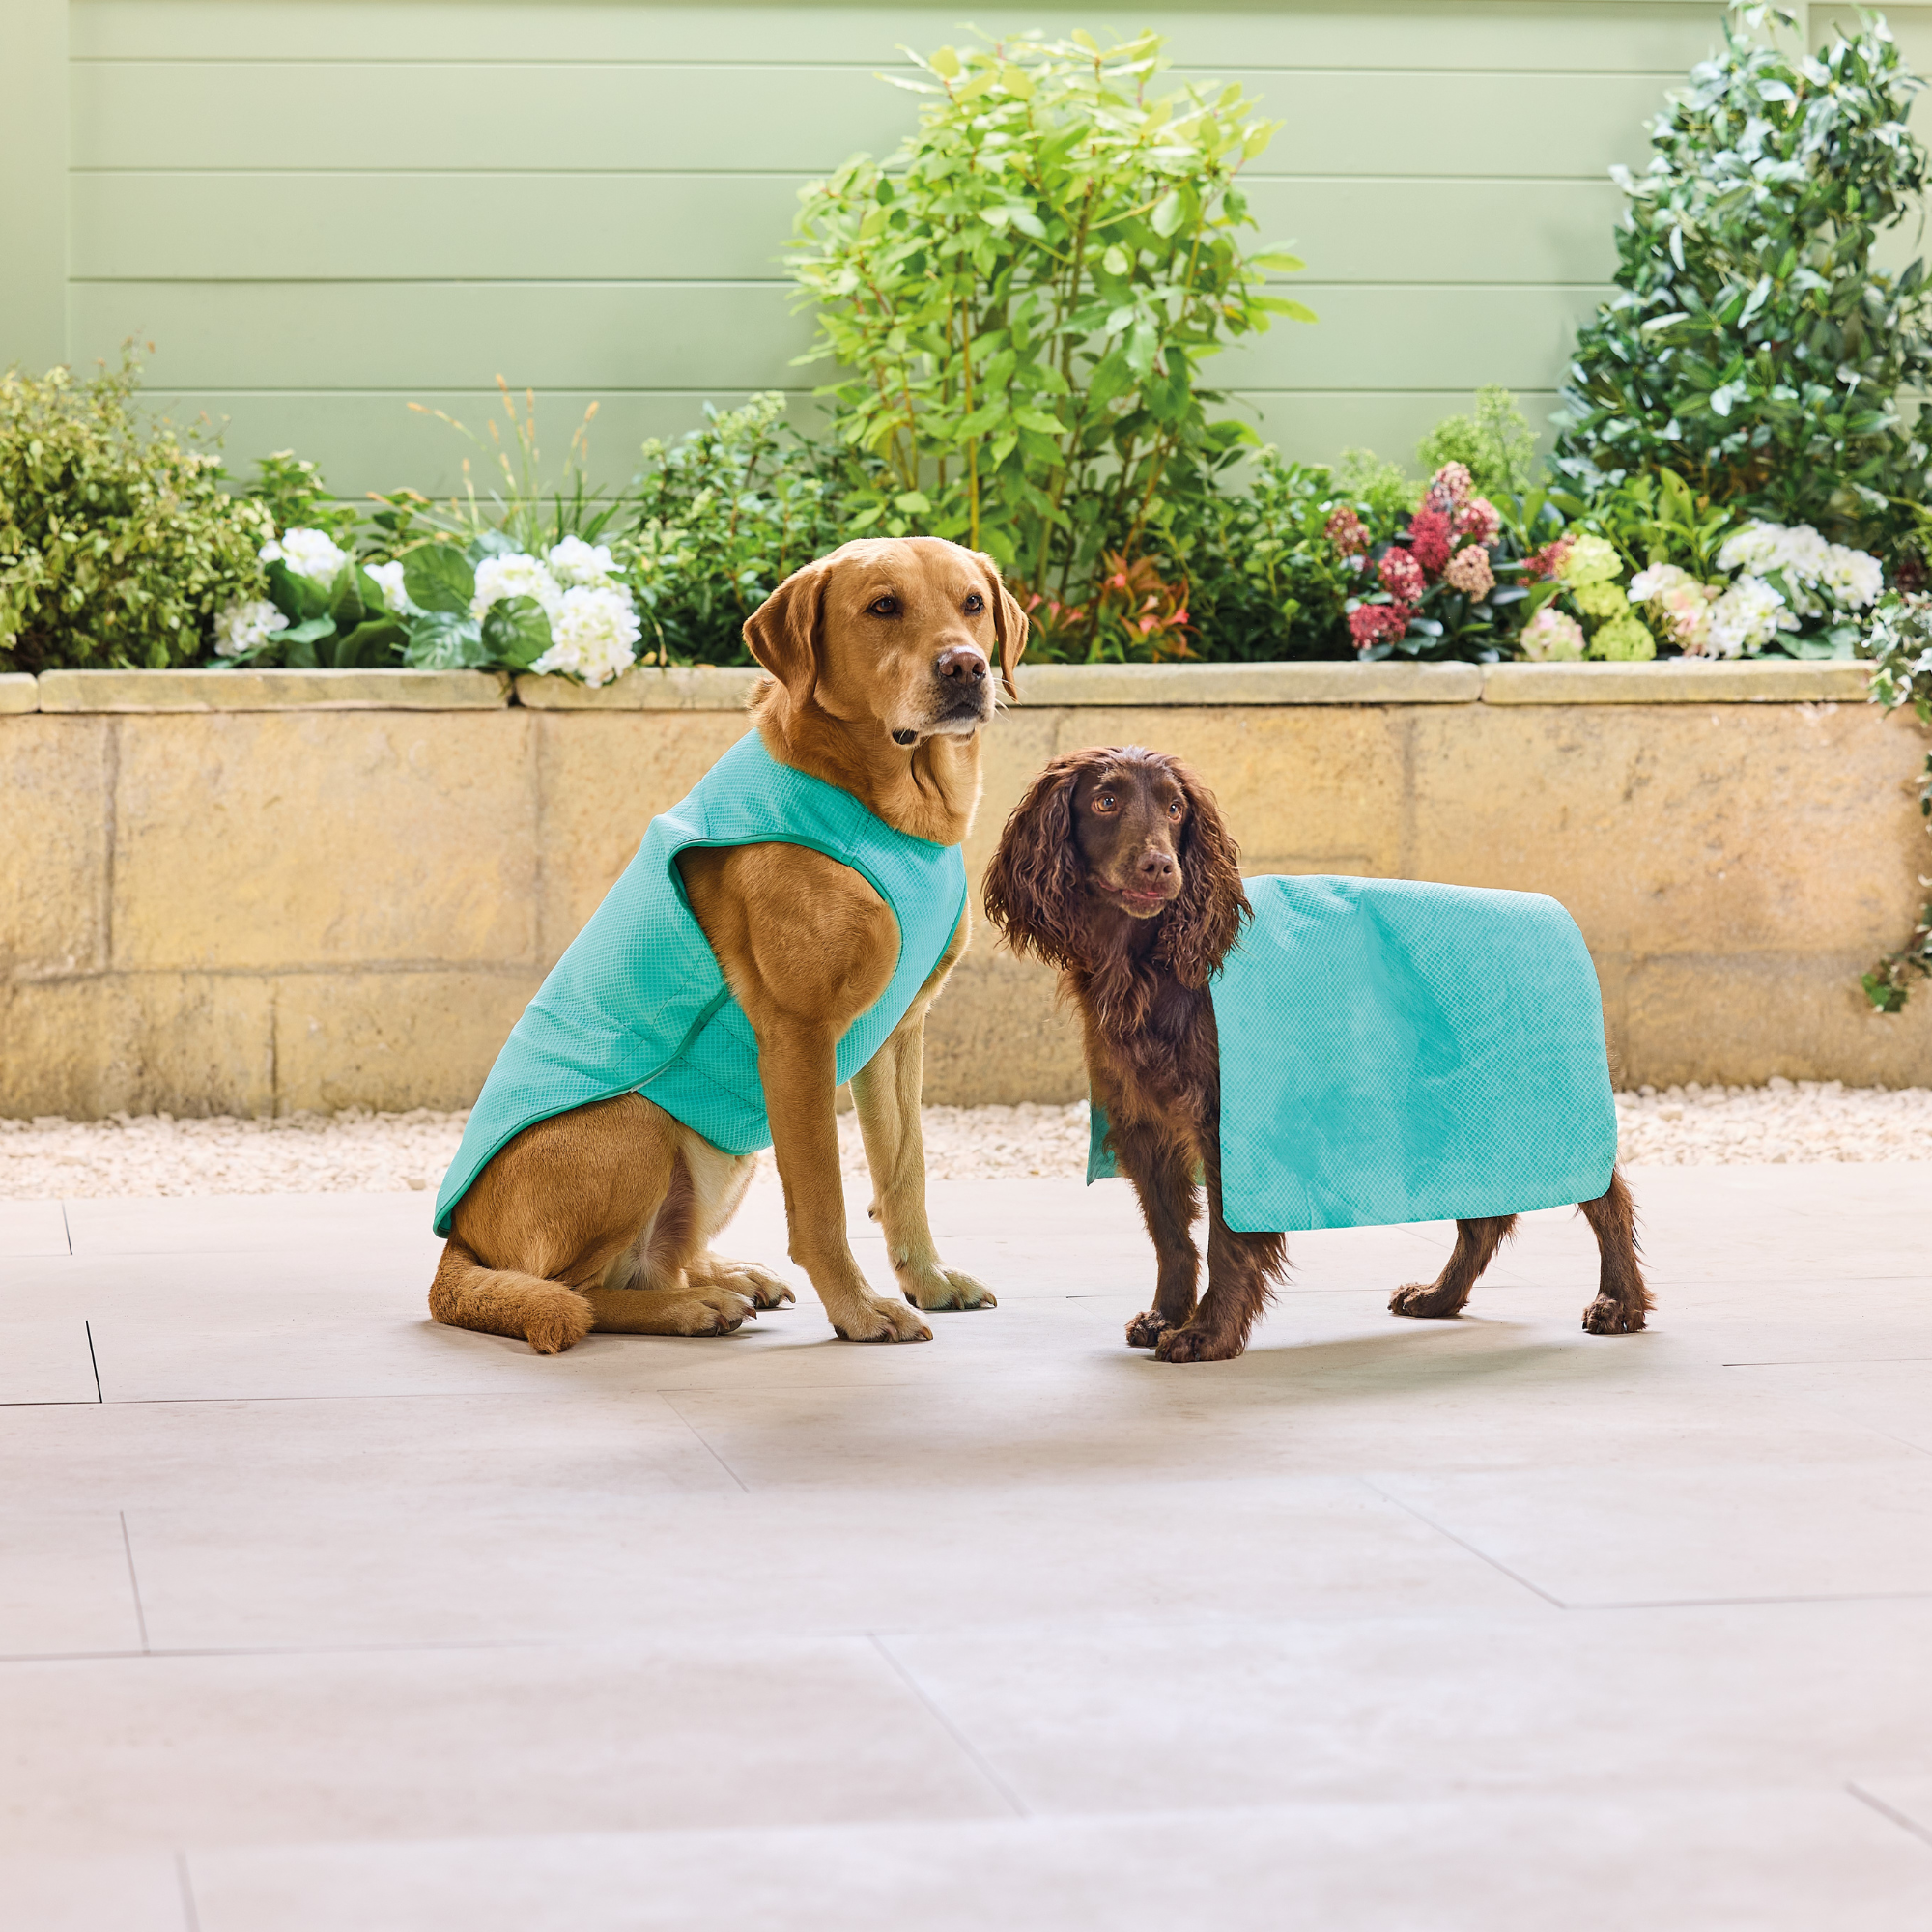 Aldi’s best-selling pet cooling range is back for summer – these are the buys I’m snapping up for my dog
Your pets will love you even more if you invest in this clever range
-
 IKEA’s new ‘floating’ storage trolley nails classic Scandi-style - I think this clever feature will give it cult status
IKEA's new design is almost too pretty to be a storage trolley
-
 5 IKEA BESTA hacks that will transform your basic storage cabinets into stylish pieces with a high-end look
Not sure what to do with your BESTA storage cabinets? These hacks will give you plenty of inspiration to work with
-
 Aldi is releasing a budget alternative to the cult Joseph Joseph washing up bowl – it’s just £4.99
The Joseph Joseph washing up bowl is an Ideal Home favourite - now we can't wait to try Aldi's alternative
-
 Can I paint over old paint on a front door? Experts reveal when it's OK to skip this step
If you're repainting your front door this spring, here's what you should be doing with the old paint first
-
 I just bought my first home, and this £10 buy was the very first thing I bought for it to make it feel warmer and secure
If I did it all again, this would still be my very first buy


