Have you ever cleaned your home security cameras? This is why (and how) experts want you to do it ASAP
The exact process to follow for your peace of mind (and crystal-clear footage)

Knowing how to clean home security cameras is essential if you want them to perform at their best. It might seem minor, but a dirty lens or blocked sensor could mean your footage is pretty useless when you need it most.
In fact, while the best security measures for a house are designed to safeguard your home, even the best wireless security cameras and video doorbells won't do their job properly if they're covered in dust, cobwebs and rain.
The good news is that cleaning your security camera is quick, easy and can make a huge difference to how it functions. I've consulted security specialists and cleaning experts to find out exactly how to clean home security cameras the right way.
Why is it so important to clean home security cameras?
Firstly, it's worth understanding exactly why it's so important to clean security cameras. When people think of the key home security camera rules, cleaning is often overlooked. But, like most household devices, they do need a little TLC every now and again in order to keep them working effectively.
'Keeping security cameras clean is an essential part of maintaining a reliable home security system,' explains Anthony Neary, security expert and director at Safe.co.uk.
'Dirt, dust, spiderwebs, or water spots can all obscure the lens, making your footage blurry or completely unusable in the event of a break-in,' he says.

Anthony Neary is the founder and security expert at home and business security retailers Safe.co.uk. With over 15 years of industry experience, he specialises in security solutions and how to keep properties safe.
This point is echoed by Hayley Brown, smart home expert at AO.com, who notes that blurry or obstructed footage is ineffective, particularly when relying on it to keep your home safe.
Sign up to our newsletter for style inspiration, real homes, project and garden advice and shopping know-how
'Similarly, a dirty lens can also trigger false motion alerts, which can be more than annoying at night,' she adds.
And just like cleaning windows, knowing how to clean home security cameras requires the right technique. Using the wrong tools or products can do more harm than good, so it's worth knowing exactly how to approach it.
What you'll need
- Microfibre cloth – such as this Spontex 16 pack from Amazon
- Distilled water – such as this 100% Ultra Pure Blue Water from Amazon or lens cleaner like this Bolle Lens Cleaning Spray from Screwfix
- Cotton swabs – such as these 100 PCS foam tip cotton cleaning buds from Amazon
- A soft-bristle brush – such as this Kood lens cleaning camera brush from Amazon
- Mild washing up liquid (optional) – such as this Ecover Washing Up Liquid from Dunelm
- Screwdriver (if housing removal is required) – such as this Torx 7 piece set from Amazon
Step-by-step
1. Turn off and disconnect the camera
The first – and arguably most important step – is to turn off your camera and disconnect it completely from power. If you bypass this part and clean a live camera, you can risk damaging the lens.
'For safety and to avoid damaging the internal components, turn off the camera from the control app or system settings,' explains Petya Holevich, house cleaning expert and supervisor at Fantastic Services.
'If it's hardwired, shut off the breaker at the fusebox and for battery-powered units, remove the battery if it’s possible,' she says.

Petya is an experienced house cleaning and laundry expert with over 5 years of dedicated time at Fantastic Services. Her journey with the company contributed to the maintenance and organisation of immaculately clean domestic spaces.
2. Remove dust and debris
Once you've disconnected the camera, inspect the camera for any dust, cobwebs, water spots or bird droppings that might be hiding. These are all common culprits that can block the lens or interfere with your camera's performance.
'Use a soft-bristle brush to gently remove any cobwebs, loose dirt, or debris,' advises Maria Roderique, professional cleaner at Wecasa. 'Pay close attention to the lens, housing edges, and ventilation slots.'
The key with this step is to be gentle and use the right tools. 'To prevent scratching during cleaning, use a soft brush to gently dislodge dust, pollen or cobwebs,' adds Petya. 'Avoid using compressed air cans as they can force moisture inside,' she warns.
3. Wipe the lens
The lens is the most sensitive – and, not to mention, the most integral – part of a home security camera when it comes to picture quality. Any smudges or water spots can hugely impact the quality of the footage.
'Use a soft microfibre cloth to gently wipe the lens, and for tougher marks, apply a lens-safe solution,' advises Anthony.

Dampen a microfibre cloth with distilled water or a dedicated lens cleaner, depending on which you're using (both will do the trick).
'Gently wipe the lens in a circular motion,' recommends Maria. 'Avoid using paper towels, which can scratch the surface.'
4. Clean the housing camera and mount
Now your lens should be crystal clear, it's time to focus on the rest of the unit. Dirt and grime can build up on the camera's outer casing, mount and wiring, especially if it's installed outdoors and exposed to the weather.
'Use a soft cloth dampened with water or a mild soap solution to wipe down the housing and mount.' says Petya. 'Avoid harsh chemicals, such as bleach or ammonia-based cleaners, which can degrade the housing. Never spray anything directly on the camera.'
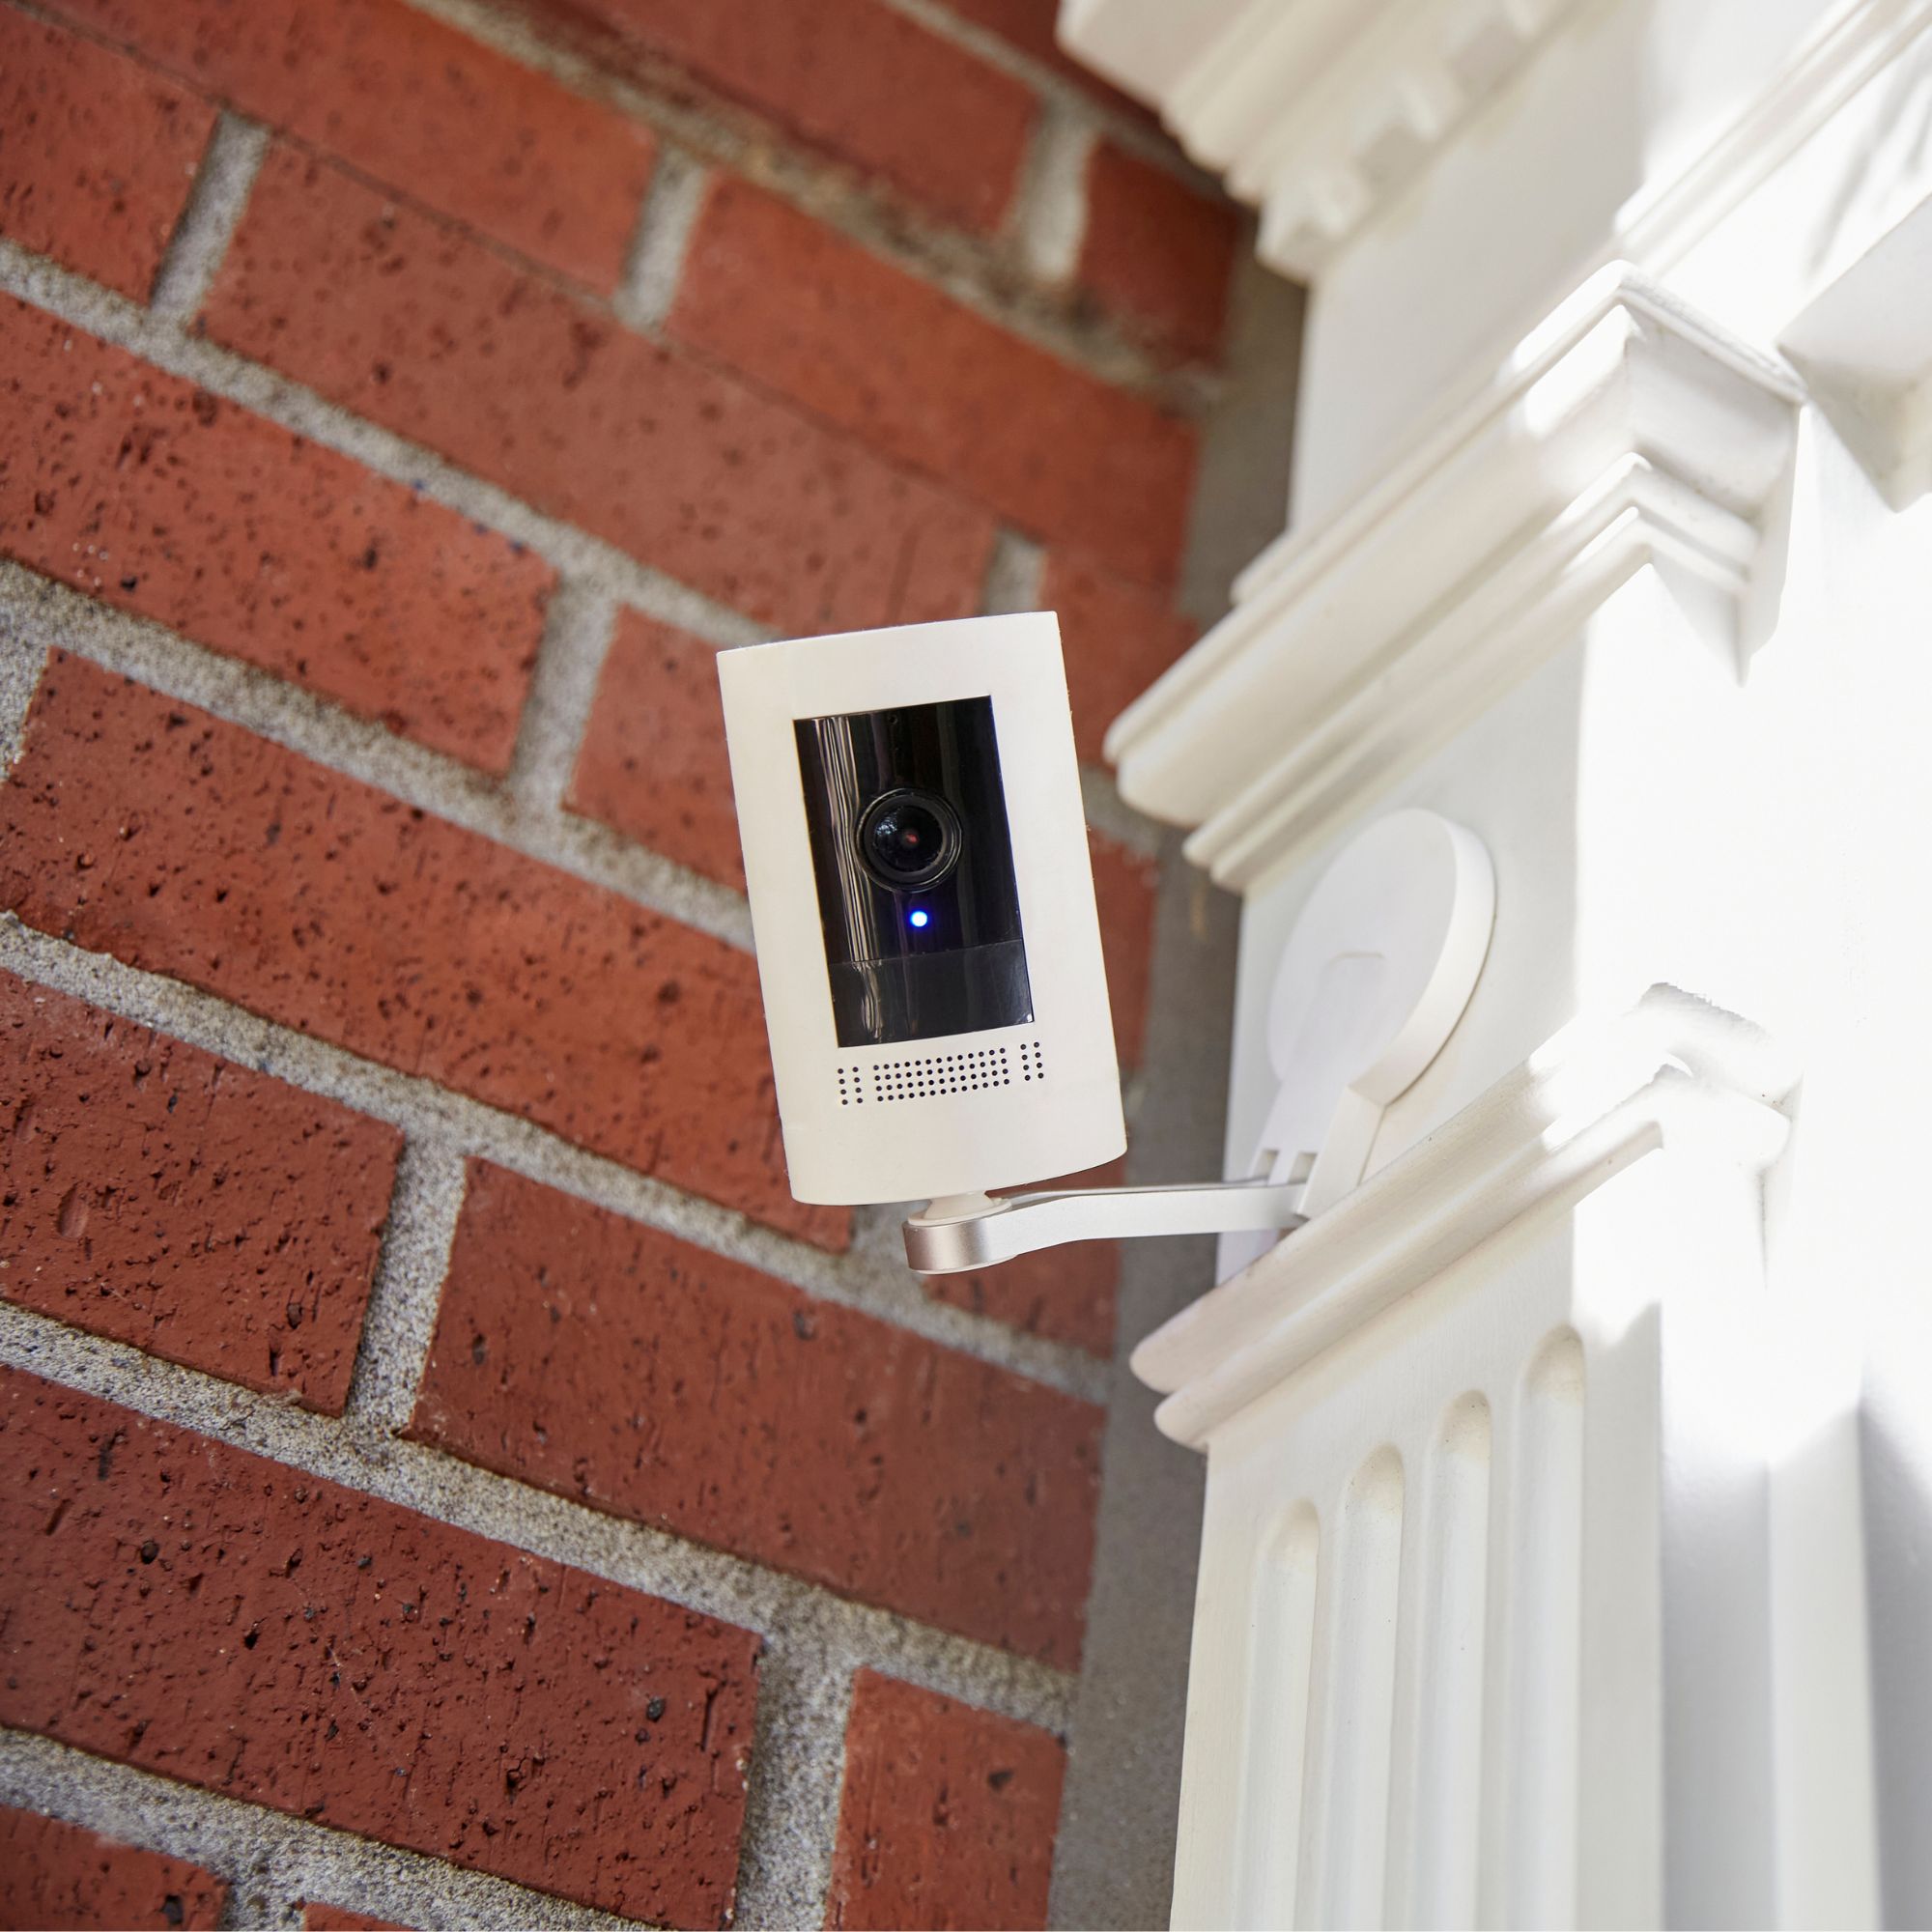
You should always apply liquid to the cloth first, not the device. Also, avoid abrasive tools, which can scratch the lens and permanently affect the video quality. Once cleaned, dry the camera thoroughly.
'To prevent moisture from seeping into seals, use a dry microfibre cloth to pat down the entire unit. Pay special attention to the cable entry points,' adds Petya.
5. Check for obstructions
Even a perfectly polished lens won't work properly if something's blocking the camera's view, especially for outdoor devices. Dirt or overgrown plants can interfere with and compromise the effectiveness of your home security system.
'It’s important to check the camera’s surroundings for overgrown plants or obstructions that could affect the field of view,' advises Anthony.
Clear away any branches, leaves or obstructions within the camera's line of sight – this is especially important for outdoor cameras, where fast-growing plants and debris can easily go unnoticed.
6. Power on and test
Once you're happy your camera is clean and dry, it's time to power on and test it. 'To make sure you didn’t accidentally shift the angle or create new glare points, reconnect the power and check the feed via the app or system interface,' advises Petya, 'Adjust the angle or focus if it’s needed.'
You can also check for any spots you may have missed, as Hayley explains. 'Once you’re happy with your work, turn it back on and check for any smudges or dirt you may have missed.'
7. Perform regular maintenance
The final step when it comes to how to clean home security cameras is to keep on top of regular maintenance.
'A quick clean every few weeks can make all the difference to how well your system performs and whether it can provide usable evidence if it’s ever needed,' says Anthony from safe.co.uk.
That said, if you have outdoor cameras that are near trees or dusty areas, they might need cleaning more regularly, says Petya. 'Also, it's worth considering a weather shield. If your cameras are often exposed to rain or droppings, a hood can reduce how often you need to clean them.'
FAQs
What is the best cleaner for security cameras?
When it comes to cleaning security cameras, using the right products to protect the lens is key.
'The best cleaner for security cameras is one that is gentle, non-abrasive and specifically designed for delicate optics – those used for eyeglasses are ideal,' says Petya from Fantastic Services.
A dedicated lens cleaner or distilled water, paired with a microfibre cloth, is well-suited, says Maria at Wecasa. 'These are gentle enough not to damage or scratch sensitive lenses, unlike alcohol-based or ammonia cleaners, which should be avoided.'
For the housing camera and mount, a solution of mild dish soap diluted in water works well – it's strong enough to remove grime or bird droppings from the housing but won’t damage plastic or weatherproof seals.
How to remove condensation from inside a security camera?
Condensation inside a camera can affect the image quality, and cause permanent damage to the internal parts over time.
'If condensation has formed inside the camera, the first step is to turn it off and disconnect the power, advises Maria at Wecasa. 'If the model allows it, disassemble the housing carefully to expose the affected areas.'
Maria recommends placing the camera in a sealed container with silica gel packets or dry uncooked rice for 24–48 hours. 'This helps to absorb the moisture,' she says.
Before putting everything back together, ensure the housing seals are intact to prevent the issue happening again. 'For recurring condensation, consider installing a weatherproof enclosure or using anti-fog gel on the lens interior,' Maria suggests.
Now you know how to clean home security cameras properly; it's a quick task that could make a big difference to how your system performs. When was the last time you gave yours a once over?
